8
TO CANCEL THE COUNTDOWN
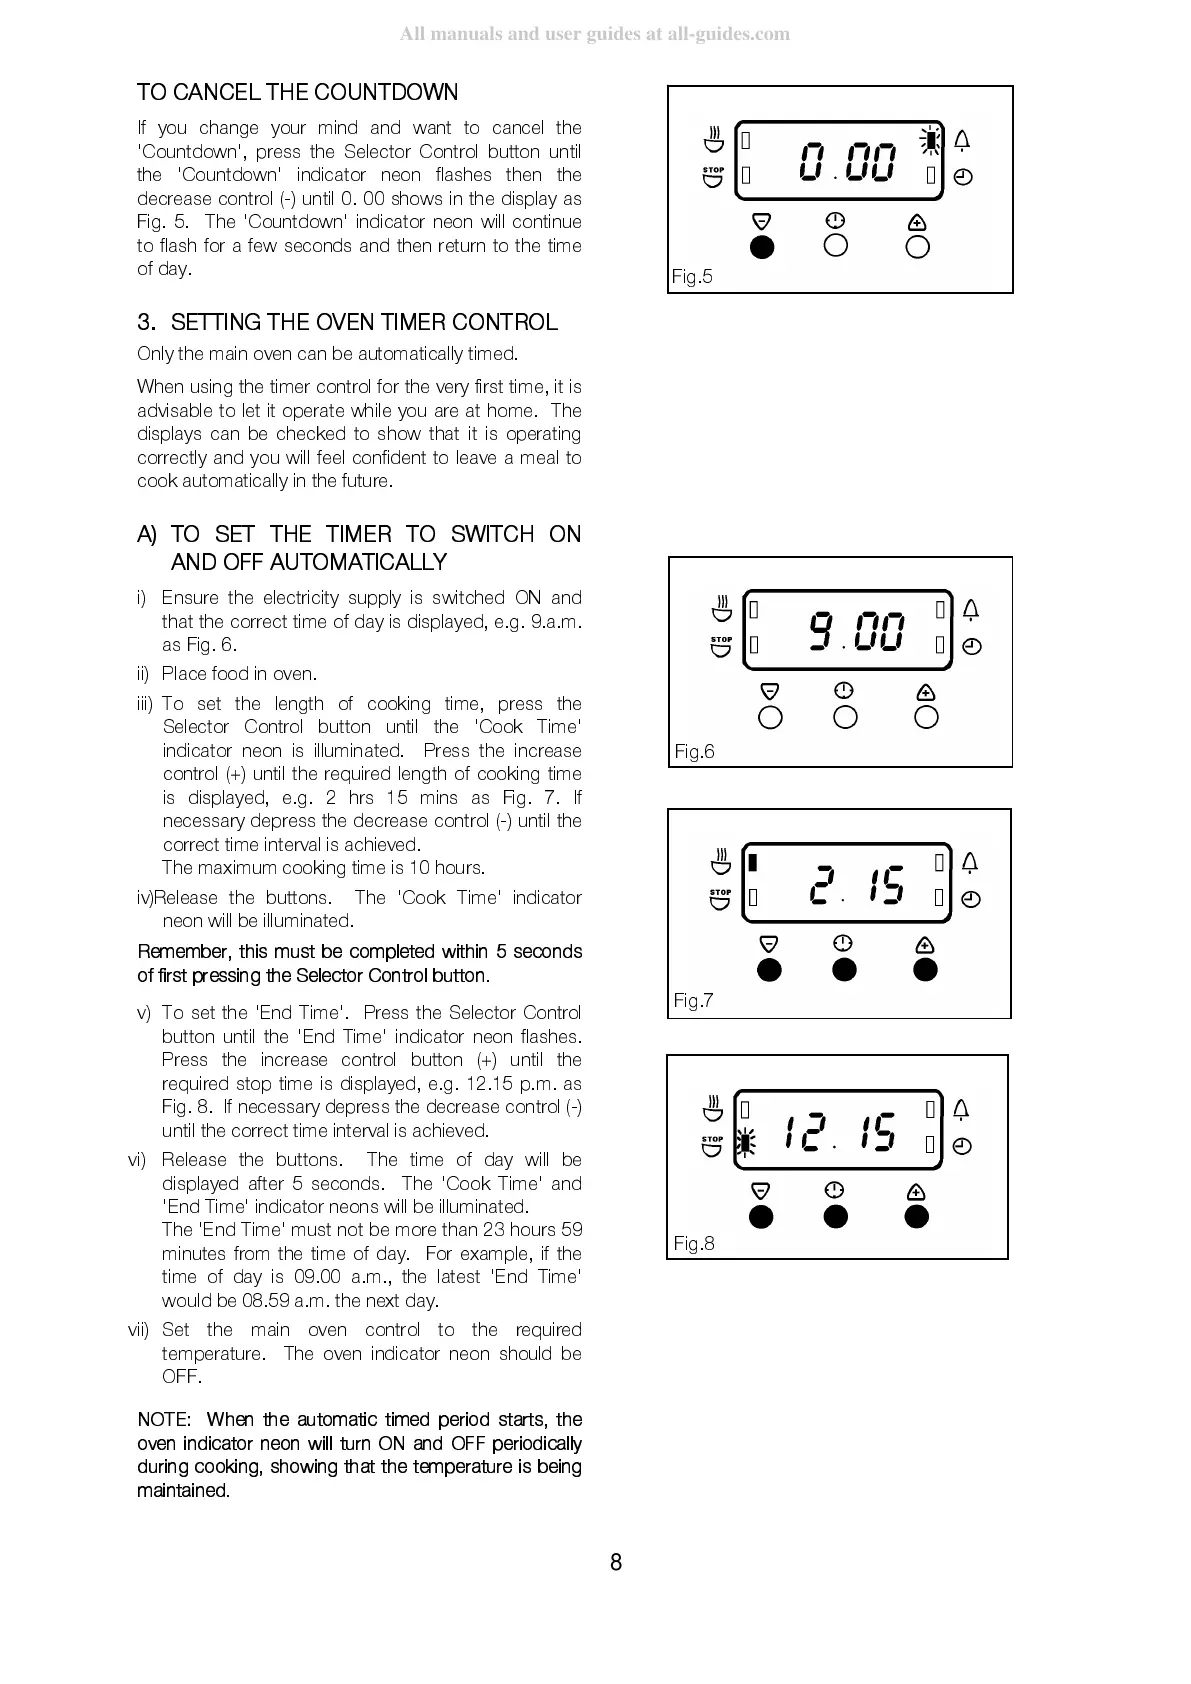
If you change your mind and want to cancel the
'Countdown', press the Selector Control button until
the 'Countdown' indicator neon flashes then the
decrease control (-) until 0. 00 shows in the display as
Fig. 5. The 'Countdown' indicator neon will continue
to flash for a few seconds and then return to the time
of day.
3.
SETTING THE OVEN TIMER CONTROL
Only the main oven can be automatically timed.
When using the timer cont rol for the very first time, it is
advisable to let it operate while you are at home. The
displays can be checked to show that it is operating
correctly and you will feel confident to leave a meal to
cook automatically in the future.
A)
TO SET THE TIMER TO SWITCH ON
AND OF F A UT O MA TIC A L L Y
i)
Ensure the electricity supply is switched ON and
that the correct time of day is displayed, e.g. 9.a.m.
as Fig. 6.
ii)
Place food in oven.
iii)
To set the length of cooking time, press the
Selector Control button until the 'Cook Time'
indicator neon is illuminated. Press the increase
control (+) until the required length of cooking time
is displayed, e.g. 2 hrs 15 mins as Fig. 7. If
necessary depress the decrease control (-) until the
correct time interval is achieved.
The maximum cooking time is 10 hours.
iv)
Release the buttons. The 'Cook Time' indicator
neon will be illuminated.
Remember, this must be completed within 5 seconds
of first pressi ng the Sele ctor Co ntrol button.
v)
To set the 'End Time'. Press the Selector Control
button until the 'End Time' indicator neon flashes.
Press the increase control button (+) until the
required stop time is displayed, e.g. 12.15 p.m. as
Fig. 8. If necessary depress the decrease control (-)
until the correct time interval is achiev ed.
vi)
Release the buttons. The time of day will be
displayed after 5 seconds. The 'Cook Time' and
'End Time' indicator neons will be illu minated.
The 'End Time' must not be more than 23 hours 59
minutes from the time of day. For example, if the
time of day is 09.00 a.m., the latest 'End Time'
would be 08.59 a.m. the next day.
vii)
Set the main oven control to the required
temperature. The oven indicator neon should be
OFF.
NOTE: When the automatic timed period starts, the
oven indicator neon will turn ON and OFF periodically
during cooking, s howing that the temperature is being
maintaine d.
Fig.5
Fig.6
Fig.7
Fig.8