Do you have a question about the Electrolux EZB2400AOX and is the answer not in the manual?
This document is a user manual for the Electrolux EZB2400AOX oven, providing comprehensive instructions on its safe operation, installation, maintenance, and energy efficiency.
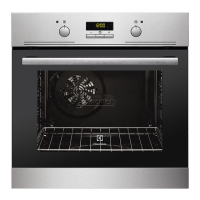
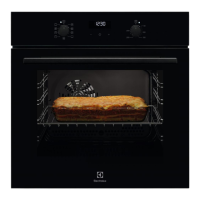
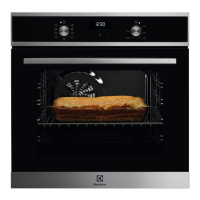
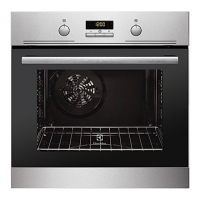
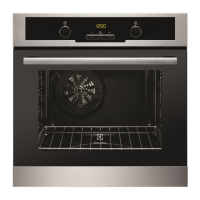
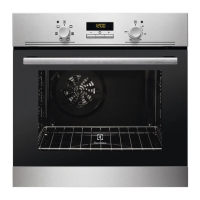
The oven is designed for household use, offering various heating functions for baking, roasting, and grilling. It features a control panel with a knob for selecting heating functions, a control knob for temperature, and sensor fields for setting clock functions such as time of day, duration, end time, time delay, and a minute minder. The display shows the selected clock function and time.
The oven offers several heating functions to cater to different cooking needs:
The oven is equipped with a cooling fan that automatically turns on during operation to keep the oven surfaces cool and may continue to run after the oven is turned off until it cools down. A safety thermostat is also integrated to prevent overheating by temporarily interrupting the power supply and automatically restarting when the temperature drops.
Before first use, the oven requires initial cleaning and preheating. All accessories and removable shelf supports should be removed, cleaned, and then reinstalled. The oven should be preheated empty for a specified duration at maximum temperature to eliminate any odors or smoke.
To set a heating function, the user turns the knob for heating functions and then the control knob for temperature. The oven lamp illuminates when it is operating. To turn off the oven, the heating function knob is set to the off position.
The oven has four shelf positions, counted from the bottom. Accessories include a wire shelf for cookware, cake tins, and roasts; a baking tray for cakes and biscuits; and a grill-/roasting pan for baking, roasting, or collecting fat. When inserting accessories, the wire shelf should be pushed between the guide bars with its feet pointing down. The baking tray or deep pan is pushed between the guide bars, and when used with a wire shelf, the wire shelf is placed on the guide bars above. Small indentations on the wire shelf act as anti-tip devices and prevent cookware from slipping.
The manual provides detailed tables with recommended temperatures, shelf positions, and cooking times for various foods, including cakes, bread, pizza, flans, meat, and fish, for both Top/Bottom Heat and Fan Cooking functions. Specific instructions are given for grilling and turbo grilling, including preheating and shelf position recommendations. For Moist Fan Baking, users are advised to follow the suggestions in the table for best results.
Regular care and cleaning are essential for maintaining the appliance. Before any maintenance, the oven must be deactivated and disconnected from the mains supply, and allowed to cool down. The oven front should be cleaned with a moist soft cloth and a mild detergent. Metal surfaces require a dedicated cleaning agent. The oven interior and all accessories should be cleaned after each use to prevent fat accumulation and food remains, which can pose a fire risk, especially for the grill pan. Stubborn dirt can be removed with a special oven cleaner. Nonstick accessories should not be cleaned with aggressive agents, sharp objects, or in a dishwasher to avoid damaging the coating.
For stainless steel or aluminum ovens, the door should be cleaned with a damp cloth or sponge and dried with a soft cloth, avoiding steel wool, acids, or abrasive materials. The door gasket should be checked regularly for damage, and if damaged, an Authorized Service Centre should be contacted.
The shelf supports are removable for easier cleaning of the oven interior. To remove them, the front and then the rear end of the support are pulled away from the side walls. They are reinstalled in the opposite sequence.
The oven door has two glass panels that can be removed for cleaning. The user must open the door fully, lift and turn the levers on both hinges, and then close the door halfway to the first opening position before lifting and pulling it forward to remove it. The door should be placed on a soft cloth on a stable surface. The internal glass panel is removed by releasing the locking system and turning two fasteners by 90 degrees. The glass panels should be cleaned with water and soap, dried carefully, and not cleaned in a dishwasher. After cleaning, the glass panel and oven door are reinstalled, ensuring the internal glass panel clicks into place correctly.
The oven lamp can be replaced by turning off the oven, waiting for it to cool down, disconnecting it from the mains, and placing a cloth on the bottom of the cavity. For the back lamp, the glass cover is turned to remove it, cleaned, and then a suitable 300 °C heat-resistant lamp is installed, followed by the glass cover.
In case of troubleshooting, the manual provides a table of common problems, possible causes, and remedies, such as activating the oven, setting the clock, checking settings, replacing a blown fuse, or replacing the lamp. If issues persist, users are advised to contact an Authorized Service Centre, providing the model, PNC, and serial number found on the rating plate.
| Oven Type | Electric |
|---|---|
| Oven Size | Medium |
| Number of Ovens | 1 |
| Number of Functions | 8 |
| Control Type | Rotary |
| Voltage | 230 V |
| Frequency | 50 Hz |
| Energy Efficiency Class | A |
| Energy Consumption (Conventional) | 0.79 kWh |
| Width | 594 mm |
| Height | 595 mm |
| Installation Type | Built-in |
| Colour | Stainless Steel |
| Door Type | Double glazed |
| Cooling Fan | Yes |
| Child Lock | Yes |
| Timer | Yes |
| Thermostat | Yes |
| Oven Capacity | 72 L |
| Total Oven(s) Interior Capacity | 72 L |
| Type | Built-in oven |