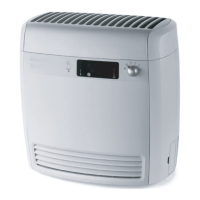
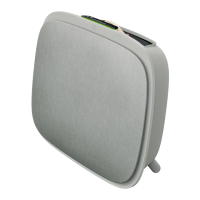
should be placed such that the protruding tip (without the holes) is on
the top (refer to picture #2).
d. Depending on the wall, please use appropriate drill to make two holes
into the wall at the identified marks; and insert any plugs as needed.
e. Depending on the wall, please use appropriate screws for following step.
Place the hook flat against the surface of the wall, so that the holes are
concentric and the hook sits parallel to the floor without any inclination,
and then tighten the screws till the hook is securely in place and does not
move if tugged.
f. Lift the unit and place it onto the hook such that the top of the hook
securely fits into the inbuilt grip at the back of the unit.
g. Gently adjust the unit to remove any inclinations, just like a painting.
Ensure that the unit sits flat up against the wall.
h. When dismounting the unit, remember to disconnect the power cord
from the wall socket first.
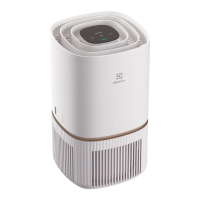
3. If placing it on the floor:
a. Take the cylindrical feet and screw them into the unit by rotating
clockwise till you hear a click (or get some resistance).
b. Lift the unit and place it next to the power socket to be used.
c. Ensure a clearance of at least 30 cm between front (air inlet) and at least
20 cm between right side (sensor window) of the unit and other surfaces.
Also ensure ample free space above the top (air outlet grill), so the unit
can operate at its best in spreading pure air through the room.
d. When wall mounting, please remove the cylindrical feet from the base of
the unit for more efficient air distribution.
4. Remove the front panel by gently pulling it away from the unit with both hands.
5. Take out the mesh pre-filter, ultrafine particle filter and VOC carbon filter layers
and remove all plastic packaging. Discard as per safety and local recycling
instructions.
6. Place the filter layers back into the unit in the same order as originally found (i.e.
VOC carbon filter goes in first). While inserting, place take care to hold the filter
so that the RFID tag on the filter is located at the top-right – it should be near the
senor box hatch.
7. Attach the mesh pre-filter and the front panel back to the unit.
8. Plug the unit’s power cord to the nearest power socket so that the POWER button
 Loading...