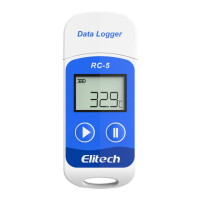
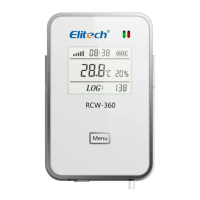
What's Included
ER14505 battery
USB Cable
x 1
x 1
User Manual x 1Data Logger
Temperature-Humidity-Combined Probe
x 1
x 1
Specifications
*TXT for Windows ONLY. ** The glycol bottle contains 8ml propylene glycol.
Model
Temperature Measurement Range
Temperature Accuracy
Humidity Measurement Range
Humidity Accuracy
Resolution
Memory
Logging Interval
Data Interface
Start Mode
Stop Mode
Software
Report Format
Power
Shelf Life
Certification
External Probe
Dimensions
Weight
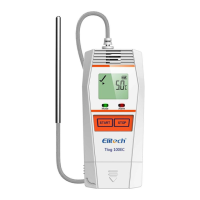
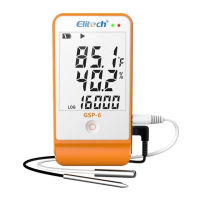
GSP-6 Pro
-40°C~+85°C (-40°F~185°F)
±0.3°C/±0.6°F (-20°C~+40°C), ±0.5°C/±0.9°F (others)
0%RH~100%RH
±3%RH (25°C, 20%RH ~ 80%RH), ±5%RH (others)
0.1°C/°F; 0.1%RH
Maximum 100,000 points
10 seconds to 24 hours
Type-C
Press button; Use software
Press button; Auto-stop; Use software
ElitechLog, for macOS & Windows system
PDF/EXCEL/TXT* via ElitechLog software
ER14505 battery/USB
2 years
EN12830, CE, RoHS
Temperature-humidity probe, glycol bottle probe (optional)**
118.8 x 64.6 x 19.6 mm
120g
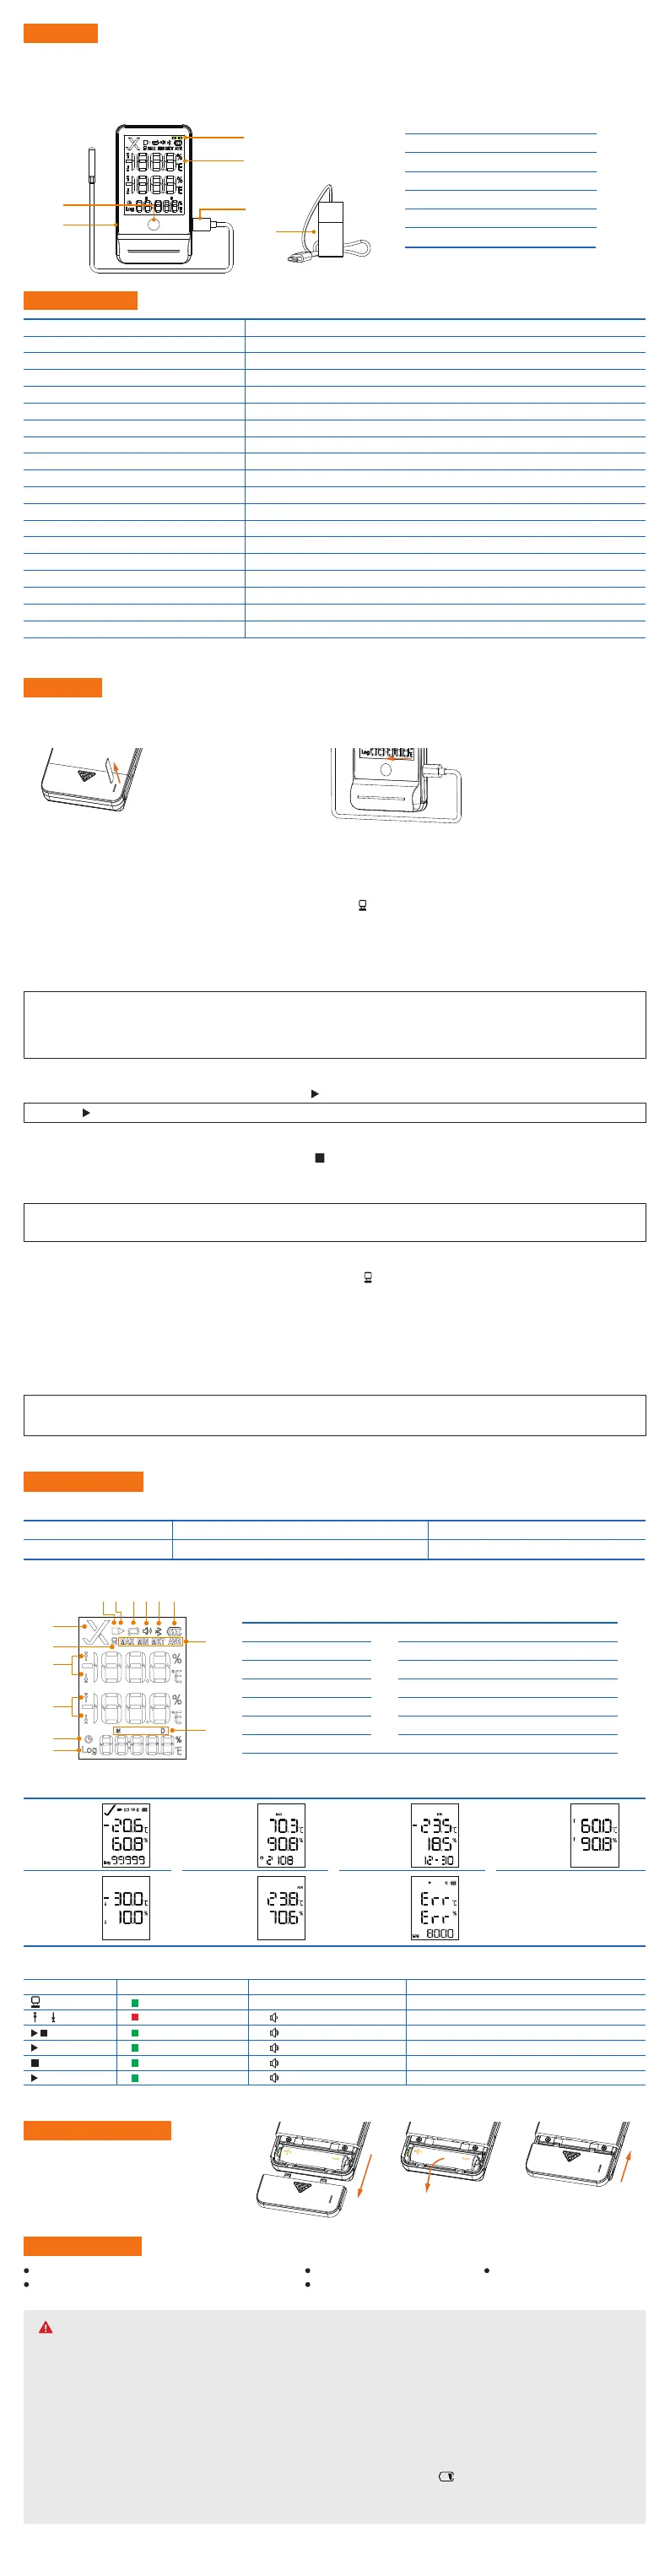
Status Indication
LED Indicator flashes
always on
once every 15 seconds
once
twice
3 times
4 times
LCD Display
/
not displayed
flashes
4.Buttons-LCD-LED Indication
Buzzer Alerts...*
Beeps 3 times/10 times
Beeps once
Beeps twice
Beeps 3 times
Beeps 4 times
* To enable buzzer function, please open ElitechLog software and go to Parameter menu -> Buzzer -> Enable.
Meaning...
Connected to PC
High/Low temperature/humidity limit exceeded
Not started
Started
Stopped
Start delay
1.Button
Operation
Function
Press and release the button
Check/Switch interfaces
Press and hold the button for 5 seconds
Start/Stop logging
3.LCD Interface
Temperature
(Humidity);
Logging Points
Maximum,
Current Time
Minimum,
Current Date
High Alarm
Limit
Low Alarm
Limit
Average
Probe Not
Connected
2.LCD Screen
1.Stopped
2.Logging
3.Circular Logging
4.Over Limit Alarm
5.Bluetooth
6.Battery Level
7.Alarm state
8.Max/Min/MKT/Average Values
9.Connected to PC
10.High/Low Temperature Limit
11.High/Low Temperature/Humidity Limit
12.Current Time
13.Logging Points
14.Month-Day
①
⑥
③ ④
⑤
⑦
⑧
⑭
⑩
⑪
⑫
⑬
②
⑨
Warning
1.Please store your logger at room temperature.
2.Please pull out the battery insulator strip in the battery compartment before using.
3.If you use the logger for the first time, please use software to synchronize system time and configure parameters.
4.Do not Remove the battery if the logger is recording.
5.The LCD screen will be auto o after 15 seconds of inactivity (by default). Press the button again to turn on the screen.
6.Any parameter configuration on software will delete all logged data inside the logger. Please save data before you apply any new
configurations.
7.To ensure the humidity accuracy, please avoid contact with unstable chemical solvents or compounds, especially avoid long-term
storage or exposure to the environments with high concentrations of ketene, acetone, ethanol, isopropanol, toluene etc.
8.Do not use the logger for long-distance transport if the battery icon is less than half as .
9.The glycol filled bottle probe can be considered as a thermal buer that can simulate the actual temperature variations inside, which
is suitable for vaccine, medical or similar scenarios.
Overview
GSP-6 Pro is temperature and humidity data logger with external probe. It features with a large LCD Screen, audible-visual alarm, auto shortened interval for
alarms and other functions; its built-in magnets are also easy for mounting during usages.
It can be used to record the temperature/humidity of medicines, chemicals, and other goods during storage, transportation and in each phase of the cold chain
including cooler bags, cooling cabinets, medicine cabinets, refrigerators and laboratories.
① LED Indicator
② LCD Screen
③ Button
④ Type-C Port
⑤ Temperature-Humidity Probe
⑥ Glycol Bottle Probe (optional)
①
②
④
⑤
⑥
③
Battery Replacement
1.Open the battery cover, Remove the old battery.
2.Install a new ER14505 battery into the battery
compartment.
3.Close the battery cover.
Operation
2.Install Probe
Please install the probes to the corresponding jacks, details are shown below:
3.Install Software
Please download and install the ElitechLog software (macOS and Windows) from Elitech US: www.elitechustore.com/pages/download or
Elitech UK: www.elitechonline.co.uk/software or Elitech BR: www.elitechbrasil.com.br.
4.Configure Parameters
First, connect the data logger to the computer via USB cable, wait until the icon shows on the LCD, then configure via:
Software:
If you do not need to change the default parameters (in Appendix); please click Quick Reset under Summary menu to synchronize local
time before usage;
If you need to change the parameters, please click the Parameter menu, enter your preferred values, and click the Save Parameter button
to complete the configuration.
Warning! For first time user or after battery replacement:
To avoid time or time zone errors, please make sure you click Quick Reset or Save Parameter before usage to configure your local time
into the logger. Note: The parameter of Interval Shortened is disabled by default. If you set it to Enable, it will auto shorted the logging
interval to once per minute if it exceeds temperature/humidity limit(s).
7.Download Data
Connect the data logger to your computer via USB cable, and wait until the icon shows on the LCD, then download data via:
ElitechLog Software: The logger will auto-upload data to ElitechLog, then please click Export to select your desired file format to export.
If data failed for auto-upload, please manually click Download and then repeat above operation.
5.Start Logging
Press Button: Press and hold the button for 5 seconds until the icon shows on the LCD, indicating the logger starts logging.
Note: If the icon keeps flashing, it means the logger configured with start delay; it will start logging after the set delay time elapses.
8.Reuse the Logger
To reuse a logger, please stopped it first; then connect it to your computer and use software to save or export the data. Next, reconfigure
the logger by repeating the operations in 4. Configure Parameters*.
After finished, follow 5. Start Logging to restart the logger for new logging.
Warning! * To make space for new loggings, all previous logging data inside the logger will be deleted after re-configuration. If you forgot
to save/export data, please try to locate the logger in the History menu of software.
**App operation instruction can visit www.elitechlog.com
6.Stop Logging
Press Button*: Press and hold the button for 5 seconds until the icon shows on the LCD, indicating the logger stops logging.
Auto Stop: When the logging points reach the maximum memory, the logger will stop automatically.
Use Software: Connect the logger to your computer; open software, click Summary menu and Stop Logging button.
Note:*Default stop is via Press Button, if set as disabled, the button stop function will be invalid; please open the ElitechLog software
and click Stop Logging button to stop it.
1.Activate Logger
Pull out the battery insulator strip
 Loading...