blade plate
Time Saver: Washers for blade screws can
be set on each blade screw prior to installing
blades.
Locate 15 blade attachment screws and
washers in one of the hardware packs. Hold
blade plate up to blade aligning holes in
blade plates with holes in blade as shown,
and then lower blade arm over blade holes.
Insert 3 blade attachment screws (along
with washers) with fingers first, and then
tighten screws securely with Phillips
screwdriver. Repeat procedure for remaining
blades.
Remove blade arm screws and lock washers
from fan motor (save blade arm screws and
lock washers to secure blade arms). Align
blade arm holes with motor screw holes (on
topside of the motor) and attach blade arm
with lock washers and blade arm screws.
Before securing screws permanently, repeat
this procedure with remaining blade arms.
Secure all screws.
Note: Tighten blade arm screws twice a year.
blade
arm
screws
blade
arm
screw
lock washer
lock
washer
motor
blade arm
blade
blade attachment
screws and washers
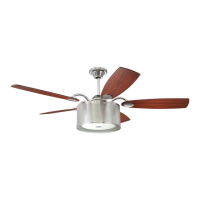
8. Blade Assembly.
9. Light Kit Assembly.
motor
housing
chrome
shade
cover
metal tab
outermost
edge
page 7
Remove 3 screws located on outermost edge
of motor housing. Place chrome shade cover
over motor housing. Align holes in metal tabs on
chrome shade cover with the screw holes on
motor housing rim where the screws were
previously removed.
Partially re-insert screws. Once all 3 screws have
been partially inserted, tighten screws securely
with Phillips screwdriver. (diagram 1)
diagram 1