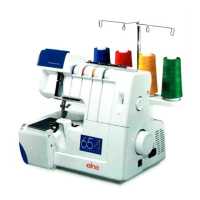
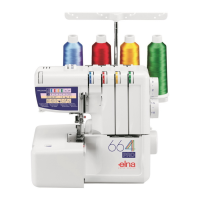
Cutting
Width
(Models 624 & 614)
The cutting blades are pre-set at the
factory so that most overlook sewing
projects can be done without changing
their position. For very special fabric
types,
however, you might at times, want
to adjust the cutting width.
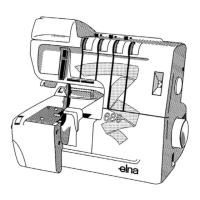
1.
To change the cutting width, bring the
needle bar to the highest position.
2.
Turn the cutting width dial upwards
to increase the width, or downwards to
decrease it.
3. Sew a scrap of the fabric to check the
sewing result, referring to the illust-
rations.
f
/
®
i
(a)
Correct
(b)
The cutting width is narrower than
the stitch width. Turn the dial upwards
to increase the cutting width.
(c)
The cutting width is wider than the
stitch width. In this case, the fabric
might be rolled or the needle thread
tension miqht become loose. Turn the
dial downwards to decrease the cutt-
ing width.
©
A
Foot
Pressure
With the guide line (a) of the pressure
control knob even with the top cover
surface (b), the foot pressure is suitable
for most kinds of fabrics and rarely
needs adjusting. For special fabric types,
however, you might at times want to
adjust the pressure slightly.
1.
For very slippery fabrics, tighten the
knob clockwise slightly to increase
the pressure.
2.
For very stretchable fabrics, loosen
it counter-clockwise to decrease the
pressure.
With the lower guide line (c) of the
pressure knob at higher level than the
top cover surface, lower pressure for
very stretchable fabrics is available.
Disengaging/Re-engaging
the
Moving
Blade
By disengaging the moving blade, you
can enjoy various sewing techniques.
1.
To disengage the moving blade, first
open the front door.
2.
Push the moving blade release lever
(a)
to the right and the moving blade
will stop at (b) position.
3. Turn it towards you by hand.
4.
To re-engage the moving blade, push
the moving blade release lever to the
right and turn it towards the back,
then release the lever.