page 74 EnCal 3000
6.3 Extras: GW-GNET+ Service Programs
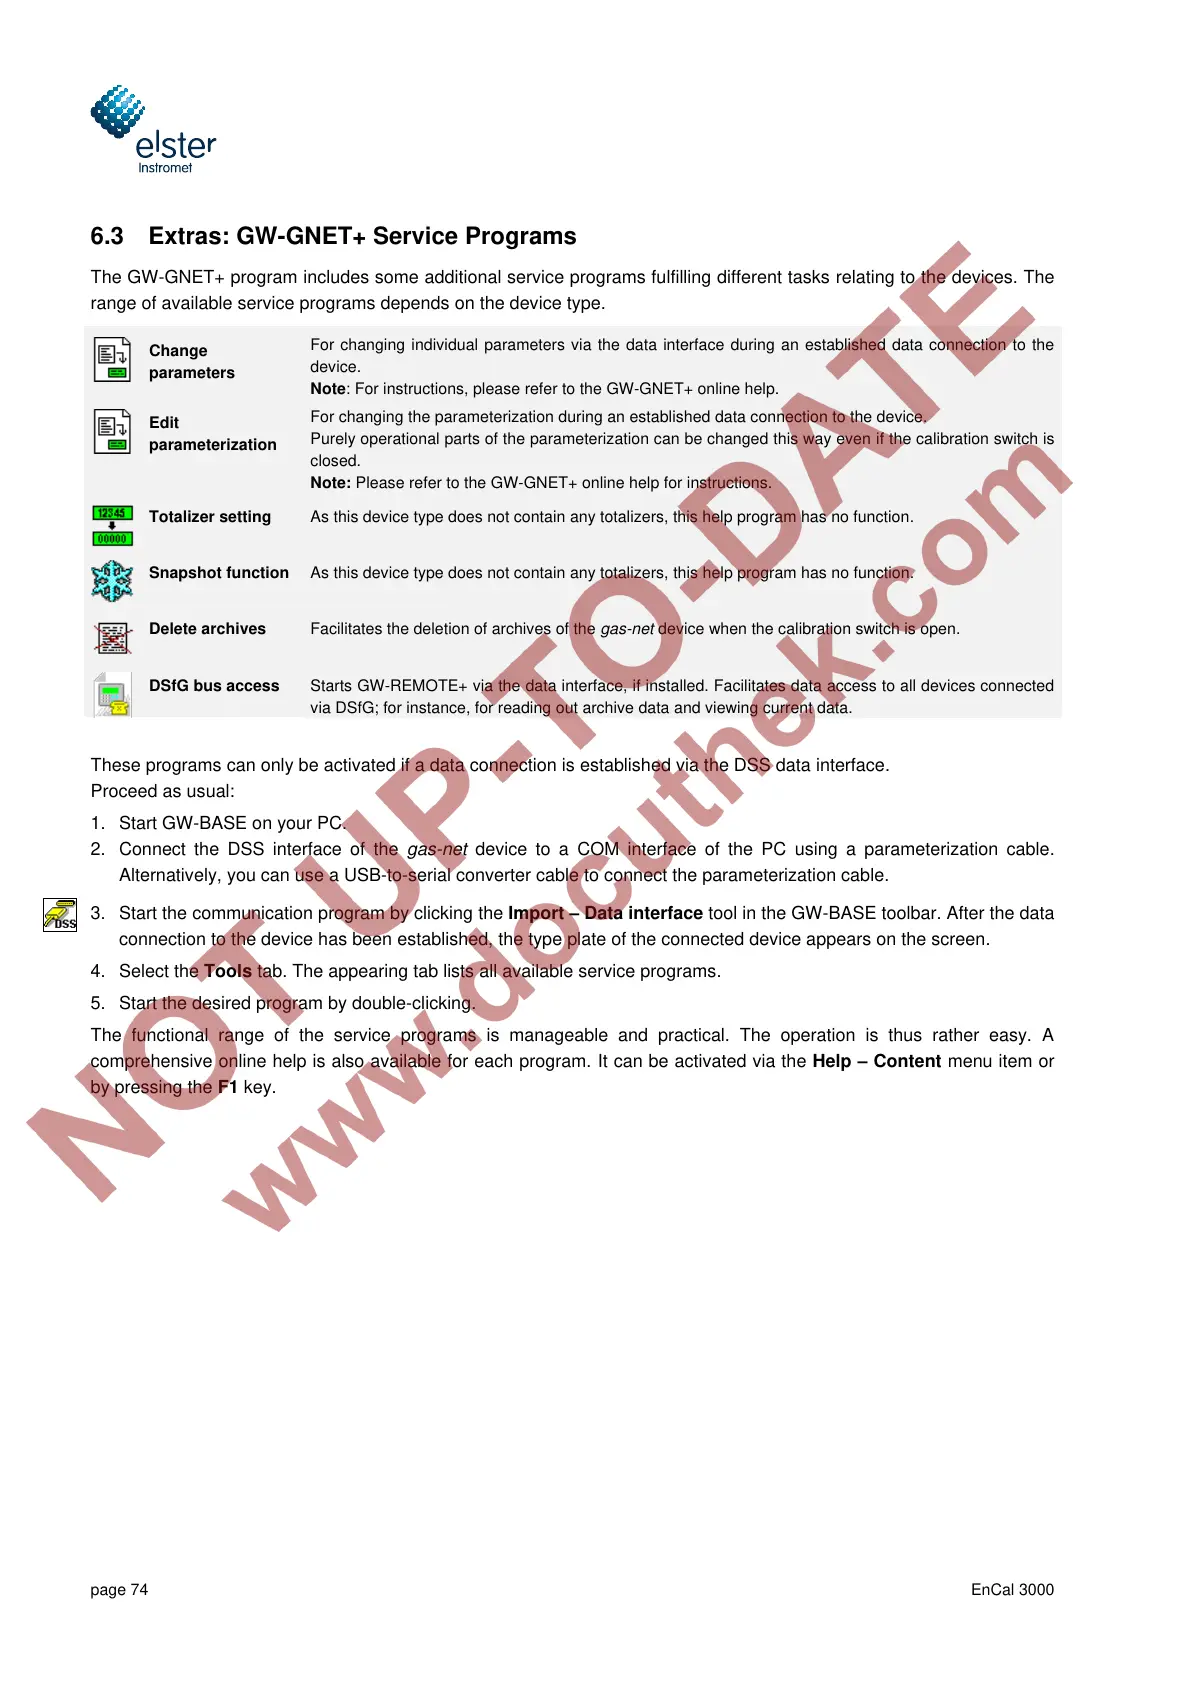
The GW-GNET+ program includes some additional service programs fulfilling different tasks relating to the devices. The
range of available service programs depends on the device type.
For changing individual parameters via the data interface during an established data connection to the
device.
Note: For instructions, please refer to the GW-GNET+ online help.
For changing the parameterization during an established data connection to the device.
Purely operational parts of the parameterization can be changed this way even if the calibration switch is
closed.
Note: Please refer to the GW-GNET+ online help for instructions.
As this device type does not contain any totalizers, this help program has no function.
As this device type does not contain any totalizers, this help program has no function.
Facilitates the deletion of archives of the gas-net device when the calibration switch is open.
Starts GW-REMOTE+ via the data interface, if installed. Facilitates data access to all devices connected
via DSfG; for instance, for reading out archive data and viewing current data.
These programs can only be activated if a data connection is established via the DSS data interface.
Proceed as usual:
1. Start GW-BASE on your PC.
2. Connect the DSS interface of the gas-net device to a COM interface of the PC using a parameterization cable.
Alternatively, you can use a USB-to-serial converter cable to connect the parameterization cable.
3. Start the communication program by clicking the Import – Data interface tool in the GW-BASE toolbar. After the data
connection to the device has been established, the type plate of the connected device appears on the screen.
4. Select the Tools tab. The appearing tab lists all available service programs.
5. Start the desired program by double-clicking.
The functional range of the service programs is manageable and practical. The operation is thus rather easy. A
comprehensive online help is also available for each program. It can be activated via the Help – Content menu item or
by pressing the F1 key.
 Loading...