45
© 2021, Elon Group AB. All rights reserved.
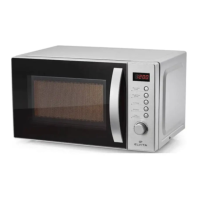
INSTALLING THE MICROWAVE OVEN
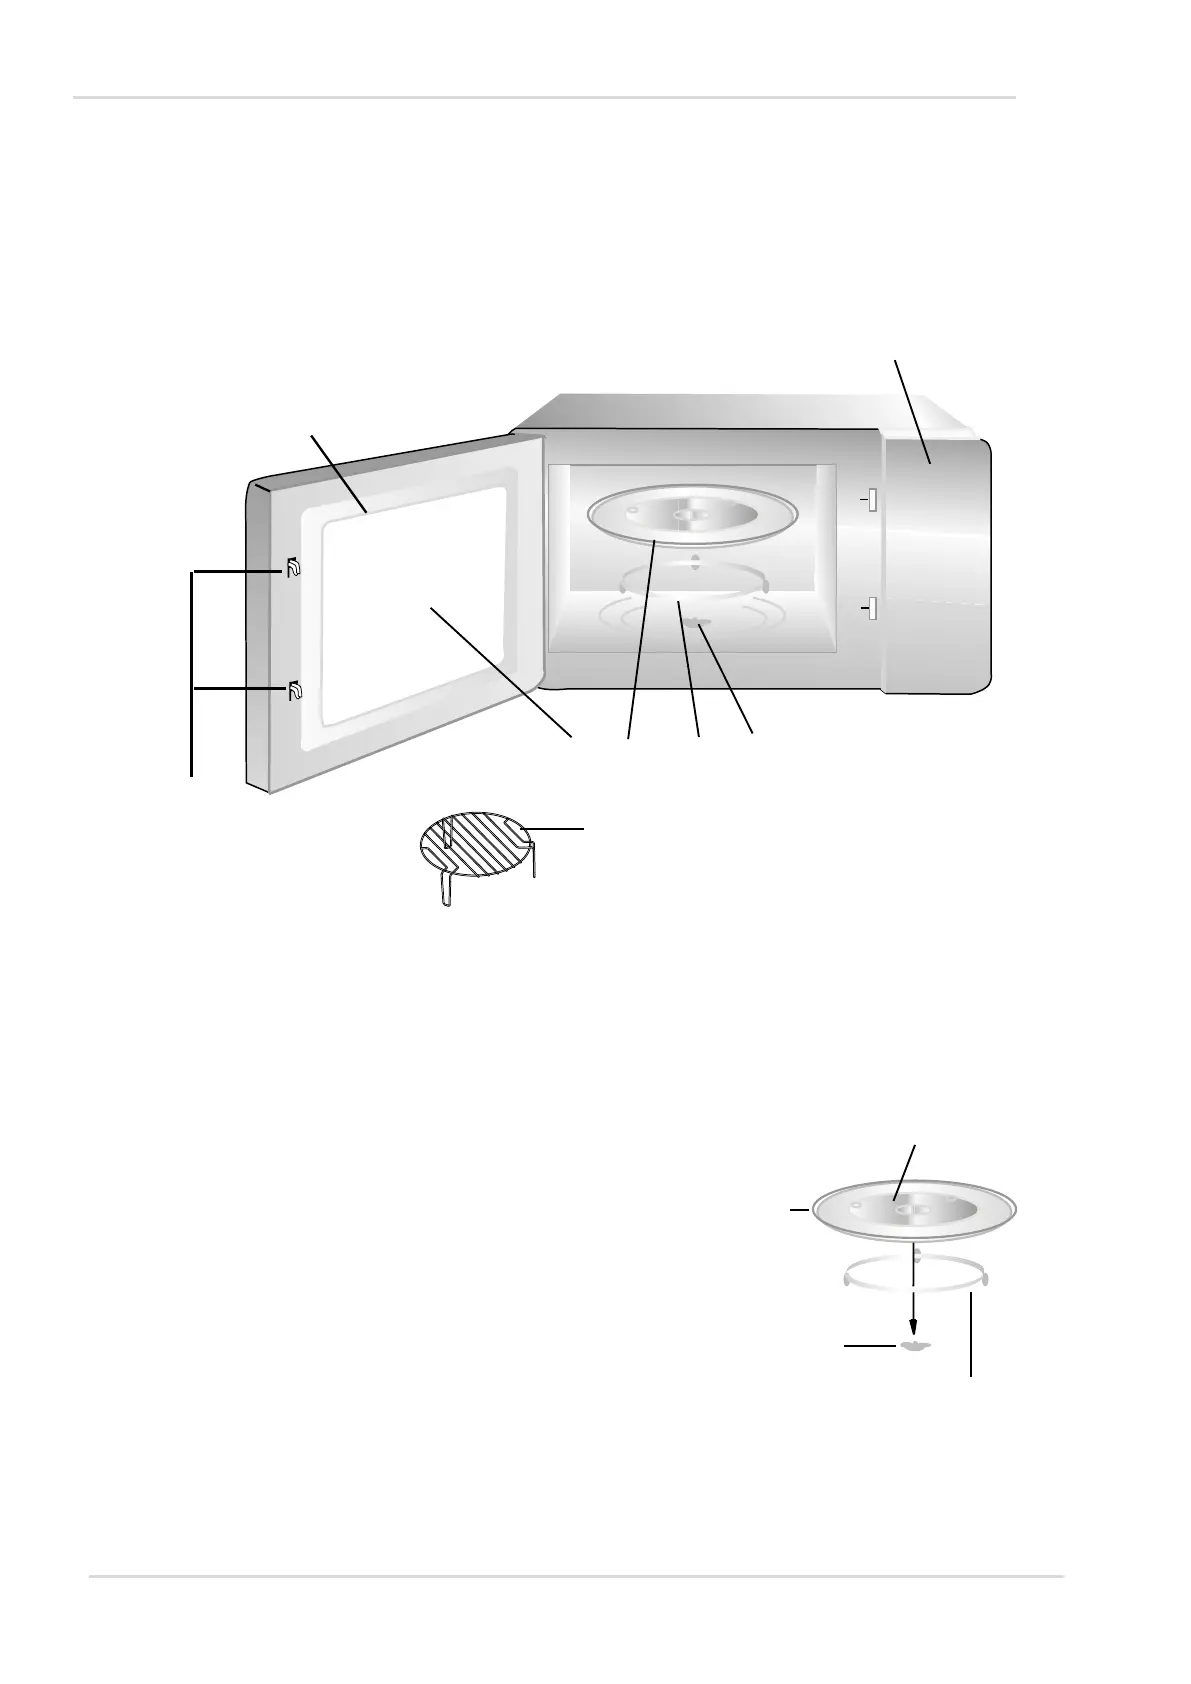
Refer to the names of the oven’s parts and accessories. Remove the oven and
everything else from the box. Empty the oven. The following accessories come
with the oven:
• Glass turntable (1).
• Turntable ring (1).
• User manual (1).
TURNTABLE INSTALLATION
1. Never place the glass tray upside down.
The glass tray should never be restricted.
2. Both glass tray and turntable ring assembly
must always be used during cooking.
3. All food and containers of food are always
placed on the glass tray for cooking.
4. If glass tray or turntable ring assembly cracks or breaks,
contact your nearest authorized service center.
A) Control panel
B) Cog
C) Turntable ring
D) Glass turntable
E) Oven window
F) Window hatch frame
G) Safety catches
H) Grill stand (use only with the
grill function, place on the glass
turntable)
Hub (underside)
Turntable ring assembly
Glass tray
Turntable shaft
 Loading...