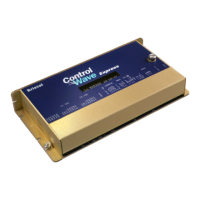
ControlWave Express Instruction Manual (CI-ControlWave Express)
Revised Mar-2011 Installation 2-11
o 1-to-2 Installed = COM3 is RS-232
o 2-to-3 Installed = COM3 is RS-485
W14: COM3 configuration selection:
o 1-to-2 Installed = COM3 is RS-232
o 2-to-3 Installed = COM3 is RS-485
W15: COM3 configuration selection:
o 1-to-2 Installed = COM3 is RS-232
o 2-to-3 Installed = COM3 is RS-485
W16: COM3 configuration selection:
o 1-to-2 Installed = COM3 is RS-232
o 2-to-3 Installed = COM3 is RS-485
W17: Input power selection (controls solar power shunt regulation.
Not applicable for +24Vdc CPUs:
o 1-to-2 Installed = 6V power
o 2-to-3 Installed = 12V power
W18: COM1 connector selection:
o 1-to-2 Installed = connector J4 (D connector) is active
o 2-to-3 Installed = alternate connector J11 is active
2.3.3 General Wiring Guidelines
ControlWave Express terminal blocks use compression-type
terminals that accommodate up to #16 AWG wire.
When making a connection, insert the bare end of the wire (approx
¼” max) into the clamp adjacent to the screw and secure the screw.
To prevent shorts, ensure that no bare wire is exposed. If using
standard wire, tin the bare end with solder to prevent flattening and
improve conductivity.
Allow some slack in the wire while making terminal connections.
Slack makes the wires more manageable and helps minimize
mechanical strain on the terminal blocks.
2.3.4 Wiring Power to the CPU/System Controller Board
Caution
At this time you can connect power wiring. However; for safety reasons
and to prevent accidental damage to your bulk DC power supply, do not
connect the pluggable terminal block connectors TB1 and TB2 to the
CPU/System Controller board until after you install, wire, ground, and
configure the entire unit.
Follow the instructions in Section 2.3.3 General Wiring Guidelines wh
en
wiring connections.