11
© 2015 Emerson Climate Technologies, Inc. All rights reserved.
AE4-1395 R5
recovered from the compressor before
proceeding.
6. Using tubing cutters, cut the modulation tubing
close to the valve body leaving the valve tubing
stubs in the suction 'T' connection and the swaged
tubing from the compressor top cap.
7. Carefully unbraze and remove the tubing stubs from
the suction 'T' and top cap tubing swage. Carefully
unbrazing and removing these stubs will allow the
tubing/suction'T'ttingtobereused.
8. Afterthesettingshavecooled,cleanthettings
and prepare to braze the new valve in place. Wrap
a wet rag around the valve body to keep from
overheating the valve.
9. Using standard brazing practices for refrigeration
systems, carefully braze the new valve into the
system, directing the torch ame away from the
valve body.
10. Check for leaks using nitrogen with a properly sized
regulating and relief valve.
11. Install the solenoid coil and torque the retaining
screw to 25 in-lbs.
12. Evacuate the compressor/system and put the
system back into operation.
Modulation Valve Replacement Procedure
ZPD103KC, ZPD120KC, ZPD137-182KC and
ZRD94-125KC
The ZPD103KC, ZPD120KC, ZPD137-182KC and
ZRD94-125KC digital scroll compressors have a
modulation valve that is replaceable in the event the
valve stops functioning. The modulation valve threads
into a receptacle that is inside the small terminal box on
the compressor. To replace the modulation valve, follow
these recommended steps:
1. Disconnect and lockout the power to the unit.
2. Recover the refrigerant charge from the compressor/
system.
3. Remove the cover from the small terminal box and
remove the screw holding the coil to the valve using
a Phillips screwdriver or appropriate size nut driver.
4. Remove the coil from the valve and clean the area
around the valve body to prevent debris and dirt
from entering the system when changing the valve.
5. Using manifold gauges, double check to make
sure the refrigerant charge is completely
recovered from the compressor before
proceeding.
6. Using a 7/8” deep well socket and ratchet, turn the
valve counterclockwise to remove the valve.
7. Visually inspect the valve receptacle on the
compressor for damage or debris. Ensure that the
black o-ring and white PTFE gasket are removed
with the valve and do not remain on the valve
receptacle.
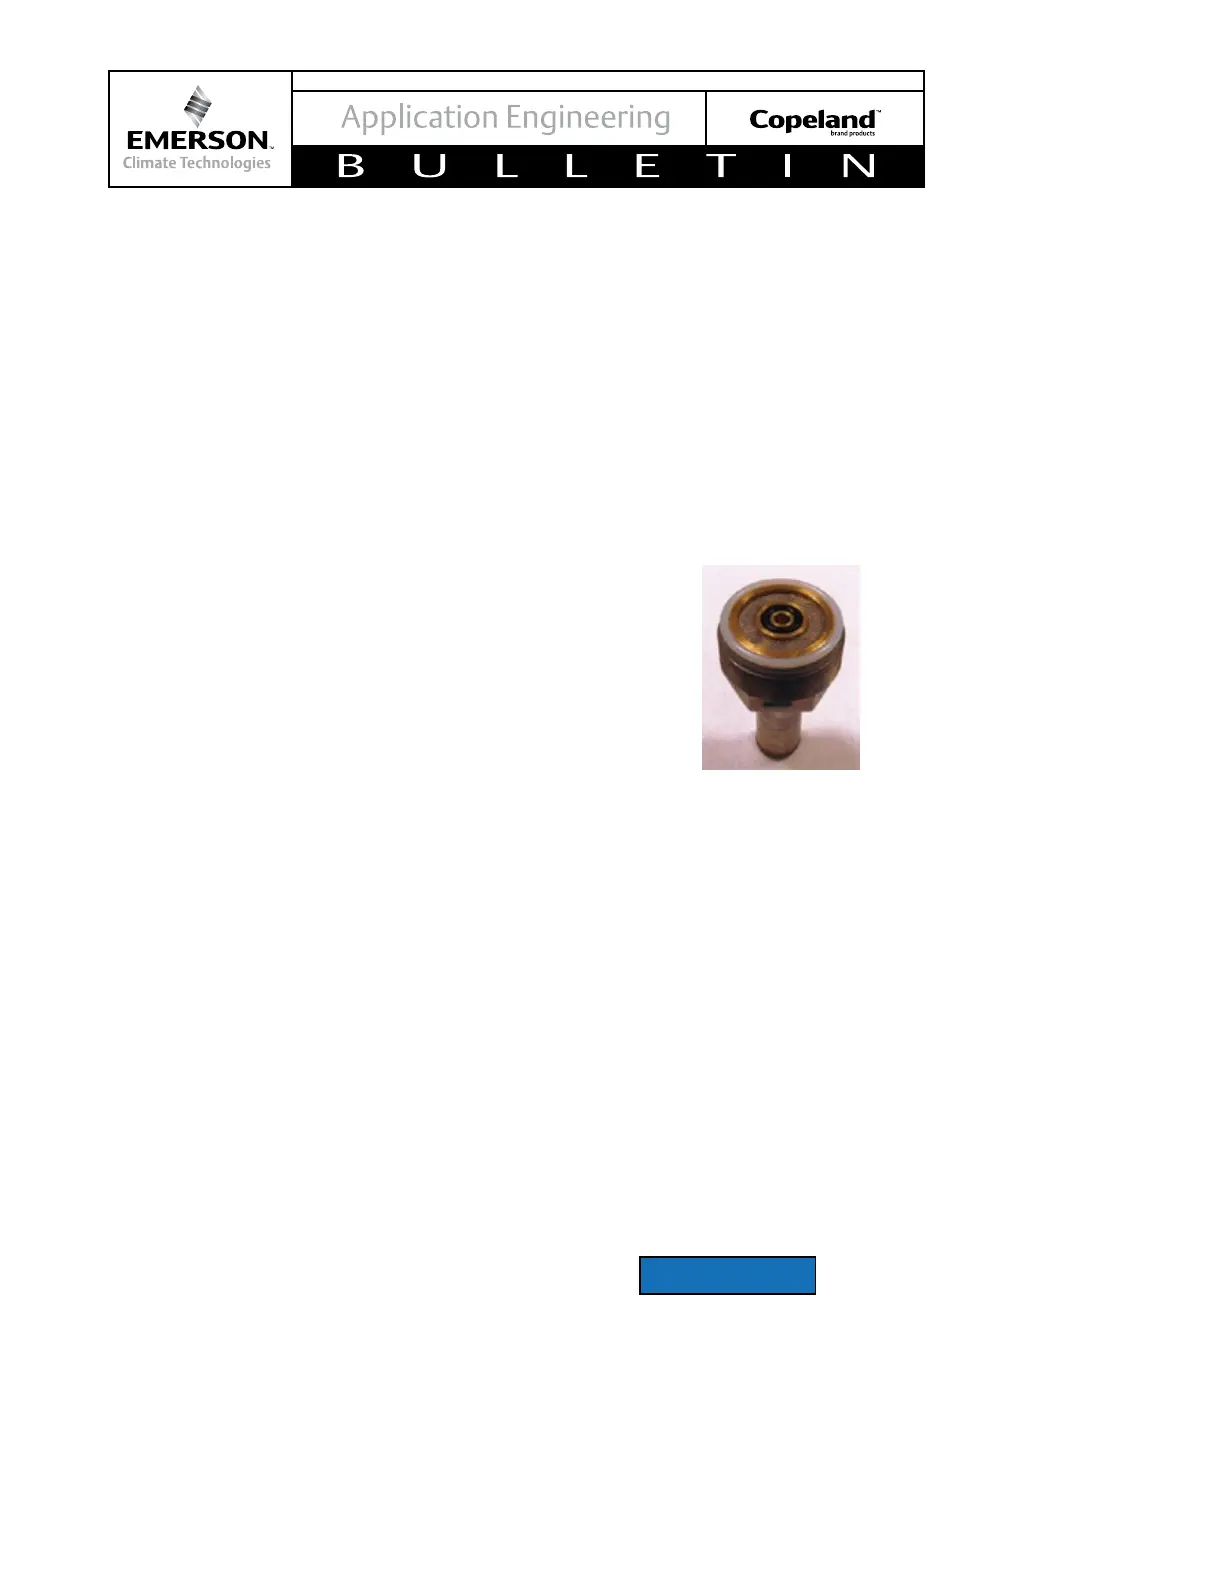
8. The replacement valve should have a new,
black o-ring and white, PTFE gasket as shown:
9. Use care when handling the replacement
valve – don’t drop the valve or impact the
solenoid stem. If the valve is dropped or
damaged, discard it and obtain a new valve
for replacement.
10. Lightly oil the gaskets with refrigeration oil and
hand tighten the new modulation valve into the
valve receptacle on the compressor.
11. Using a 7/8” deep well socket and a torque wrench,
torque the modulation valve to 230 in-lbs.
12. Check for leaks using nitrogen with a properly
sized regulating and relief valve.
13. Install the solenoid coil and torque the retaining
screw to 25 in-lbs.
14. Install the terminal box cover, evacuate the
compressor/system, and put the system back into
operation.
The above procedures for changing the
modulation valve are comprehensive. Depending
on the equipment being serviced, additional steps
may be required. Refer to OEM instructions for
more information.
 Loading...