Operating instruction
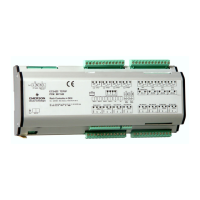
EXD-HP1/2 Controller with ModBus
communication capability
Emerson Climate Technologies GmbH www.climate.emerson.com/en-gb Date: 17.12.2020
Am Borsigturm 31 I 13507 Berlin I Germany EXD-HP12_OI_EN_DE_RU_1220_R06_865921.docx
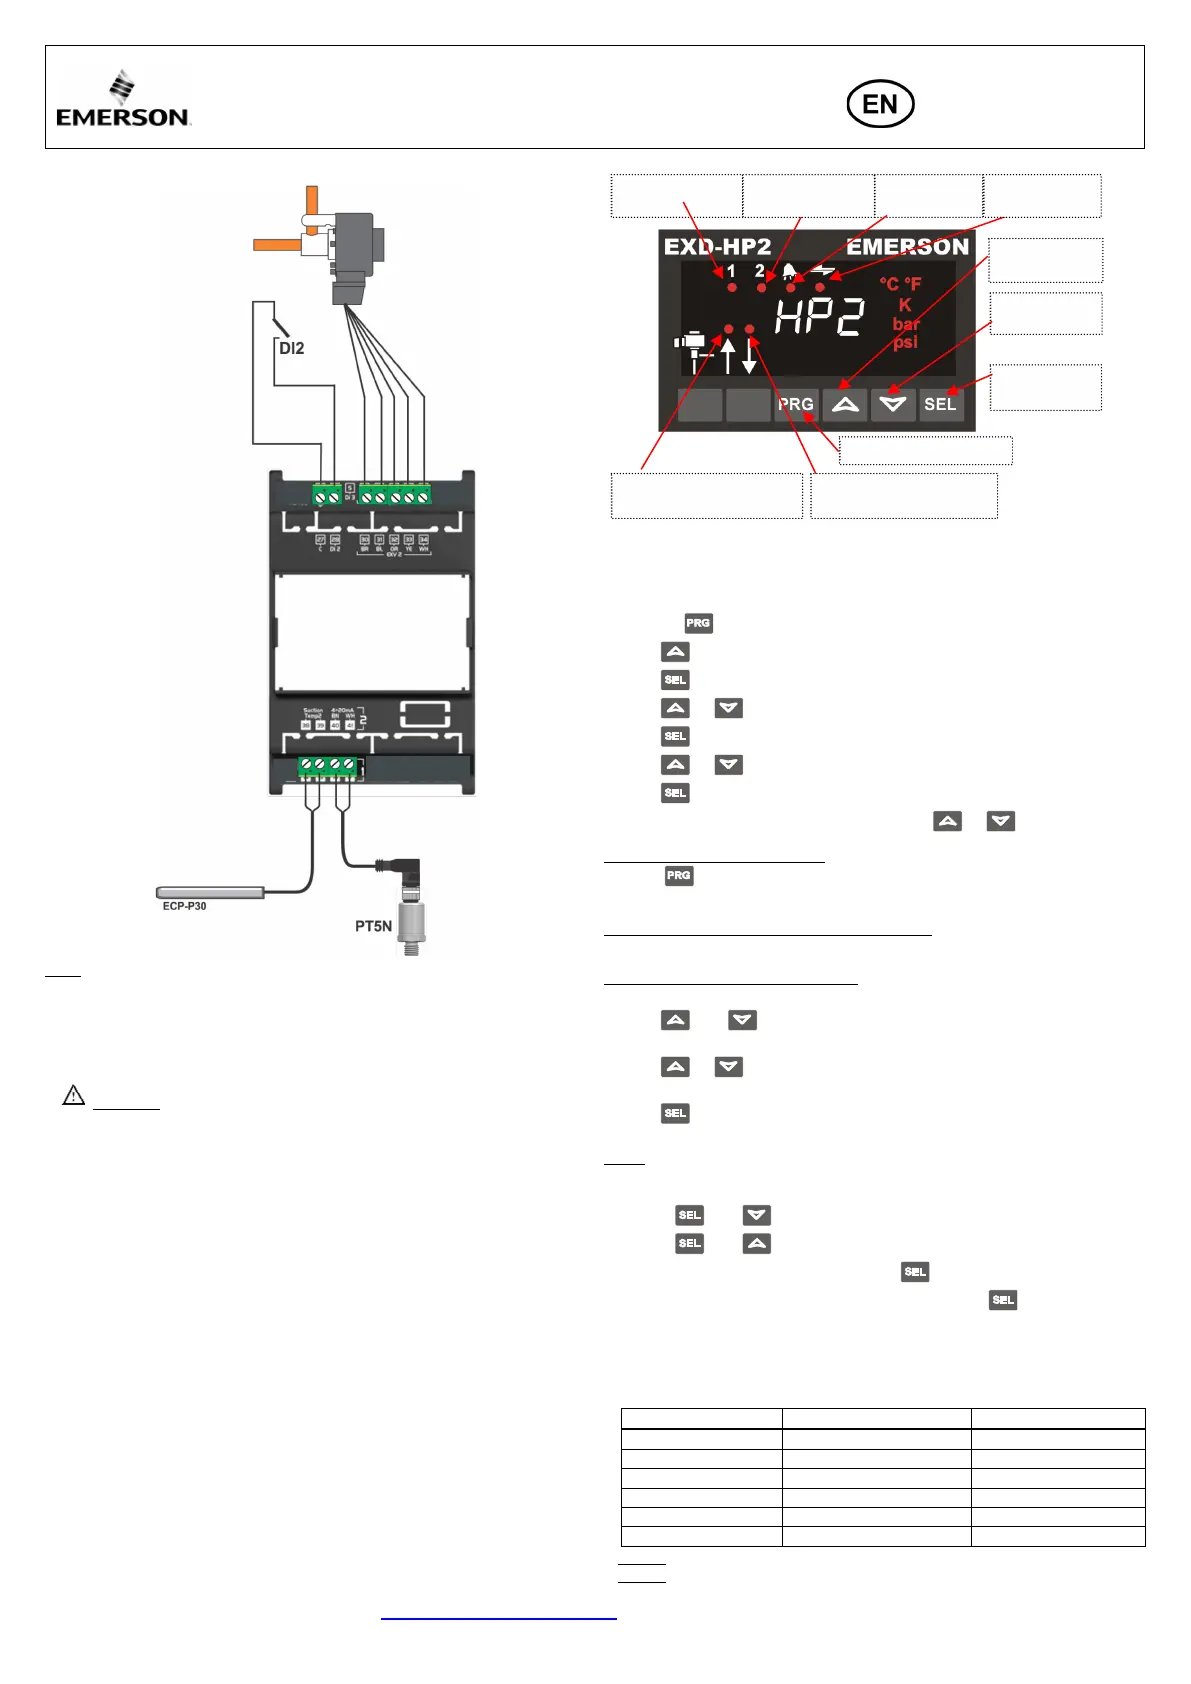
Wiring: Upper board (EXD- HP2):
Note:
• Upper board is only for function of superheat control.
• Upper board does not need to be wired if the circuit 2 is disabled.
Preparation for Start- up:
• Vacuum the entire refrigeration circuit.
• Warning: Electrical Control Valves EXM/EXL or EXN are delivered
partially open position. Do not charge system with refrigerant before closure
of valve.
• Apply supply voltage 24V to EXD-HP1/2 while the digital input (DI1/DI2) is
OFF(open). The valve will be driven to close position.
• After closure of valve, start to charge the system with refrigerant.
Setup of parameters:
(need to be checked/modified before start-up)
• Make sure that digital input (DI1/DI2) is off (open). Turn the power supply ON.
• Four main parameters Password (H5), type of function (1uE), refrigerant type
(1u0/2u0) and pressure sensor type (1uP/2uP) can be set only when digital input
DI1/DI2 is off (open) while the power supply is ON (24V). This feature is for added
safety to prevent accidental damage of compressors and other system components.
• Once the main parameters have been selected/saved the EXD-HP1/2 is ready for
startup. All other parameters can be modified at any time during operation or
standby if it is necessary.
Display/keypad unit (LEDs and button functions):
Procedure for parameter modification:
The parameters can be accessed via the 4-button keypad. The configuration
parameters are protected by a numerical password. The default password is “12”. To
select the parameter configuration:
• Press the button for more than 5 seconds, A flashing “0” is displayed
• Press until “12” is displayed; (password)
• Press to confirm password
• Press or to show the code of the parameter that has to be changed
• Press to display the selected parameter value
• Press or to increase or decrease the value
• Press to temporarily confirm the new value and display its code
• Repeat the procedure from the beginning "press or to show..."
To exit and save the new settings:
• Press to confirm the new values and exit the parameters modification
procedure.
To exit without modifying/saving any parameters:
• Do not press any button for at least 60 seconds (TIME OUT).
Reset all parameters to factory setting:
• Make sure that digital input (DI1/DI2) is Off (open).
• Press and together for more than 5 seconds.
• A flashing “0” is displayed.
• Press or until the password is displayed (Factory setting = 12).
• If password was changed, select the new password.
• Press to confirm password
• Factory setting are applied
Note: In standard mode the actual superheat is shown at the display. In case of liquid
injection and economizer function this change to discharge temperature.
• To display other data of circuit 1 of EXD-HP1/2 or 2 of EXD-HP2:
– Press and together for 3 seconds to show data of circuit 1
– Press and together for 3 seconds to show data of circuit 2
• To display data of each circuit: Press the button for 1 second until index
number according to the below table appears. Release the button and the next
variable data will appear. By repeating above procedure, variable data can be
displayed in a sequence as Measured superheat (K) → Measured suction pressure
(bar) → Valve position (%) → Measured suction gas temperature (°C) →
Calculated saturated temperature (°C) → Measured discharge temperature (°C) (if
economizer function is selected) →REPEATING….
Note 1: Discharge temp. is available only if economizer function is selected.
Note 2: After 30 minutes, display reverts to index 0.
Blinking: valve is closing
ON: valve is fully close
Blinking: valve is opening
ON: valve is fully open
Parameters setting/saving
confirming
Next parameter/
value (higher)
Next parameter/
value (lower)
ON: Data display
Circuit 1
ON: Data display
Circuit 2
 Loading...