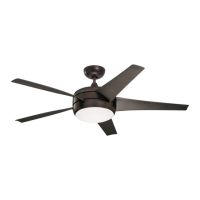
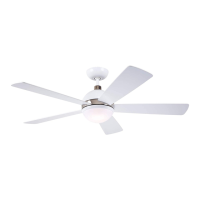
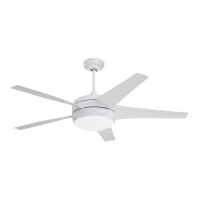
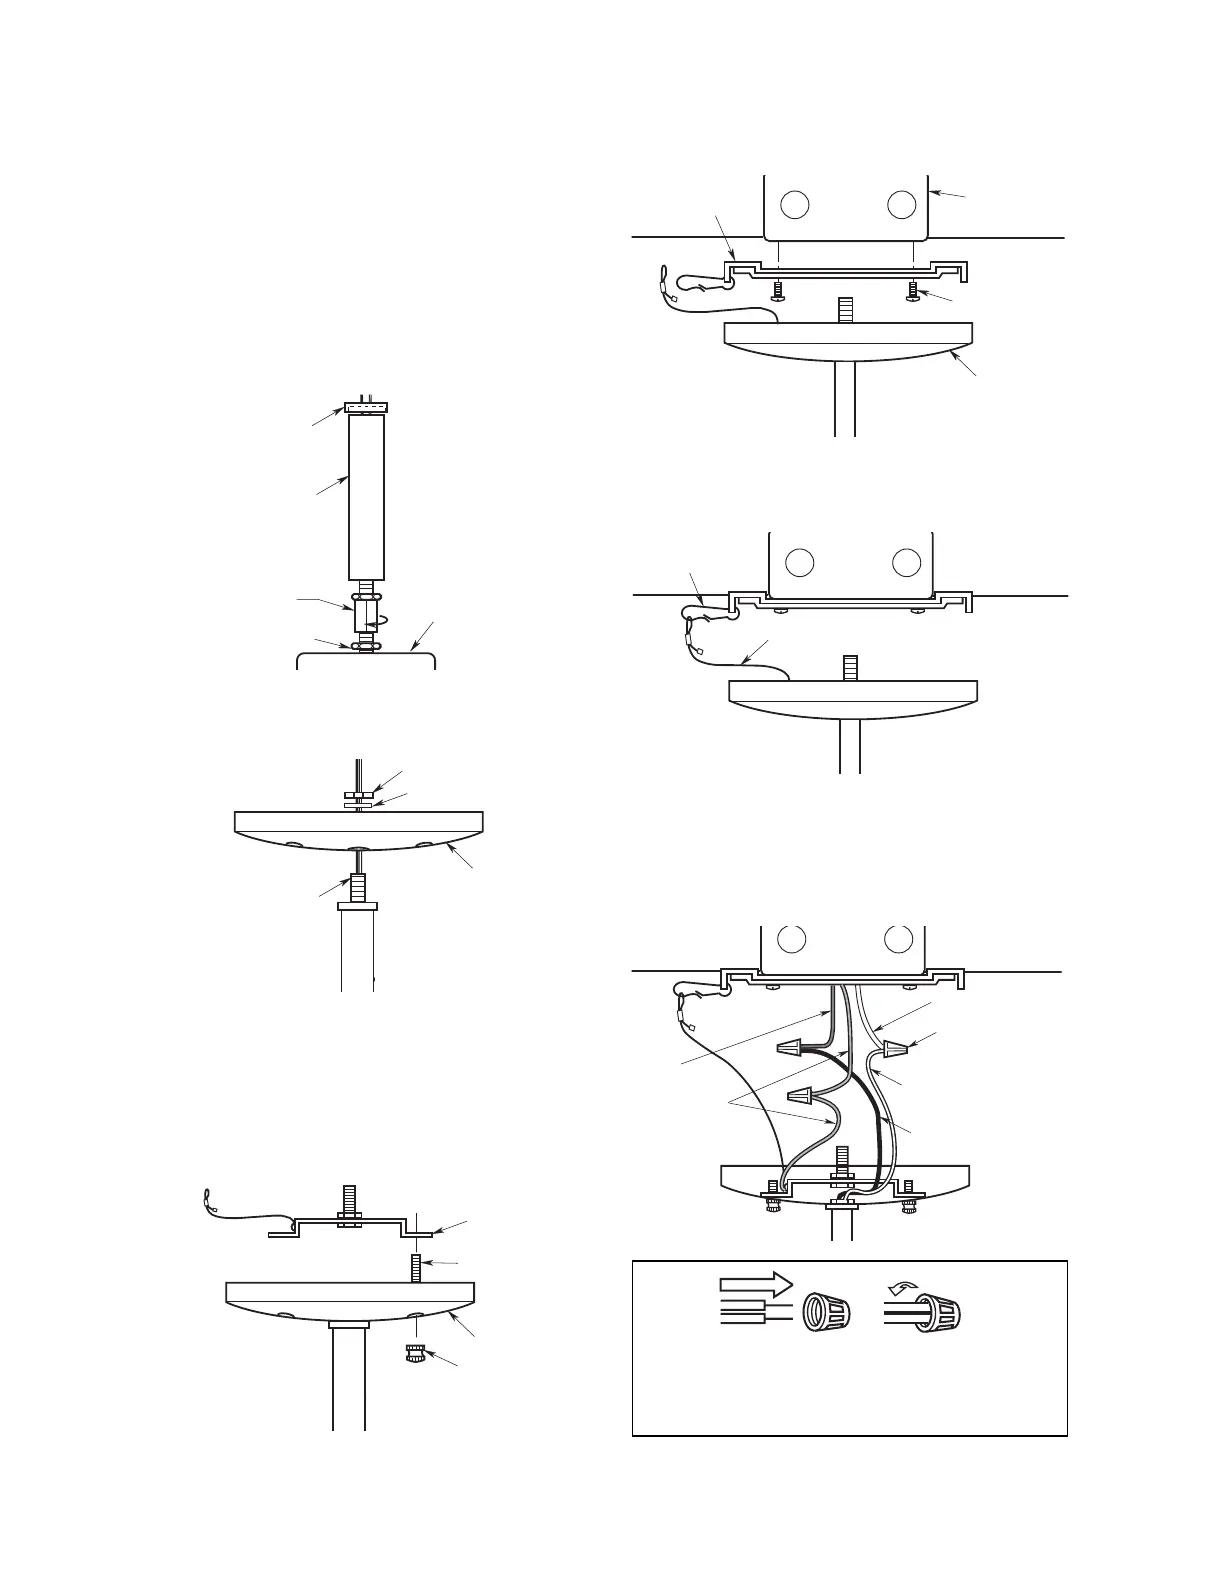
Installation of the Optional
Semi-Flush Ceiling Mount Kit
1. Feed the light fixture wires through the hex nut
and then the threaded rod extension as shown in
Figure 10. Secure the rod extension into the top of
the light fixture by turning the rod clockwise, while
holding the bottom hex nut with a wrench to
secure.
2. Carefully slide the bushing over the threaded rod
extension and then the bushing cap (Figure 10).
Be sure the bushing cap is positioned downward.
3. Feed the light fixture wires through the canopy.
Place the canopy onto the threaded rod exten-
sion, secure with lockwasher and nut (Figure 11).
4. Screw the two threaded studs (supplied) into the
tapped holes in the male bracket. Lift the canopy
up to the threaded studs and turn until studs
protrude through the holes in the canopy. Secure
the canopy in place by installing the two knurled
knobs (supplied) (Figure 12). Tighten the knurled
knobs securely until the canopy fits snugly against
the ceiling (Figure 12).
5
Figure 12
Figure 16
WARNING: To avoid possible fire or electrical
shock, make certain no bare wire strands are
exposed outside wire connectors.
5. Install the female bracket to the ceiling outlet box
using the two screws supplied with outlet box
(Figure 13).
6. Hook the fitter assembly safety cable to the hook
attached to the female bracket to proceed with
wiring of light fixture (Figure 14).
7. Connect the white wire from the light fixture
assembly to the white wire of the outlet box
(Figure 15). Connect the blue wire from the outlet
box to the black wire of the light fitter assembly.
Use listed wire connectors to make connections
(Figures 15 and 16).