ALX-HZ (SIG) INSTRUCTIONS Page 3
Installation Instructions:
EMG Model: ALX (Alexi Laiho Signature Guitar Installation)
Diagram #4
EMG-HZ Wire Order:
Pin 1 Green (GRN)
Pin 2 White (WHT)
Pin 3 Braid (GND)
Pin 4 Red (RED)
Pin 5 Black (BLK)
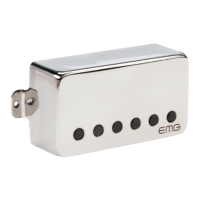
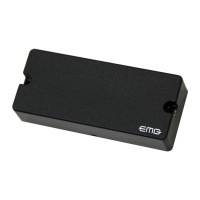
Diagram #4 shows the pickup wiring legend and placing the connector on
the back side of the pickup.
Refer to Diagram #5
Install the pickup into the mounting ring and route the cable into
the control compartment. Be sure the polarity of the connector is correct.
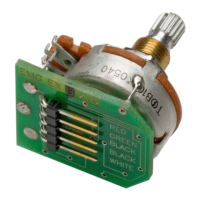
Diagram #5
Diagram #6
Diagram #7
NOTE: The pickup input
connector is reversed.
RED to BATTERY BUSS
PICKUP CABLE
OUTPUT CABLE
Green wire from
the output jack
Black wire from
the Battery Clip
Spade
Connector
Shrink tubing
installed
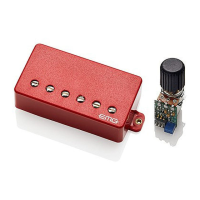
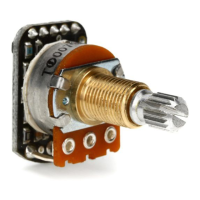
More Boost
No Boost
Gain Trim Pot
Refer to Diagram #6
Insert the connectors onto the ABQ Preamp as shown.
Pickup input cable to pins 1 and 2, and note that the pickup
input connector is reversed.
Output cable to pins 3 and 4.
Red wire from pin 5 to the battery buss.
Refer to Diagram #7
Slip the heat-shrink tubing over the Green wire from the output jack.
Use the Spade connector to join the Green wire from the output jack
to the Black wire of the Battery. Cover the connection with the heat
shrink tubing provided to insulate the connection.
This completes the installation. Be sure to test the pickup and preamp
by tapping on the pickup with a small screwdriver. Also, be sure to insulate
the battery with the foam piece provided.