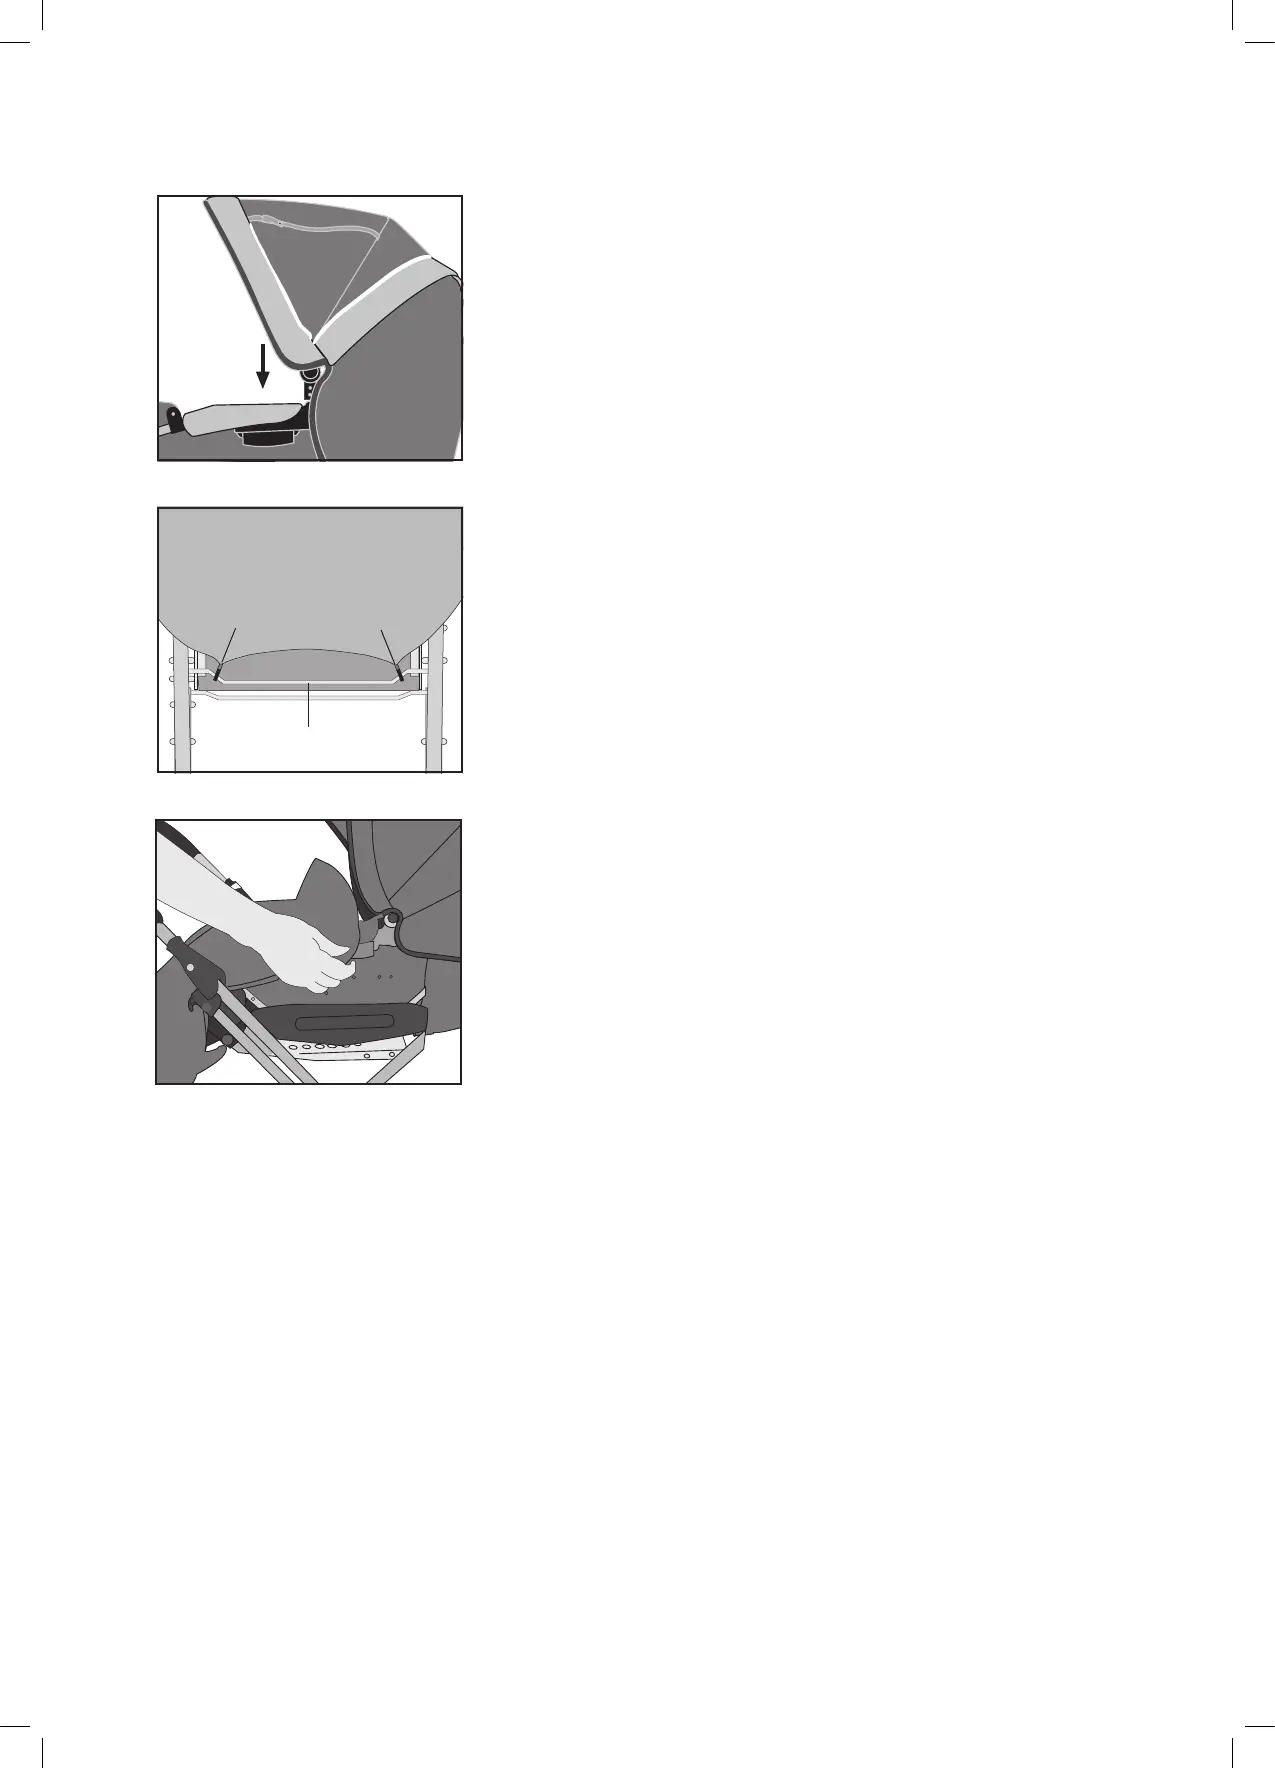
13
15
13
14
10
9
11
30
Manual Nitro City v. 1.8
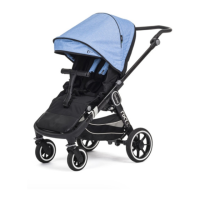
Assembly of seat-unit
• Fasten the two plastic hooks (13) on the hood apron (14), to the
metal bar (15) of the seat adjustment lever.
IMPORTANT
• The hood should always be assembled when the pram is used and
the hooks should be fastened.
Assembly of Hood
• Press the two plastic legs, one on each side of the hood, into the
two plastic holders on the seat frame, one on each side.
Make sure they snap into place.
• Press the press studs into place on both sides of the hood
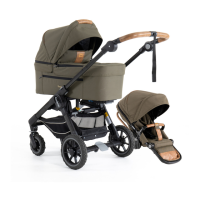
Assembly of Apron (Accessory)
• Slip the apron over the footrest and pull toward the front of the
hood. Snap the apron onto the four press-studs, two on each side
of the hood.
IMPORTANT
• The hood cannot be pushed back with the apron attached.
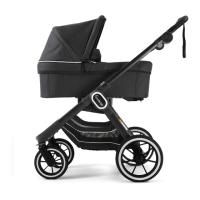
Use of the raincover
• The raincover is attached by placing the raincover over the carrycot
and seat-unit. Please note that there is an opening in the raincover
near the hood opening. Use the raincover that is supplied with the
pram.
• Always use the raincover when it’s raining or snowing. If the pram
is damp before the raincover is attached, wipe off fabrics rst if pos-
sible.
• Make sure that the raincover is completely dry before it is placed
back into it’s bag.
• Make sure the raincover is removed from the pram/stroller after use
in order to avoid condensation forming inbetween the rain cover
and the pram/stroller.