English
9
10
6
7
8
35
Manual Nitro City v. 1.8
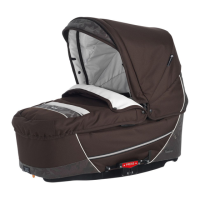
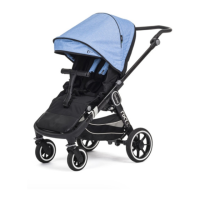
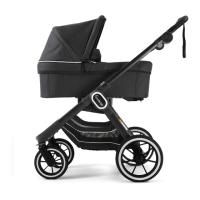
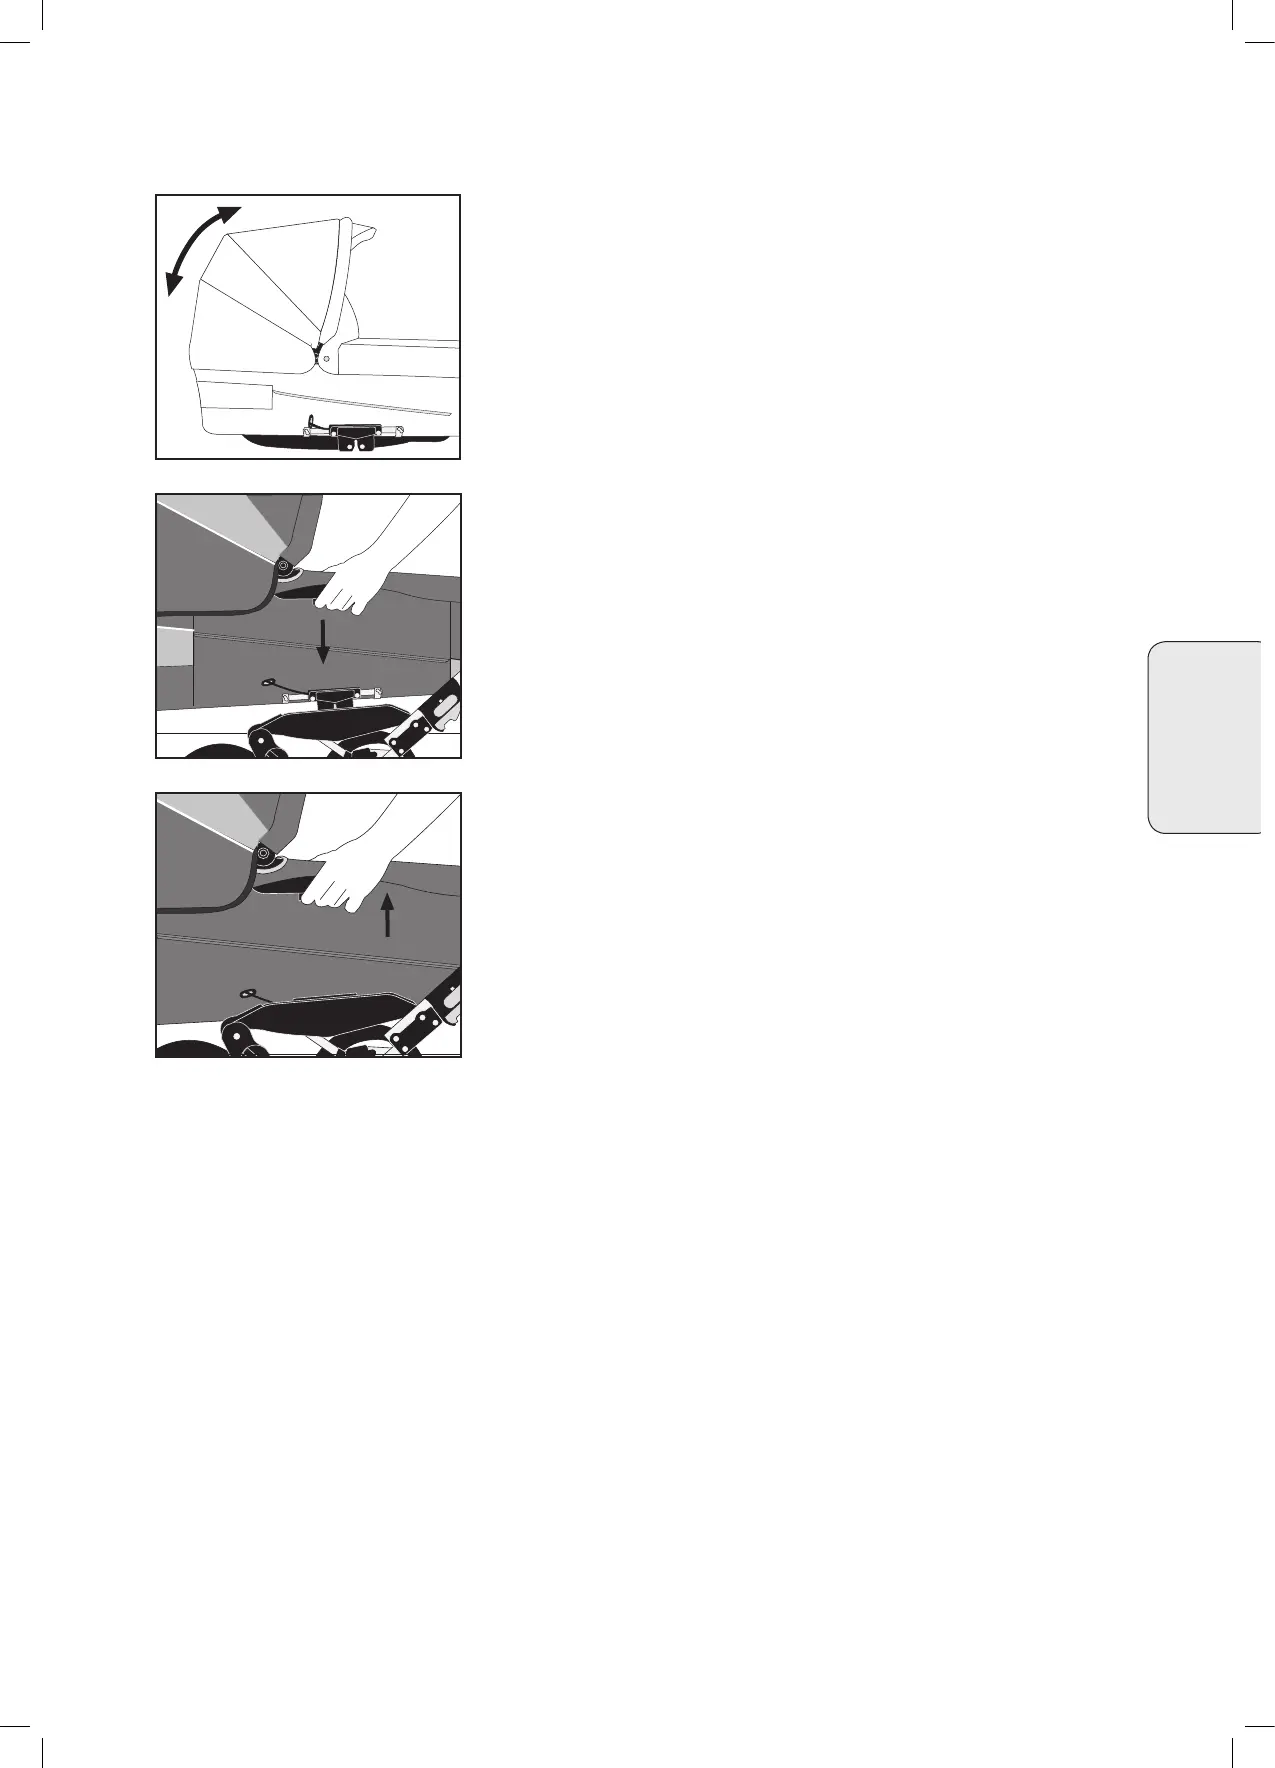
To release the carrycot
• Start by engaging the parking device. Press the Easy Fix grip and
then lift the carrycot straight up (10). When the Easy-Fix can not be
pressed any further, the top part can then be removed.
Use of the rain cover
• The rain cover is attached by placing the rain cover over the
carrycot and seat-unit. Please note that there is an opening in the
rain cover near the hood opening. Use the rain cover that is sup-
plied with the pram.
• Always use the rain cover when it’s raining or snowing. If the pram
is damp before the rain cover is attached, wipe off the fabrics rst if
possible.
• Make sure the rain cover is completely dry before it is placed back
into its bag.
• Make sure the rain cover is removed from the pram/stroller after
use in order to avoid condensation forming in between the rain
cover and the pram/stroller.
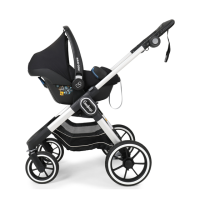
Attachment of the carrycot
• Engage the parking device: Lift the carrycot by handles and push
the Easy Fix pieces into the attachments (9) on both sides of the
chassis until it locks into its position.
WARNING
• Make sure that the top part is in locked position on both sides.
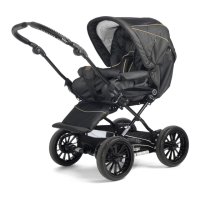
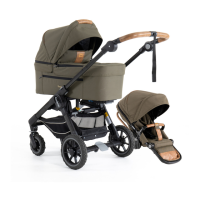
Adjusting the hood
• Adjust the hood by gently pulling the hood forward into desired
position.
• Do not adjust the hood while the apron is attached.
IMPORTANT
• Never carry the carrycot by the hood.
• Never lift the carrycot when it is assembled onto the chassis.
Assembly and usage of the
City Carrycot (Accessory to Nitro City)