4
Basic setting/adaptation
1. Install the thermostatic valve to the radiator and insert the batteries.
2. It is necessary to set the basic data in terms to ensure the thermostatic valve correct performance.
3. After inserting the batteries the value “year” starts ashing on the display, please set:
4. By the thumb-wheel, set: YEAR, MONTH, DAY, HOUR, MINUTE.
5. To conrm the value press the OK button, hence you will automatically move within the menu about one
step further.
6. After the minutes are set the icon INS will start ashing on the display – conrm by pressing the OK but-
ton, then the icon RUN will start ashing on the display – the lift of your thermostatic radiator valve will be
adapted to the radiator’s valve.
7. This process lasts for about 2 minutes.
8. After the successful adaptation process the standard menu will appear on the display:
9. If the adaptation process fails, the following icons will be displayed:
F1 – the lift gap is too long
F2 – the lift gap is too short
10. Repeat the installation process, check if the radiator’s valve is not rusty.
The thermostatic valve setting
• To access the setting mode press the PROG button, by turning the thumb-wheel you can browse the menu.
• The following parameters can be set in the menu:
• Comfort/Cost-saving temperature – Temperature modes – Time and date – DAY--OFF – Travel - Party
Temperature Setting:
• The thermostatic valve enables to set 4 dierent temperature modes:
2× comfort temperature
1, 2
2× cost-saving temperature
1, 2
• Comfort temperature means higher temperature, (there are people in the room), cost-saving temperature means
lower temperature (at night or no people in the room).
The comfort temperature is displayed as a black rectangle , the cost-saving temperature is an empty eld.
• By the thumb-wheel set the desired temperature icon and press the OK button.
• The temperature value starts ashing, by the thumb-wheel set the temperature and conrm by the OK button. Use
the same procedure to set the values at all 4 temperature modes.
Temperature Modes
• It is possible to set the 10 time temperature sequences.
• Press the PROG button and by the thumb-wheel set the PROG function, conrm by pressing the OK button.
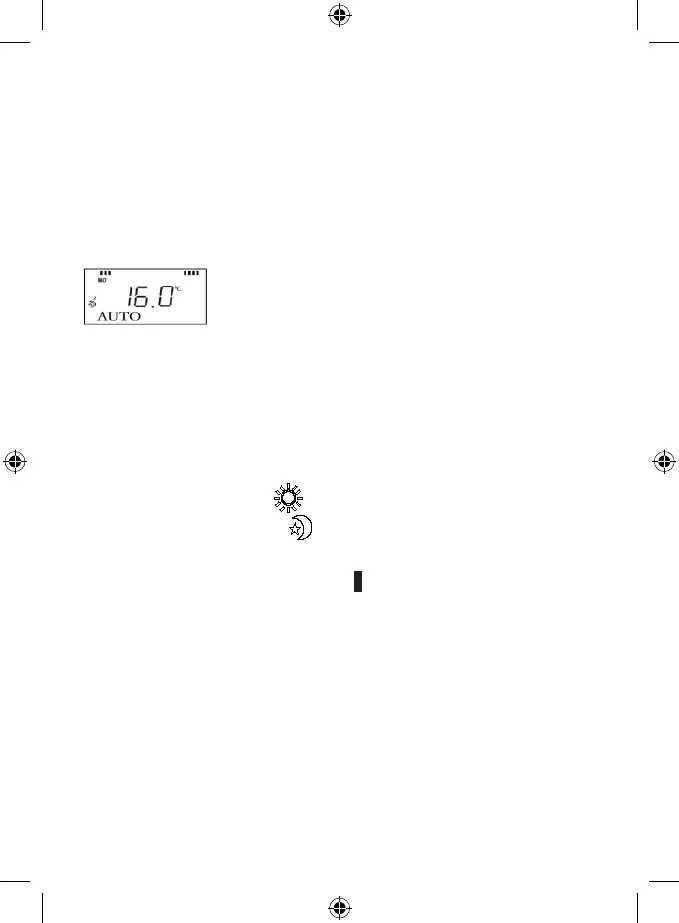
You can choose from the following time sequences (day groups):
• Monday – Sunday (MO TU WE TH FR SA SU)
• Monday – Friday (MO TU WE TH FR)
• Saturday – Sunday (SA SU)
• Single days in a week: MO, TU, WE, TH, FR, SA, SU.
• Select the desired day group and then press OK.
• The time 0:00, P1 will be shown on the display.
• It is possible to set 6 temperature changes in total (7 temperatures altogether) in one day / day group).