WEL-200™ Operating Instructions 8
Document no. 10320104 Revision 2.0 3-1-19
Installation and Operation
1. Receiver Installation
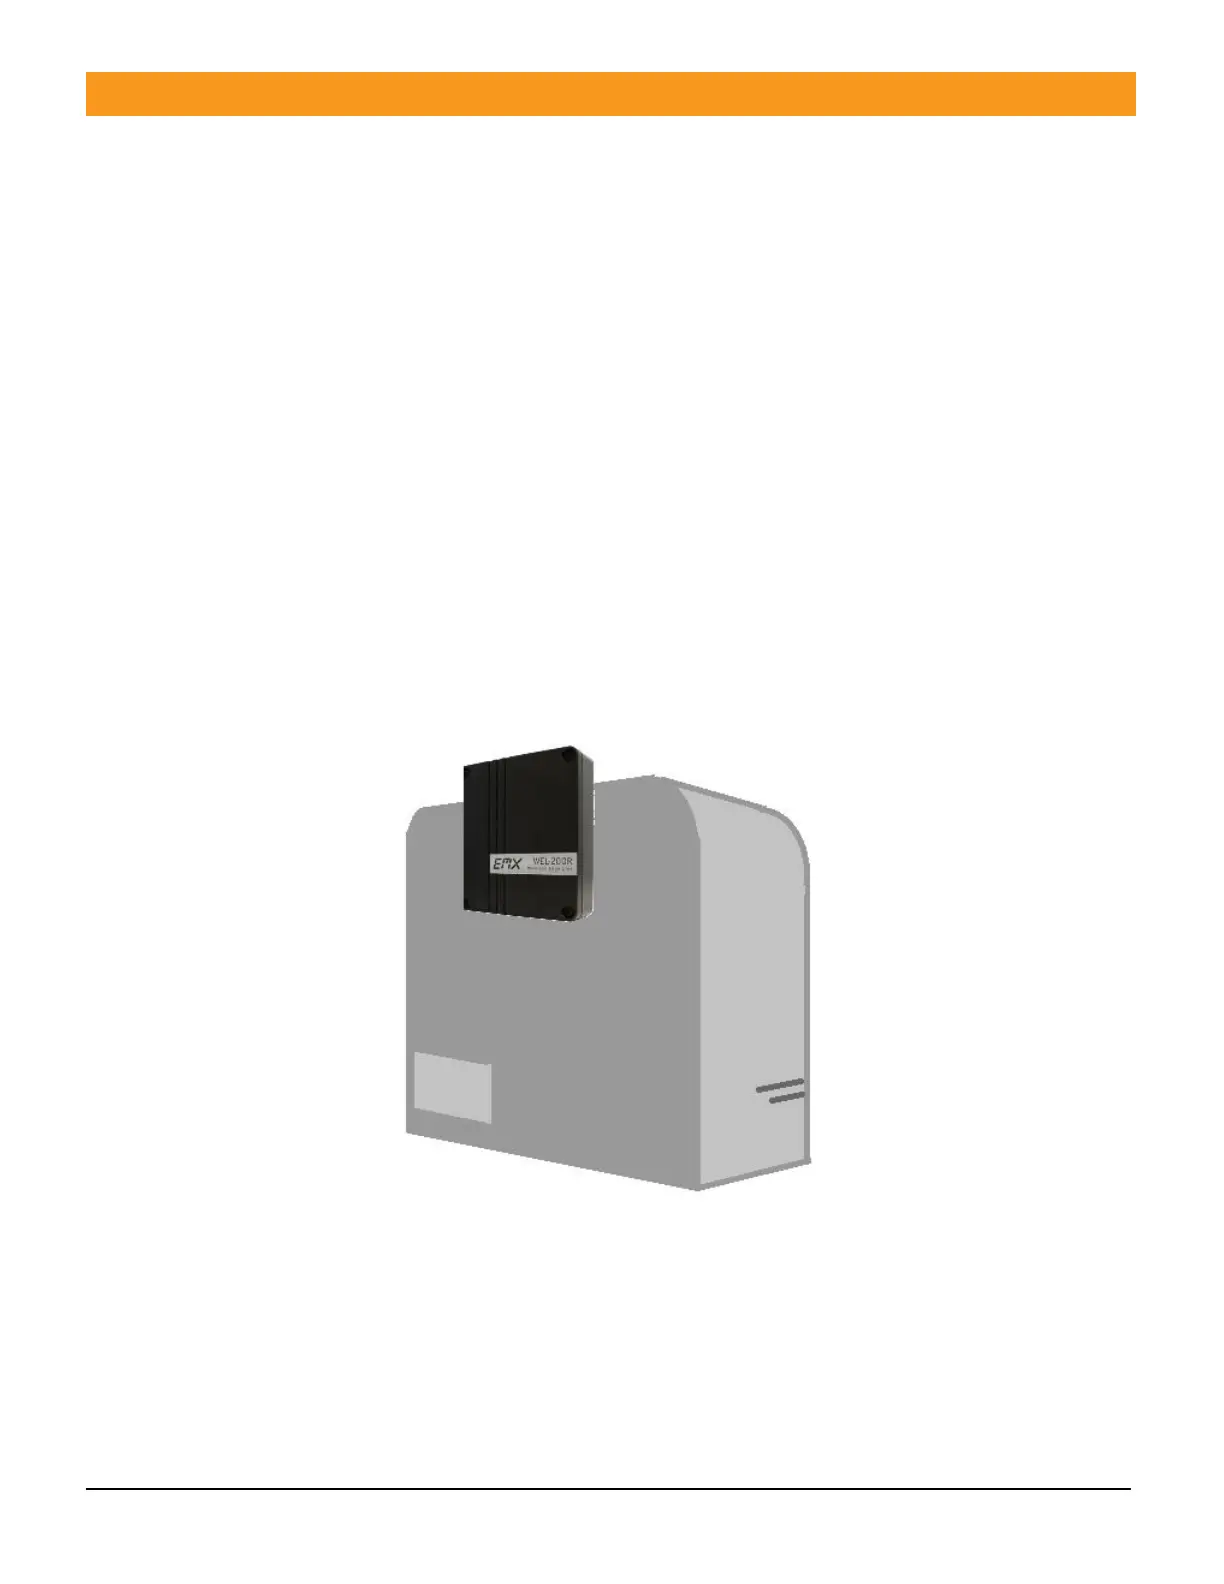
The receiver enclosure can be mounted to the exterior of an operator using four (4) #8 machine
screws, washers, lock washers, and nuts. Ideally, it should be placed in direct line-of-sight with the
transmitters, with no obstructions between the WEL-200R and the WEL-200T.
1. Mount the receiver.
2. Determine the monitoring method required by the operator.
3. Remove the cover. If the monitoring method is using relay contacts, then set the internal DIP
switch settings for each channel to either OPEN or CLOSE direction relay function depending on
the location of each edge.
4. For 10K resistive monitoring, place the jumper in the 10K position for both OPEN and CLOSE
direction relays.
5. Pulse outputs are available for open collector pulse type monitoring.
6. Wire the appropriate output to the operator. Proper installation for cable grip, see below.
7. Connect the power to power terminals.
Mounting extended with antenna above edge of the operator
NOTE: It is recommended to place the RX in a location where there is clear, line of site, between the RX
and all of its TXs. This can be accomplished by extending the top of the RX approximately 1” above the
top edge of the operator, mounting on top of the operator, or on a side that is in line of site with both
edge transmitters.

 Loading...