18/36
For N1–N3
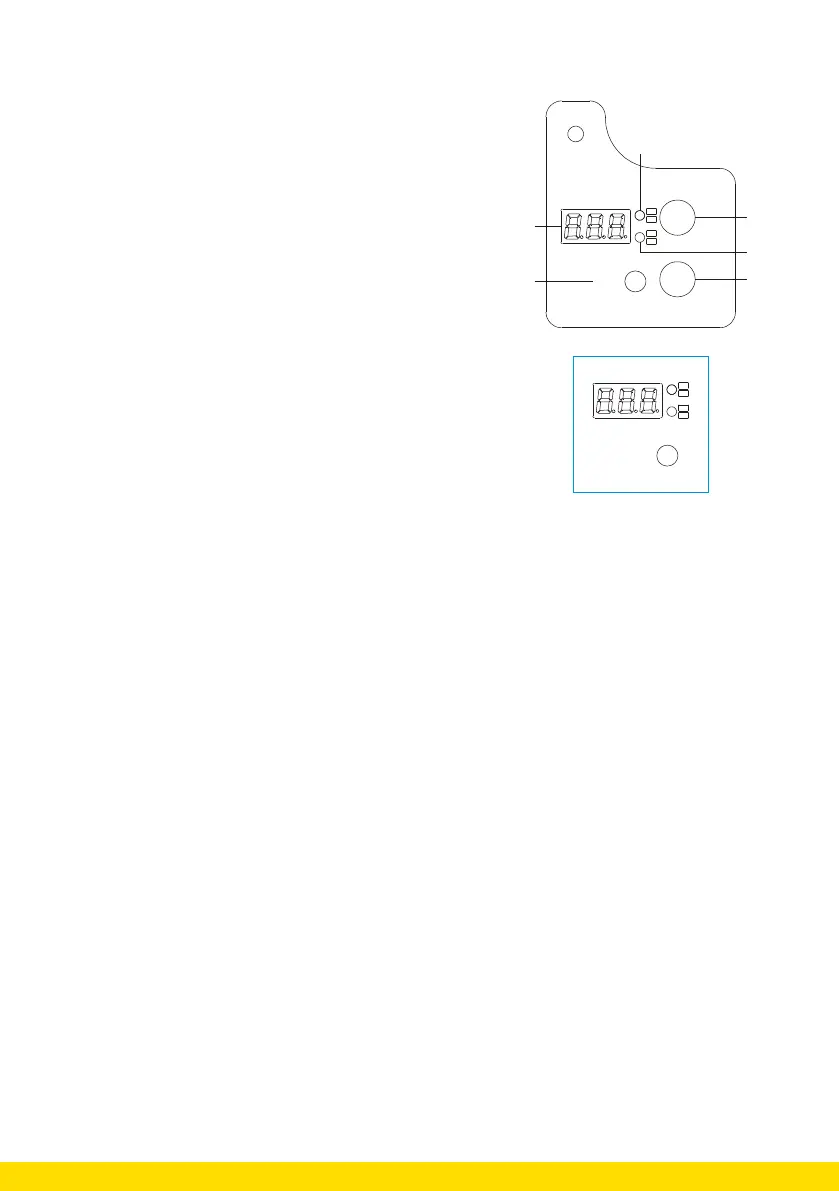
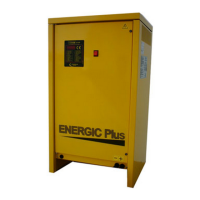
1. Visualisation front high frequency charger
1. LED screen
2. Small LEDs indicating the value
3. LED light showing that the charger is charging
4. Small LEDs indicating the value
5. LED light showing that the charger has stopped
6. Push button to make selections
MODE
END CHARGE
ON CHARGE
Ah
A
t
V
2
As soon as you start the charger, the digital LED screen will
show the following parameters:
• The battery voltage (two-color upper LED)
• Current supplied by the charger (two-color red bottom
LED)
• Time
• Ah that the charger delivers (two-colour green bottom
LED)
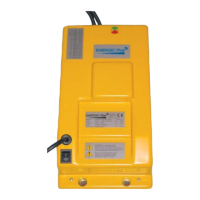
MODE
A
A
t
In CAN bus mode only, pressing the MODE button once will fix the configuration of the parameters
and retain the last value displayed.
Pressing the MODE button again, allows you to change the parameter sequence.
During CG mode, pressing the MODE button will pause the charge or desulphation. Pressing the
button again will restart the high frequency charger from the last point where it stopped.
If you removed the battery, the high frequency charger will reset and will need to be configurated
again
2. How to use the high frequency charger?
Depending on how long you press the MODE button, you can perform various actions:
A. If you press the MODE button for more than 1 second, it means ENTER
B. If you press the MODE button for less than 1 second, it means ROLL.
1. Turn on the high frequency charger while pressing the MODE button.
2. ROLL: Select the CAN Node number.
3. Press the MODE button for more than 1 second so that the high frequency charger enters.
Now you can make a battery selection.
– Select BA1 for lead-acid batteries
– Select BA2 for gel electrolyte batteries.
4. Press ENTER: Confirm your battery type. Now you can make a curve selection.
5. ROLL: Make a curve selection.
The high frequency charger offers a total of five different charging curves. The available selections
are listed below:
– CU1: IUIa curve plus equalisation and maintenance
– CU2: IU1U2ob curve
– CU3: feed curve