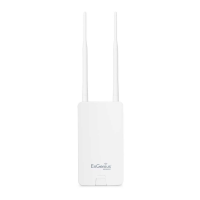
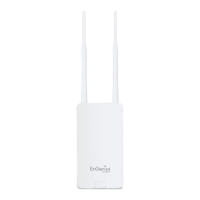
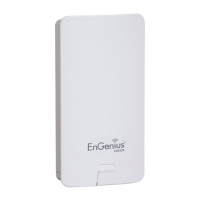
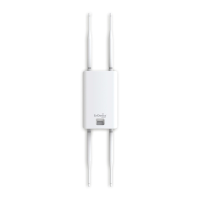
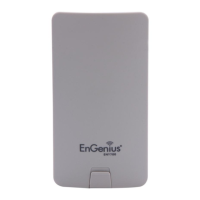
EnGenius ENS200 Quick Start Guide
Access Point Setup
1. Temporarily change the IP address of your computer to:
192.168.1.2
2. Plug in the power supply to the mains and connect to the DC IN socket on the PoE Injector.
3. Connect an Ethernet network cable from the Ethernet port of a computer/laptop to the LAN port of
the PoE injector, then connect an Ethernet cable from the PoE port of the PoE injector to the ENS
200’s LAN(PoE) port. – You should now find that the unit will power up and the PWR LED on the
back will light up as well as an according LAN LED and WLAN LED (That flashes every 5 seconds).
4. Open a web browser such as Internet Explorer and type in the following default IP address of the
device in the address bar:
192.168.1.1
You should be then asked for a username and password, both of which are:
Username: admin
Password: admin
5. Upon entry you will see the Main Status page and on the left hand side the heading Client Bridge at
the top of the menu (Client Bridge is the default operating mode the device is set to.)
From the menu list select Operation Mode found under the System heading. Click the drop down
box for the Country/Region option and select United Kingdom unless elsewhere.
Change the operation mode to Access Point.
Click Save & Apply and wait for the changes to take place.