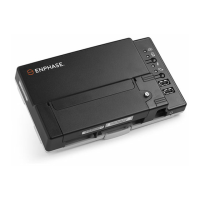
11. Connect the Envoy-S to Enlighten as described in “9. Connect to Enlighten” on page 20.
12. Verify that the new Envoy-S Network Communications LED lights green within five
minutes. If not, follow the network troubleshooting steps on page 36.
13. If possible, log in to Enlighten and add the Envoy-S to the Activation for this system by
clicking “Add Another Envoy” under the “Envoy” section.
14. Verify that the new Envoy-S starts discovering devices within 20 minutes of starting up. If
necessary, use the Enlighten or Device Scan button to start a new device scan during
daylight hours. (See “Initiate a New Scan for Devices” on page 25.)
NOTE: If the old Envoy-S has communicated to the microinverters on the same day that
the new replacement Envoy-S is installed, the new Envoy-S will be unable to discover the
microinverters. Contact Enphase at enphase.com/global/support-request for assistance
in this situation.
15. Assess the power line communications by running a Communication Check from Enlighten
or the Installer Toolkit. If the communication check shows poor power line communications,
relocate the Envoy-S closer to the Switchboard.
16. Contact Enphase Support at enphase.com/global/support-request to have the new Envoy-S
added to your system and to retire the replaced Envoy-S.
17. Ship the old Envoy-S to Enphase using the supplied RMA shipping label.
 Loading...
