4
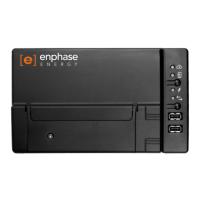
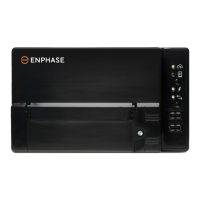
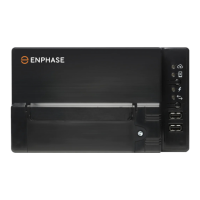
Connect to the Internet
Connect to a broadband router using one of the following
three methods:
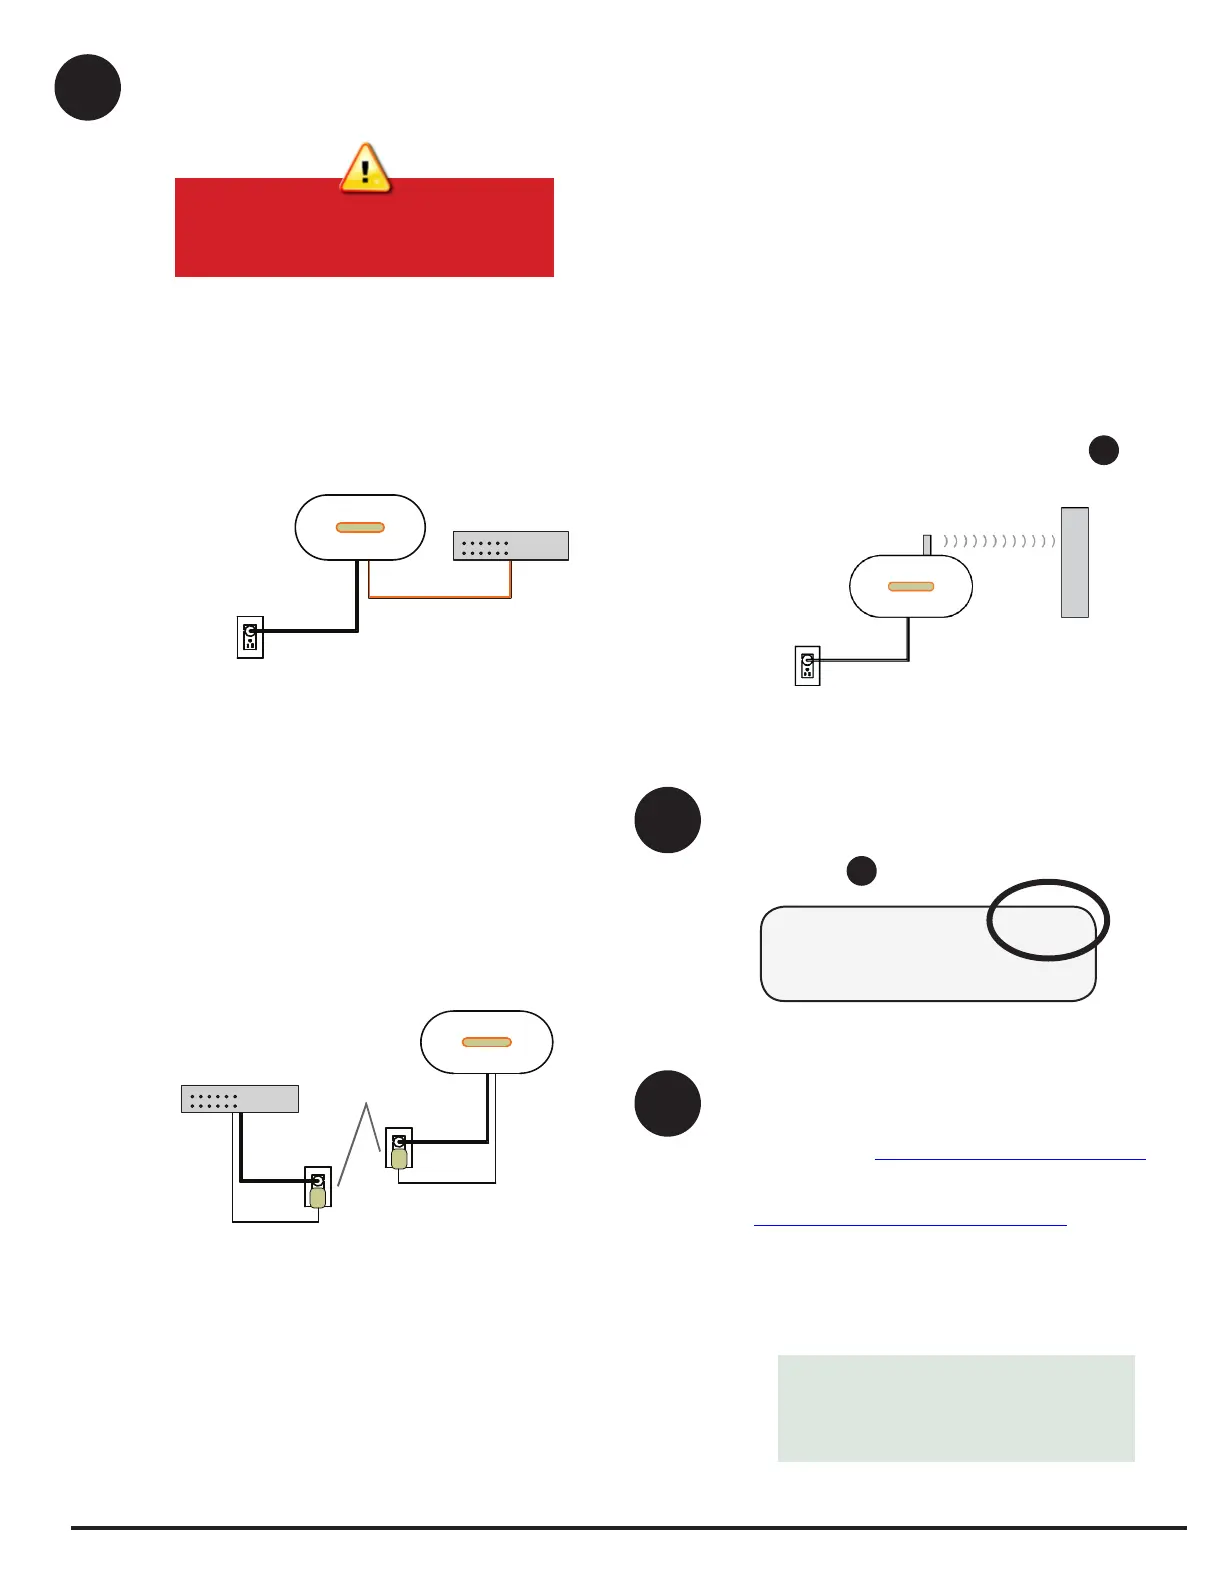
Method A: Ethernet Cable
• Plug the Ethernet cable into the Ethernet port on the
Envoy.
• Plug the other end of the cable into a port on the
broadband router.
Ethernet cable
AC power
cord
broadband
router
Envoy
Warning: Do not remove power from
the Envoy if the LCD displays:
“Upgrading. . . Do Not Unplug.”
Method B: Power Line Communication Bridges
(Included with ENV-120-01)
Use power line communication bridges if the Envoy needs
to be located away from the broadband router.
• Plug one of the bridges into the same AC outlet as the
broadband router and attach an Ethernet cable to the
bridge.
• Plug the other bridge into an AC outlet near the Envoy
and attach the Ethernet cable to the bridge.
• Press and hold the Envoy menu button; release the
button when the LCD displays Get New IP Address.
Envoy
Power line
communication
bridges
broadband
router
Method C: Wi-Fi (Enphase Wireless Adapter)
(Included with ENV-120-02)
Requires a wireless router.
• On the Envoy, verify that no Ethernet cable is plugged
into the Envoy RJ45 port.
• Verify that the startup message on the LCD screen
reads “R3.8” or later.
6
Install the Microinverters and Modules
• Install the PV modules and microinverters as directed
by the installation manuals. For Enphase installation
manuals, go to http://www.enphase.com/support.
• Use the ArrayGun to scan the microinverters. For
more information, go to
http://enphase.com/products/arraygun.
• As an alternative, you can manually build the map:
Peel the removable serial number label from each
microinverter and afx it to the respective location on
the map.
192.168.2.140 +Web
0W 0kWh 0
5
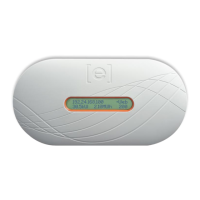
Check the Internet Connection
Look for the + Web indication. If it does not appear within
5 minutes after connecting to the broadband router, see
Troubleshooting
b
.
Envoy
wireless
router
wireless adapter
Refer to the Enphase Microinverter
installation and operation manual for
information on microinverter installation
and commissioning.
- If not, upgrade the Envoy by connecting the En-
voy Ethernet port to the broadband router with
the Ethernet cable that came with the Envoy.
- After the upgrade completes, remove the Ether-
net cable from the Envoy.
• Plug the Enphase wireless adapter into the left USB
port (looking at Envoy from the front), and wait for 10
seconds.
• Press and hold the WPS button on the wireless
router for two seconds. On many routers, the WPS
button ashes at this point.
• Return to the Envoy. Press and hold the Envoy menu
button. Release the Envoy menu button when the
LCD displays Enable Wi-Fi WPS.
• Within two minutes an updated IP address appears
on the Envoy LCD screen. This IP address begins
with a “W” to indicate a wireless connection.
• If the connection fails, see Troubleshooting
a
.

 Loading...