Connecting to the Network
2-26 Installation
Connecting UTP Cables to RJ45 Ports
ThefixedRJ45frontpanel10/100/1000MbpsportssupportAutoMDIX, whichmeansthatyoucan
usestraight‐throughorcrossovertwistedpaircabling.
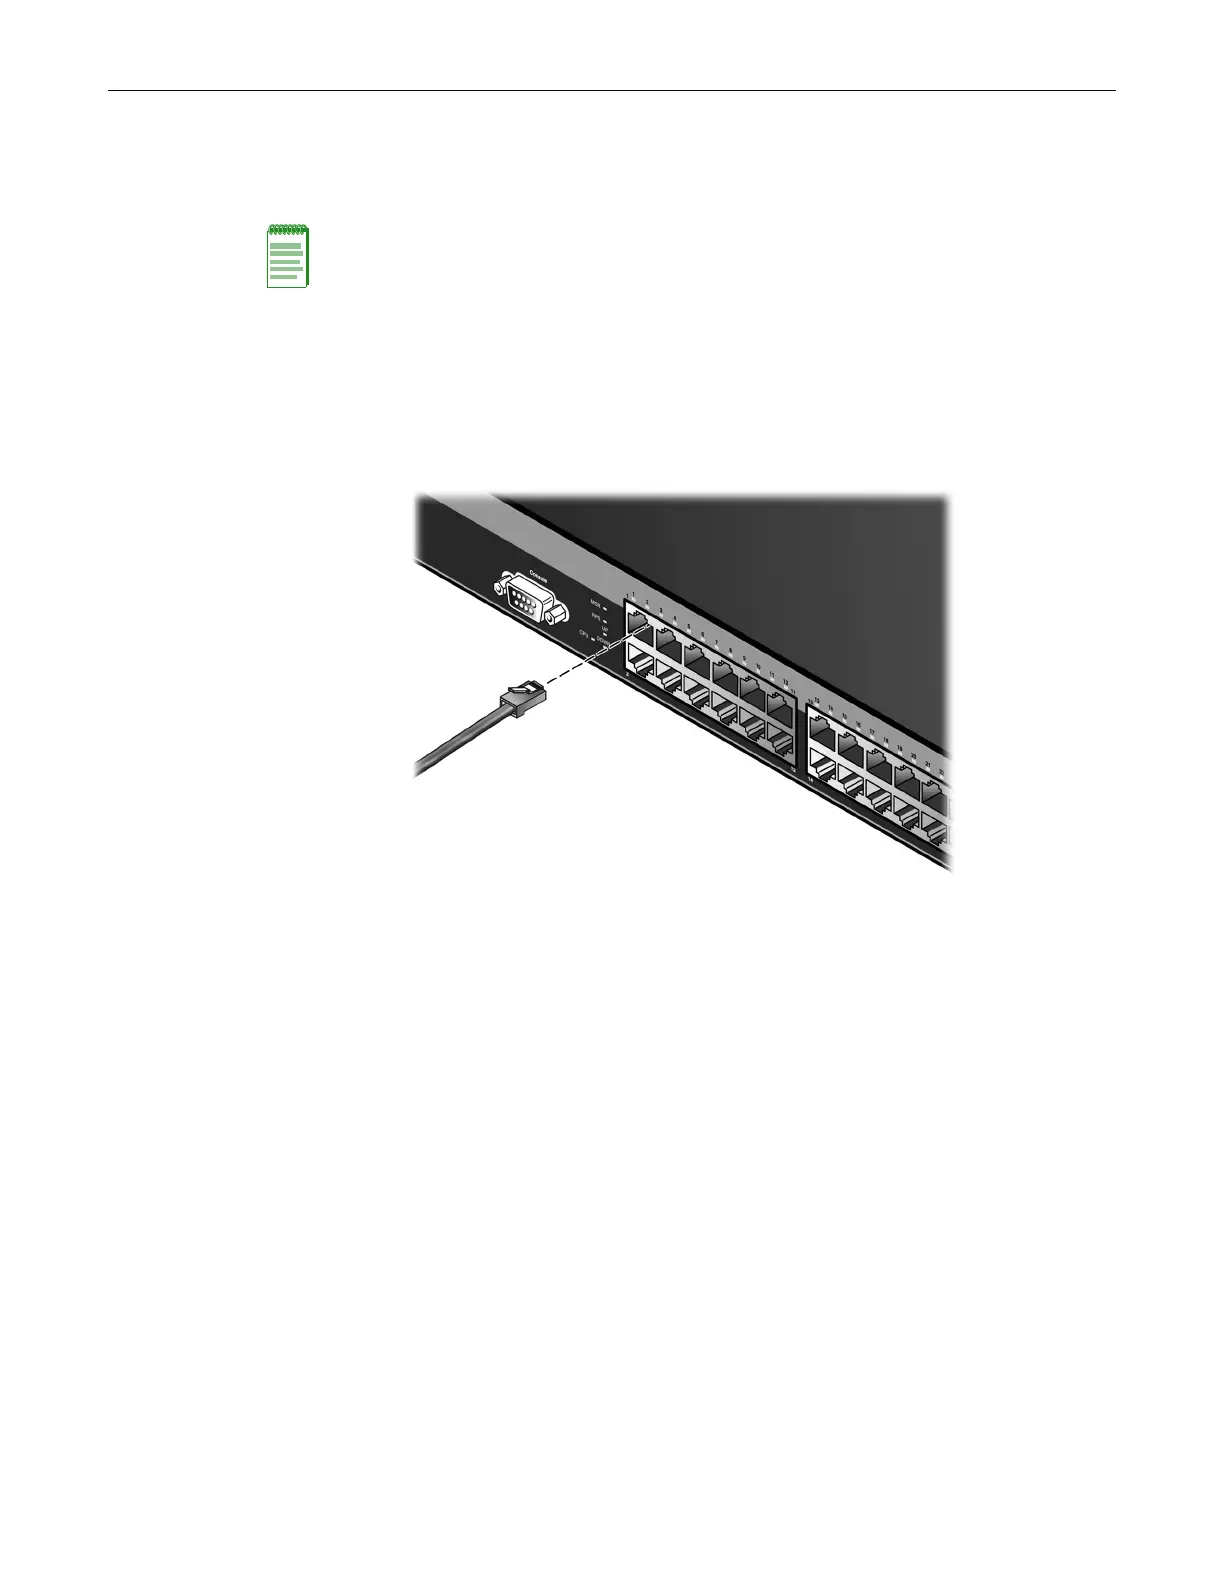
Toconnecttwistedpairsegmentstotheswitch,refertoFigure 2‐18andproceedasfollows:
1. Ensurethatthedevicetobeconnectedattheotherendof
thesegmentispoweredon.
2. ConnectthetwistedpairsegmenttotheswitchbyinsertingtheRJ45connectoronthetwisted
pairsegmentintothedesiredRJ45portontheB5switch.
Figure 2-18 Connecting a UTP Cable Segment to an RJ45 Port
3. VerifythatalinkexistsbycheckingthattheLink/ActivityLEDison(solidgreenorblinking
green).
IftheLink/Activi tyLEDisoff,performthefollowingstepsuntilitison:
a. VerifythatthecablingbeingusedisCategory 5orbetterwithanimpedancebetween85
and111 ohmswithamaximumlengthof100meters(328feet).
b. Verifythatthedeviceattheotherendofthetwisted
pairsegmentisonandproperly
connectedtothesegment.
c. Verifythatthe RJ45connectorsonthetwistedpairsegmenthavetheproperpinoutsand
checkthecableforcontinuity.
4. Ifalinkisnotestablished,contactEnterasys Networks.Referto“GettingHelp”onpage xvii
fordetails.
Repeatallstepsaboveuntil
allconnectionshave beenmade.
Note: All fixed RJ45 front panel ports support Category 5 Unshielded Twisted Pair (UTP) cabling
with an impedance between 85 and 111 ohms. Category 3 cable may be used if the connection is
going to be used only for 10 Mbps.
 Loading...