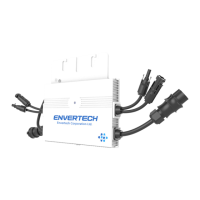
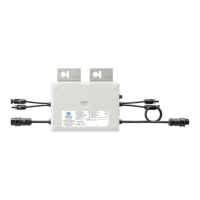
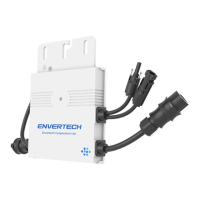
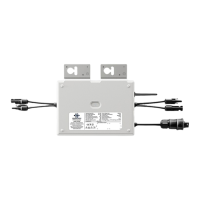
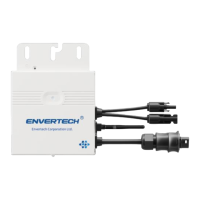
6. Microinverter System Installation
Installing Envertech microinverter system involves several key steps. Each step listed here
is elaborated on the following pages.
Step 1: Mount microinverters onto the rack
Step 2: Grounding
Step 3: Connect microinverters’ AC cables serially
Step 4: Fasten AC cables
Step 5: Seal the unused connector of the AC cable
Step 6: Connect the AC cable to the junction box
Step 7: Mount EnverBridge
Step 8: Prepare AC extension cable
Step 9: Connect PV modules to microinverters
Step10: Switch on the PV system
To install the AC Bus Cable, you just simply unroll the cable to the needed length to make the
cut. Directly connect the AC Bus Cable to the junction box of the branch. Seal the other
cutting end with the end cap to make it isolated from the environment. You should choose
the type of AC Bus Cable according to the orientation of PV module. We suggest the
following type of cable:
You must install the microinverter system under connection
neither to the grid nor to the PV modules (or if not
disconnected, the modules should be shaded)
5.2 Accessories
5.3 Cable Model Selection
7 8
PV Modules
AC extension cable
(AWG12 or above)
AC End Cap
Only qualified personnel may connect the Envertech
microinverter to the utility grid after receiving prior approval from
the electrical utility company.
!
WARNING