9
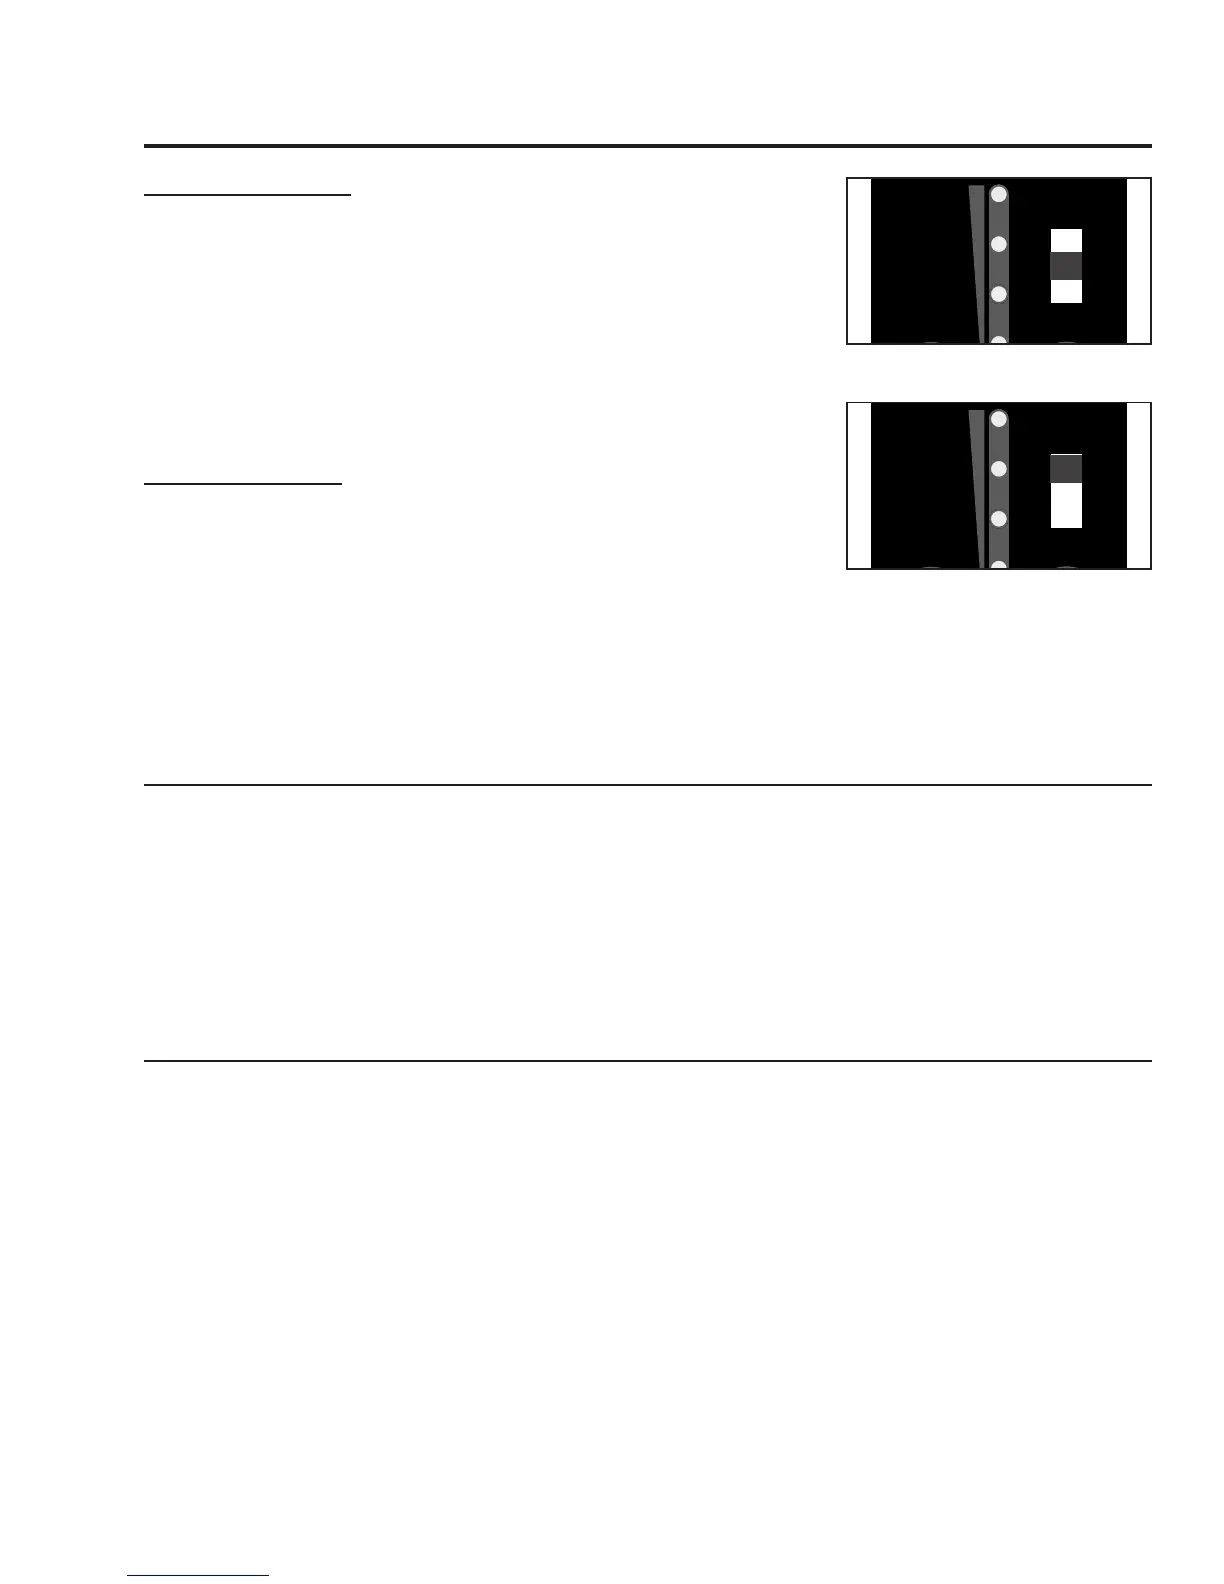
Figure 5: Thermostat Switch in
HIGH/LOW position.
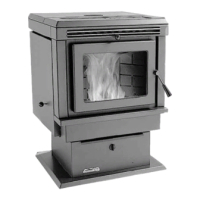
Figure 6: Thermostat Switch in
AUTO/OFF position.
HIGH/LOW MODE: (Requires a thermostat)
INITIAL START-UP: See manual mode above.
OPERATION: When the thermostat calls for heat (contacts are closed)
the stove settings are adjustable as per Manual Mode. When the
thermostat contacts open, the HEAT LEVEL and Fans will drop down to
the LOW setting until the thermostat contacts close again. *The LOW
heat setting can be adjusted for different fuel qualities (see “Operating
instructiOns - cOntrOl BOard FunctiOns”). The stove will come back to
the previous HEAT LEVEL setting when the thermostat contacts close
again.
AUTO/OFF MODE: (Requires a thermostat)
INITIAL START-UP: See manual mode above.
OPERATION: When the thermostat contacts close, the unit will light
automatically. Once up to temperature, the stove operates the same
as in MANUAL. When the thermostat contacts open, the stove’s HEAT
LEVEL and Fans will drop down to the LOW setting for 30 minutes. If
the thermostat contacts close within the 30 minutes, the HEAT LEVEL will return to the previous MANUAL
setting. If the thermostat contacts remain open the stove automatically begins its shutdown routine. The
ON / OFF button can be presses at any time the the stove will immediately shut down. The stove will re-
light when the thermostat contacts close again.
turning your Pellet Stove off:
• MANUAL and HI / LOW mode: To turn the unit OFF, simply press the ON / OFF button. This will stop
the feed of pellets. The blowers will continue to operate and cool the stove down. When cool enough,
the stove will turn off.
• AUTO / OFF mode: To turn the unit OFF, turn the thermostat down or off. NOTE: The unit will run on
low for three (3) minutes before it turns off.
DO NOT unplug unit while Combustion fan is operating.
This may lead to smoke escaping from the stove.
guiDelineS for fine-tuning for fuel Quality:
Due to fuel quality the slider damper and control board trims may need to be fine-tuned.
1. If the unit builds up on all settings, the slider damper rod should be pulled out in small increments to
give the unit more air.
2. If the unit has excessive ash build-up in the liner on the lower feed settings, the Combustion Blower
Trim should be increased one setting at a time until the problem improves (Factory Setting is #2).
3. If the fire is going out on low because the airflow is too great, the Combustion Blower Trim can be
lowered to the #1 setting.
4. If the stove has excesses ash build-up in the liner on the higher settings the Feed Rate Trim should be
trimmed down a setting at a time until the problem improves (Factory setting is #4).
5. If you need more heat and the fuel has long pellets, the majority are over 1” (2.5cm) in length, the
Feed Rate Trim can be moved up to the #5 setting. NOTE: Only do this if the fuel burns without
building up.
Operating Instructions
ON/OFF
FEED RATE
TRIM
COMBUSTION
BLOWER TRIM
HEAT
LEVEL
AUTO/OFF
HIGH
/LOW
MANUAL
C-11825
1
2
3
4
5
ON/OFF
FEED RATE
TRIM
COMBUSTION
BLOWER TRIM
HEAT
LEVEL
AUTO/OFF
HIGH
/LOW
MANUAL
3
4
5
ON/OFF
FEED RATE
TRIM
COMBUSTION
BLOWER TRIM
HEAT
LEVEL
AUTO/OFF
HIGH
/LOW
MANUAL
C-11825
1
2
3
4
5
ON/OFF
FEED RATE
TRIM
COMBUSTION
BLOWER TRIM
HEAT
LEVEL
AUTO/OFF
HIGH
/LOW
MANUAL
3
4
5