PRO 32 & 48 X-AXIS ASSEMBLY
19
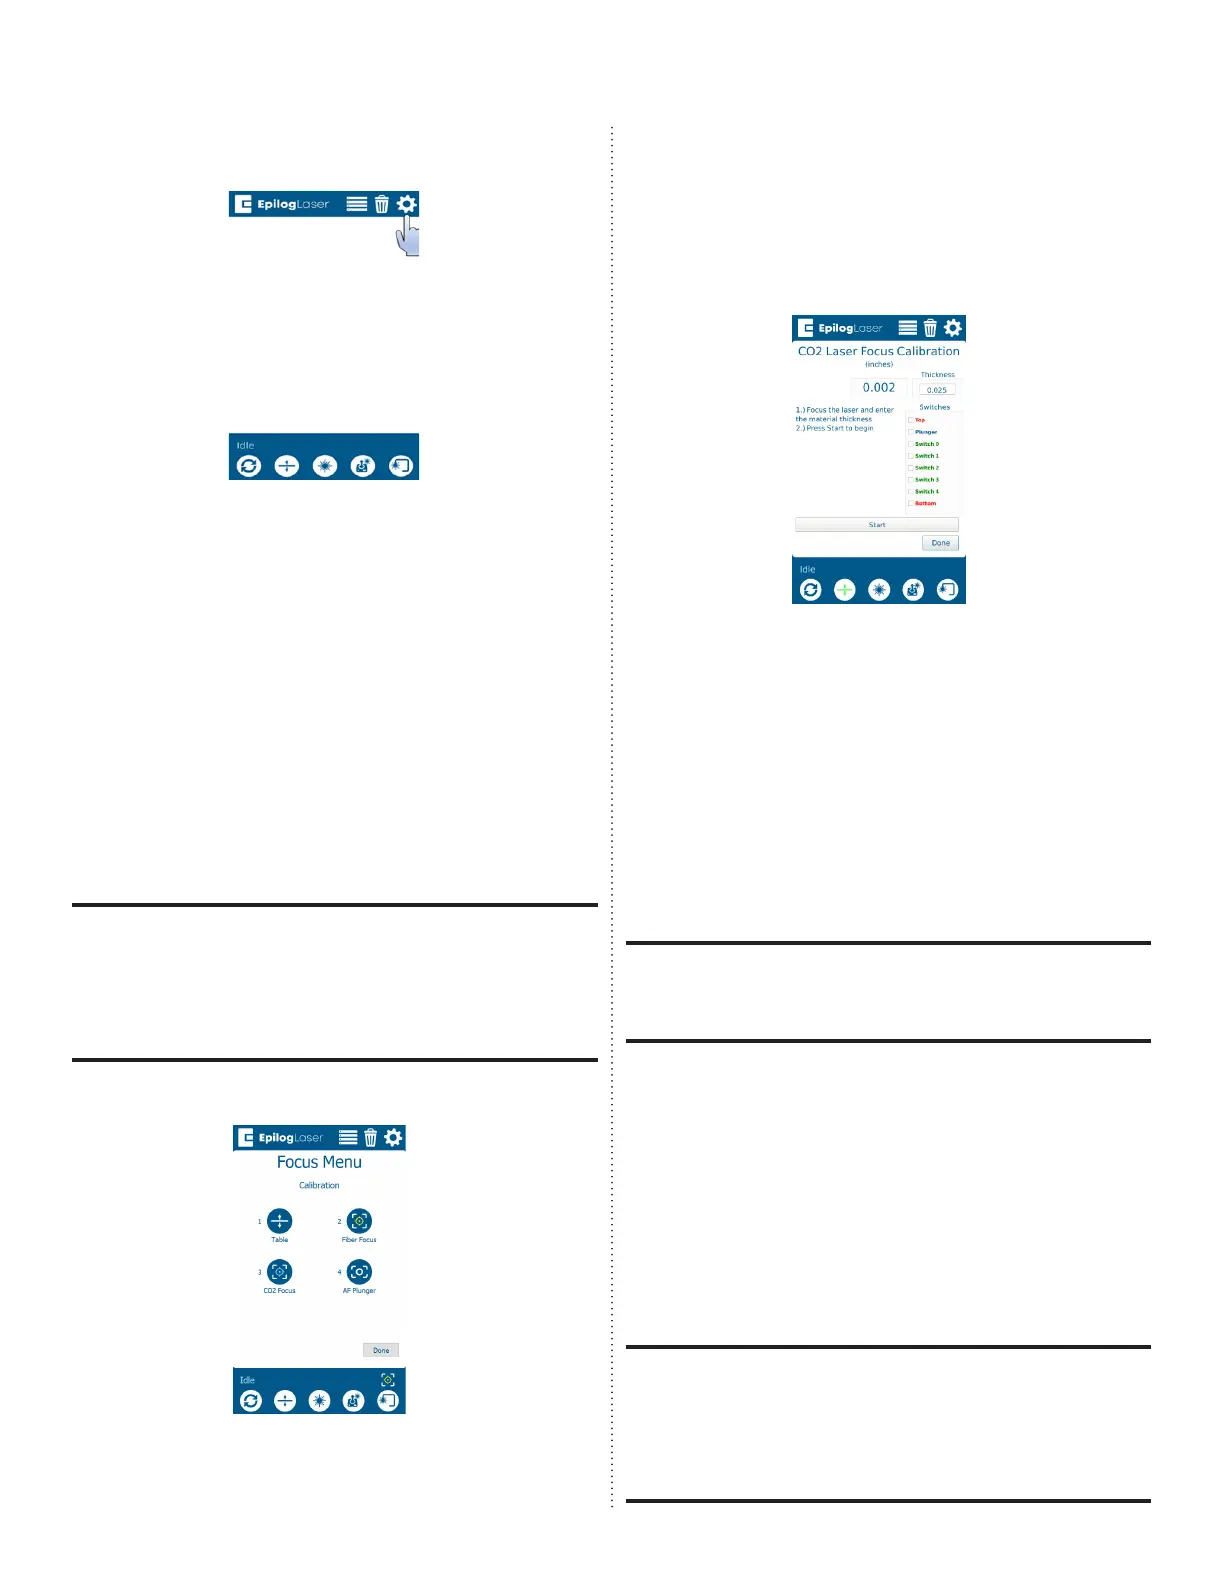
11. On the display, press the gear icon to
enter the Settings menu:
12. Ensure that the material thickness used
during the previous step is entered in
the Thickness box. If using anodized
aluminum provided by Epilog Laser, the
default value of 0.025” corresponds to
the material.
13. Press the Start button. This calibration is
very fast as the engraver simply notes
and saves the current position of the
table.
14. Press Done.
The CO2 focus must be set to the same
height as the fiber focus before moving
onto the CO2 Focus Calibration. Failure to
complete this step will result in an inaccu-
rate focus calibration.
15. Press the CO2 Focus button:
16. Ensure that the material thickness used
during the previous step is entered in
the Thickness box. If using anodized
aluminum provided by Epilog Laser, the
default value of 0.025” corresponds to
the material.
17. Press Done.
CO2 Focus Calibration
The CO2 focus calibration establishes
the focal height of the laser and manual
focus gauge. You will run a small job while
adjusting the table height to find the
correct focal height.
A small piece of anodized aluminum (at
least 3” x 3” or 75mm x 75mm) is required to
complete this procedure.
1. Open your preferred illustrating
program and create a black, raster box
measuring ~2” x 2” or 50mm x 50mm.
2. Send the job to the Soware Suite.
3. Ensure that the process shows as an
engraving job and set the both power
and speed at 5-10%.
If completing the procedure on the Fusion
Pro 32, place the artwork and material
in the upper le corner of the engraving
table, ensuring that the artwork appears
over the anodized aluminum.
 Loading...


