PRO 32 & 48 X-AXIS ASSEMBLY
18
1. Open your preferred illustrating
program and create a black, raster box
measuring ~2” x 2” or 50mm x 50mm.
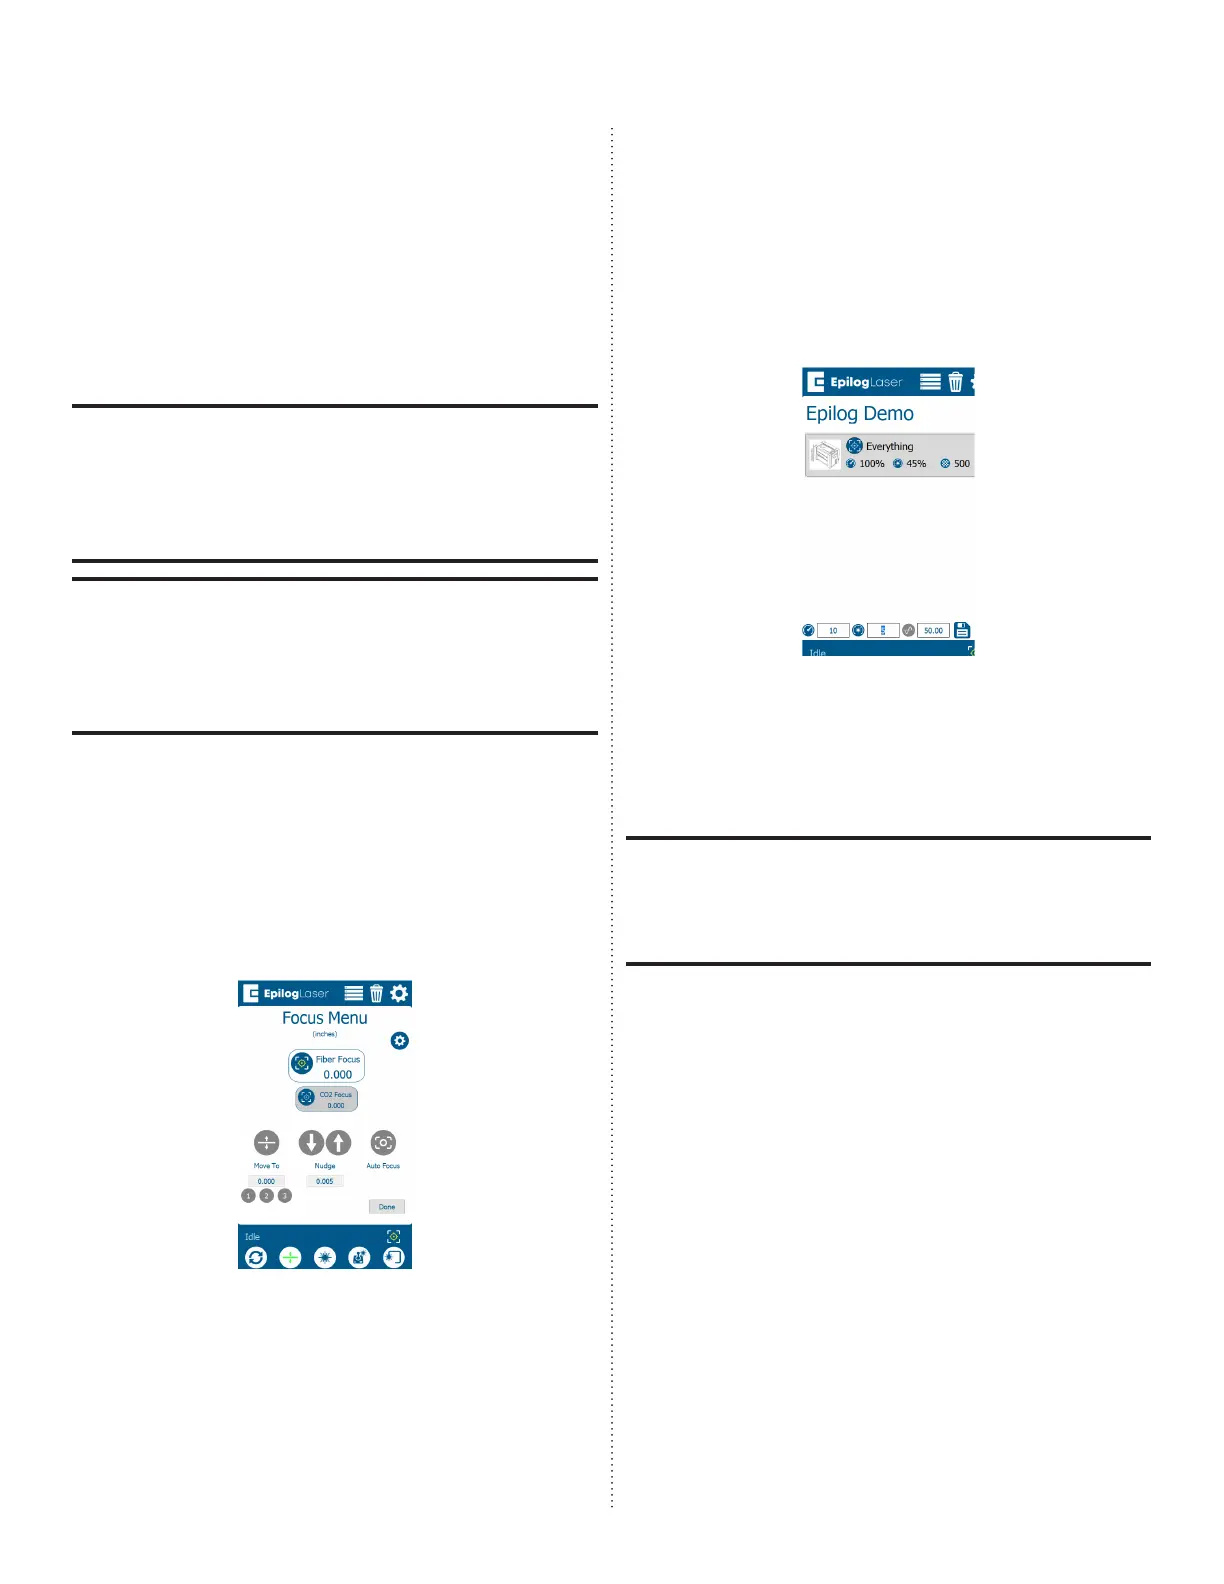
2. Send the job to the Soware Suite.
3. Ensure that the process shows as an
engraving job and set the both power
and speed at 5-10%.
If completing the procedure on the Fusion
Pro 32, place the artwork and material
in the upper le corner of the engraving
table, ensuring that the artwork appears
over the anodized aluminum.
If completing the procedure on the Fusion
Pro 48, place the artwork and material in
the center of the engraving table, ensuring
that the artwork appears over the anod-
ized aluminum.
4. Send the job to the engraver.
5. Once the job is running, press the Focus
button and slightly raise and lower the
table with the joystick while observing
the spark coming from the laser hitting
the anodized aluminum:
6. While raising and lowering the table,
find the height where the spark appears
the brightest. If it is diicult to determine,
turn o any overhead lights in the room.
7. Once the appropriate table height is
found, use the touchpad to lower the
power to 3-5%:
8. Continue to raise and lower the table
height with the lower power setting to
find the height where the spark appears
the brightest.
Using the lower power setting allows you to
more finely dial in the correct focal height
as the spark fades very quickly when the
material becomes out of focus.
9. Once the correct focal height has been
found, let go of the joystick and press
the Go/Stop button to stop the job. Then
press the Reset button to return the
laser head back to the home position.
10. Remove the anodized aluminum from
the engraver.
 Loading...


