Epilog Laser Tube Upgrade
Mini / Helix
Revision Date: 9/27/2013 pg. 2 of 17
Procedure A: Removing the Old Laser Tube
Step 1:
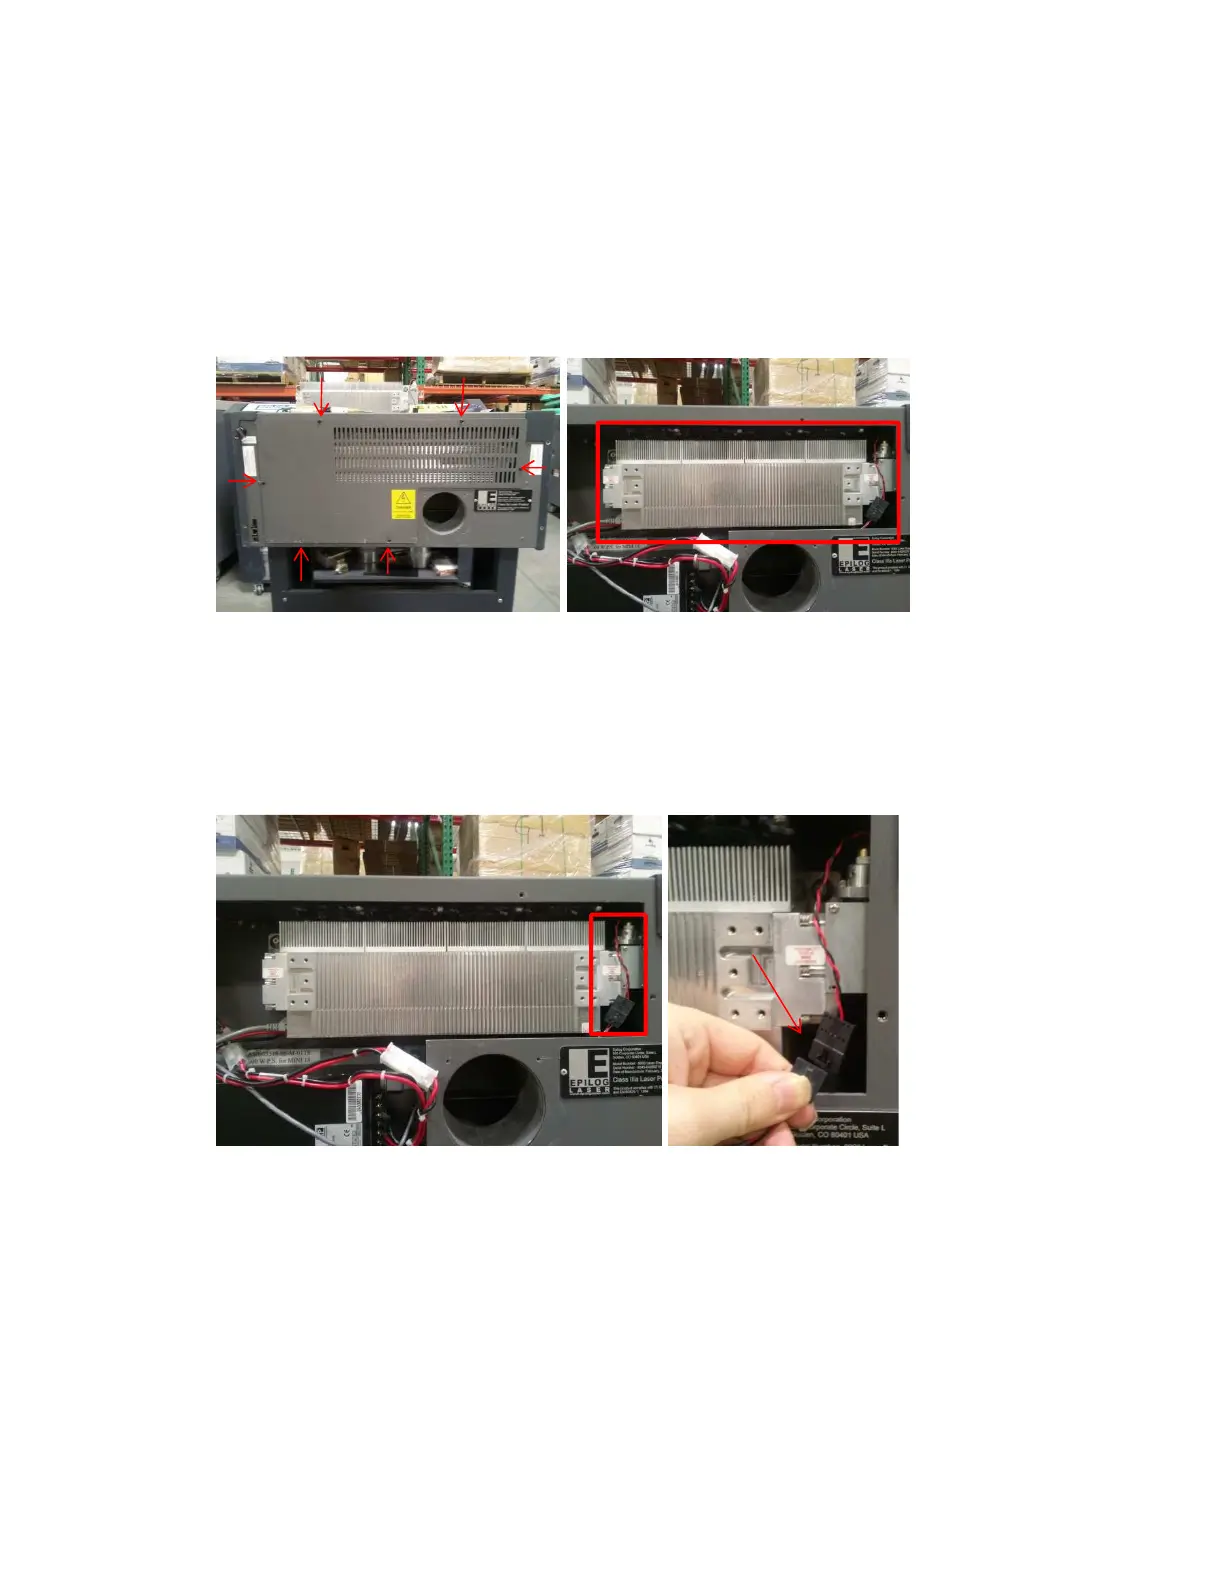
Be sure that the engraver is powered off and unplugged. Remove the rear panel
of the engraver to expose the laser tube.
Step 2:
Disconnect the Red Dot Pointer which is located on the right side of the laser
tube. Follow the thin Red and White wires to the Black Connector. Unplug the
connector.