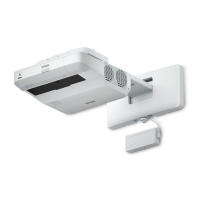
3
Interacting With the
Screen
Interactive Pens
Your projector came with 2 pens, one orange (Interactive
Pen A) and one blue (Interactive Pen B).
The pens have two different types of tips: a soft, felt tip
and a hard tip. Make sure one AA battery is installed in
each pen.
Battery
light
Button
Pen tip
(unscrew to replace)
Battery cover
•
To turn on the pen, pick it up. The blue light comes on
briefly. If the battery is low, the light flashes.
•
Hold the pen perpendicular to the board, as shown
below.
•
When you are finished using the pen, simply place it in
an area away from the projection screen.
Note: The pens turn off automatically after about
15 seconds of inactivity. Pick the pen up to turn it
back on.
Using Your Pen as a Mouse
When you are in computer interactive mode, you can
use the pen as a mouse to interact with your computer
desktop.
Mouse function Pen action
Left-click Tap on board
Double-click Tap twice
Right-click Press pen button
Move cursor Hover over board
Click and drag Tap and hold on item, then drag
See the online BrightLink User’s Guide for more
information.
Having Trouble?
If the cursor does not match your pen location, follow the
calibration instructions on the back of this card.
• On a Mac, you may need to open System
Preferences and select Displays. Click the
Arrangement tab and select the Mirror Displays
check box.
• Try pressing the Source Search button on the
remote control.
• Press the Home button on the projector or
remote control to verify the source input and
settings.
2
Installing Interactive
Software
You may already have interactive software on your
computer, or you may need to install it. If you are using
a Mac, you need Easy Interactive Driver and Easy
Interactive Tools (or other interactive software).
Here’s how to find out if the Easy Interactive Tools
software is installed on your computer:
If you are using a Mac:
Look for the Easy Interactive Driver and Easy Interactive
T
ools folders in the Application folder on your hard
drive. If you see these folders, the Easy Interactive
software is installed.
If you need the software:
Open File Drive
Select Install Software
Locate the software you need, click Install.
If you do not have FileWave OR if you are having
problems installing from FileWave please contact Help
Desk.
For more information about Easy Interactive Tools, see
the online Easy Interactive Tools tip sheet or the online
BrightLink User’s Guide.
4
Using the Built-in Toolbar
The projector’s built-in toolbar lets you annotate images
from other devices that have been connected to the
projector, such as a document camera, tablet, or other
source. This is known as PC Free Annotation mode.
1
Press one of the source buttons on the remote
control to select the source for the image you want
to annotate.
Image from an
external device
connected to the
USB port
Image from a
computer connected
to the Computer1 or
Computer2 port
Image from a computer with
an HDMI connection, or a
video player
Image from a computer or
tablet connected through a
wired or wireless network
2
To activate the toolbar, tap the board with the pen. If
you don’t see the icon, tap the icon and then
tap the icon.
Note: If you only see the icon, you are already in
PC Free Annotation mode.
3
To close the toolbar, tap the icon at the bottom
of the toolbar.
Two toolbars are available in PC Free Annotation mode,
one for annotation mode and one for whiteboard mode.
Many of the tools are the same as Easy Interactive Tools,
but fewer functions are available.
•
Annotation mode displays the built-in toolbar on
whatever image is being projected.
•
Whiteboard mode lets you project a white or black
screen or background pattern, and use the pen to
write or draw as you would on a chalkboard or dry
erase board.
Select whiteboard
mode
Redo
Use custom pen
Select annotation
mode
Use black, red, or blue
pen—select small or
large dot for thin or
thick line
Clear all drawing
Close toolbar
Shows the current pen function
Undo
Use highlighter
Select the
background pattern*
Choose custom
color and width
Erase—select small
or large dot for thin
or thick eraser
Hide or show toolbar
while drawing
* In annotation mode, the select background tool does not appear.
1
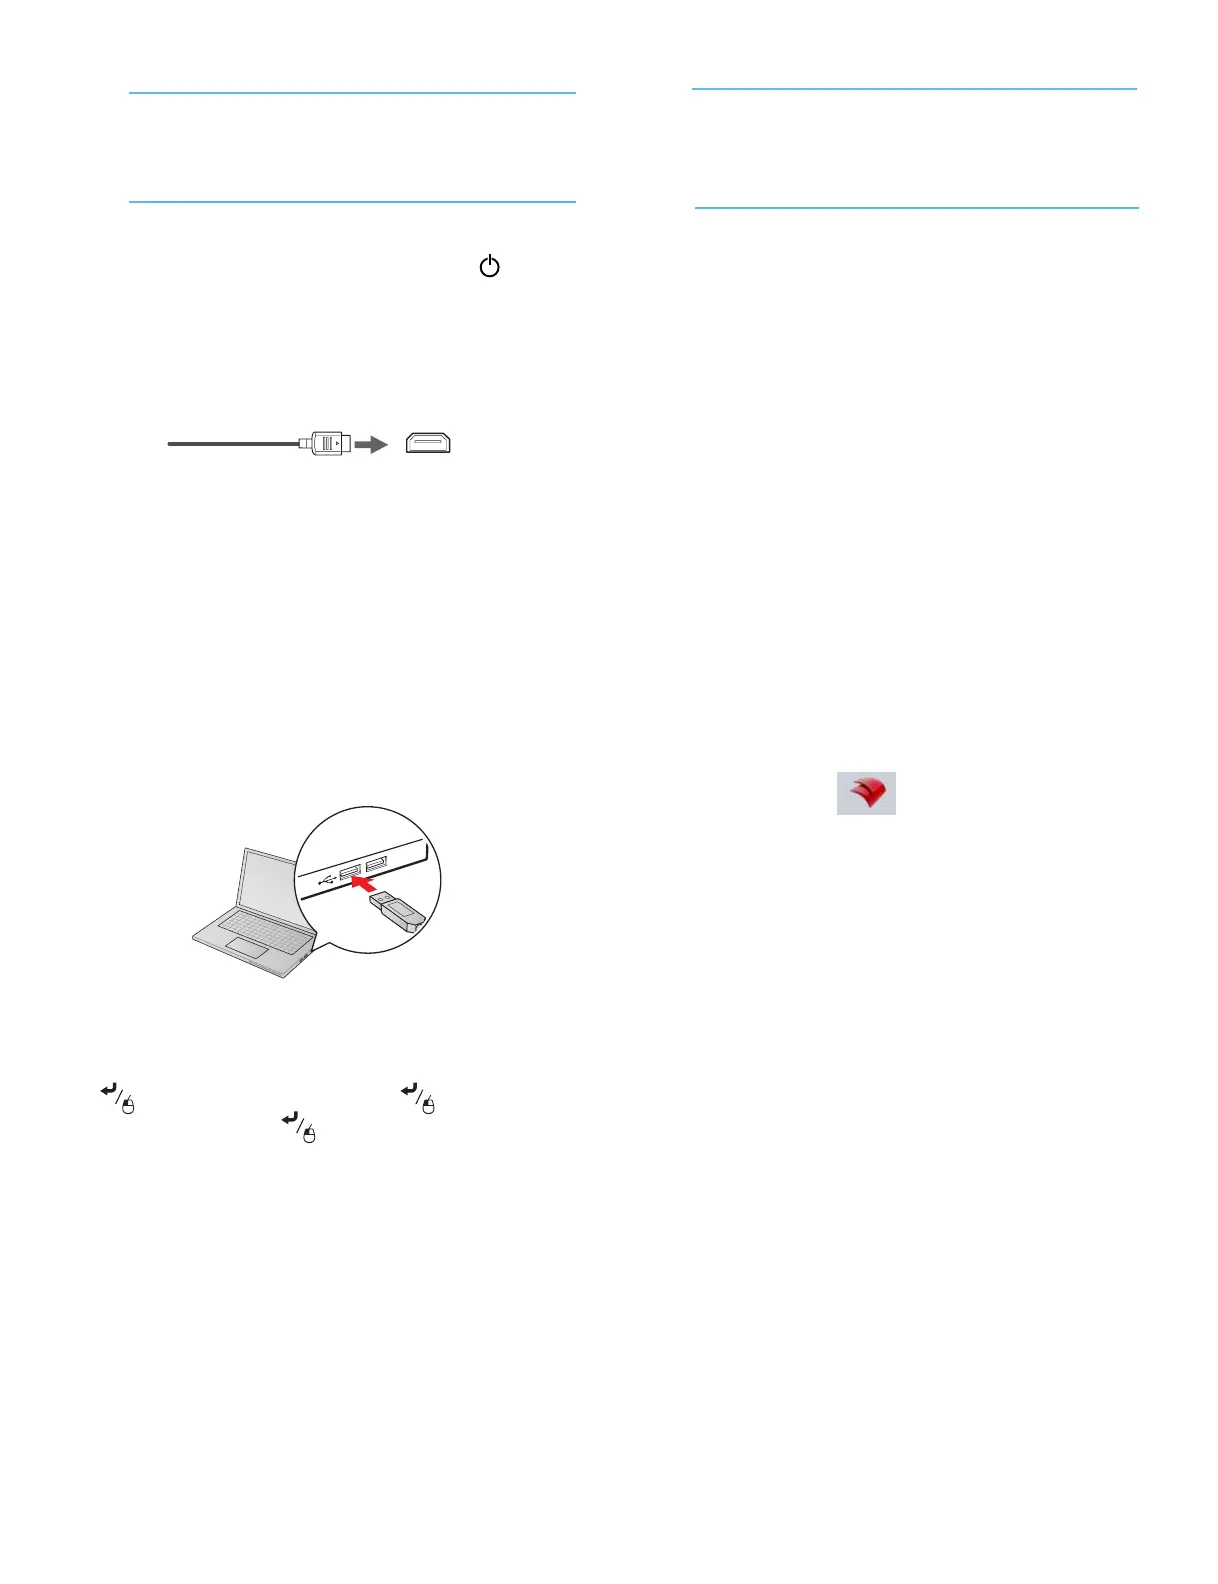
Connecting Your
Computer
1
Turn on the projector by pressing the blue power
button on the remote control.
2
Connect an HDMI cable from the projector to
your computer.
HDMI
Note: You can also display media through a USB
connection with the USB Display feature. See the
online BrightLink User’
s Guide for more information.
3
Connect the USB cable from the projector’s USB
TypeB port directly to any available USB port on
your computer.
4
The default language of the menu system is English.
To select another language, press the Menu button
on the remote control. Select Extended and press
. Select Language and press . Select your
language and press . Press the Menu button to
exit the menu system.
5
Display an image from your computer. If the image
doesn’t appear, try one of the following:

 Loading...