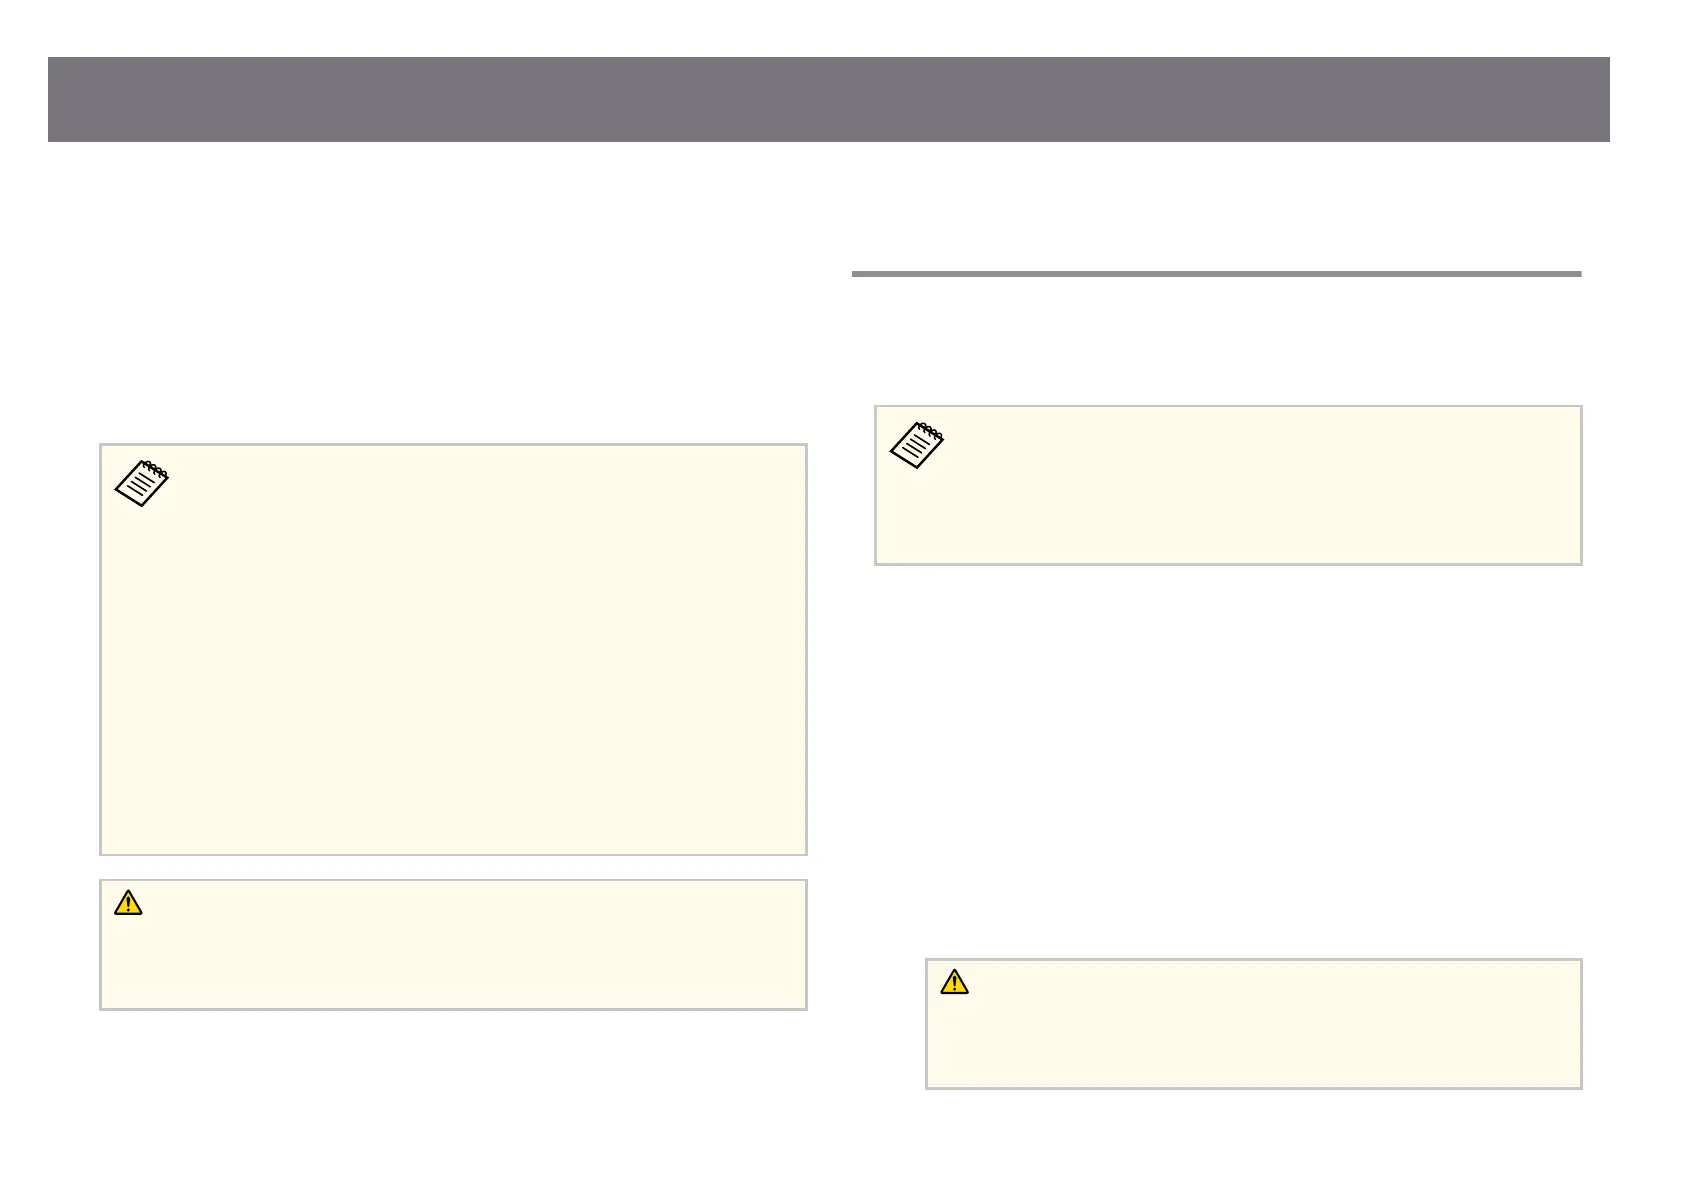
Aer selecting the projector's menu settings for one projector, you can use the
f
ollowing methods to copy the settings to other projectors, as long as they are
the same model and the same rmware version.
•
by using a USB ash drive
•
by connecting a computer and projector using a USB cable
•
by using Epson Projector Management
You cannot copy any information unique to an individual projector, such as
Light Source Hours or Status.
•
Per
form batch setup before adjusting the image settings such as
keystone distortion correction. Since image adjustment values are
also copied to another projector, the adjustments you made before
performing the batch setup are overwritten and the projected screen
you adjusted may change.
•
When copying the menu settings from one projector to another, user's
logo is also copied. Do not register the information that you do not
want to share between multiple projectors as a user's logo.
•
Make sure Batch Setup Range is set to Limited if you do not want to
copy the following settings:
•
Password Protection settings
•
EDID in the Signal menu
•
Network menu settings (except for the Notications menu and the
Others menu)
Caution
Eps
on takes no responsibility for batch setup failures and associated repair costs due
to power outages, communication errors, or other problems that may cause such
failures.
g
Related Links
•
"T
ransferring Settings From a USB Flash Drive" p.73
•
"Tran
sferring Settings From a Computer" p.74
•
"Batch Setup Error Notication" p.75
Transferring Settings From a USB Flash Drive
You can copy menu settings from one projector to another of the same model
usin
g a USB ash drive.
•
e USB
ash drive must be formatted in FAT 32, be smaller than
32 GB, and not have any security functions. Delete any les on the
drive before using it for batch setup or the settings may not be saved
correctly.
•
You can also use this batch setup method from the projector's menu.
a
Disconnect the power cord from the projector, and check that all of the
pr
ojector's indicators have turned o.
b
Connect an empty USB ash
drive directly to the projector's USB-A port.
c
Hold down the [Esc] button on the remote control or the control panel
and co
nnect the power cord to the projector.
d
When all of the projector's indicators other than the WLAN (wireless
LAN) in
dicator turn on, release the [Esc] button.
e indicators start ashing and the batch setup le is written to the USB
ash drive. When writing is nished, the projector turns o.
Caution
D
o n
ot disconnect the power cord or the USB ash drive from the projector
while the le is being written. If the power cord or USB ash drive is
disconnected, the projector may not start correctly.
Copying Menu Settings Between Projectors (Batch Setup)
73



 To Next Page