2. Do one of the following:
• Windows: Access the Windows Desktop and right-click the product icon in the Windows taskbar.
Select Printer Settings and click the Maintenance tab.
• OS X: In the Apple menu or the Dock, select System Preferences. Select Print & Fax, Print &
Scan, or Printers & Scanners, select your product, and select Options & Supplies. Select
Utility and select Open Printer Utility.
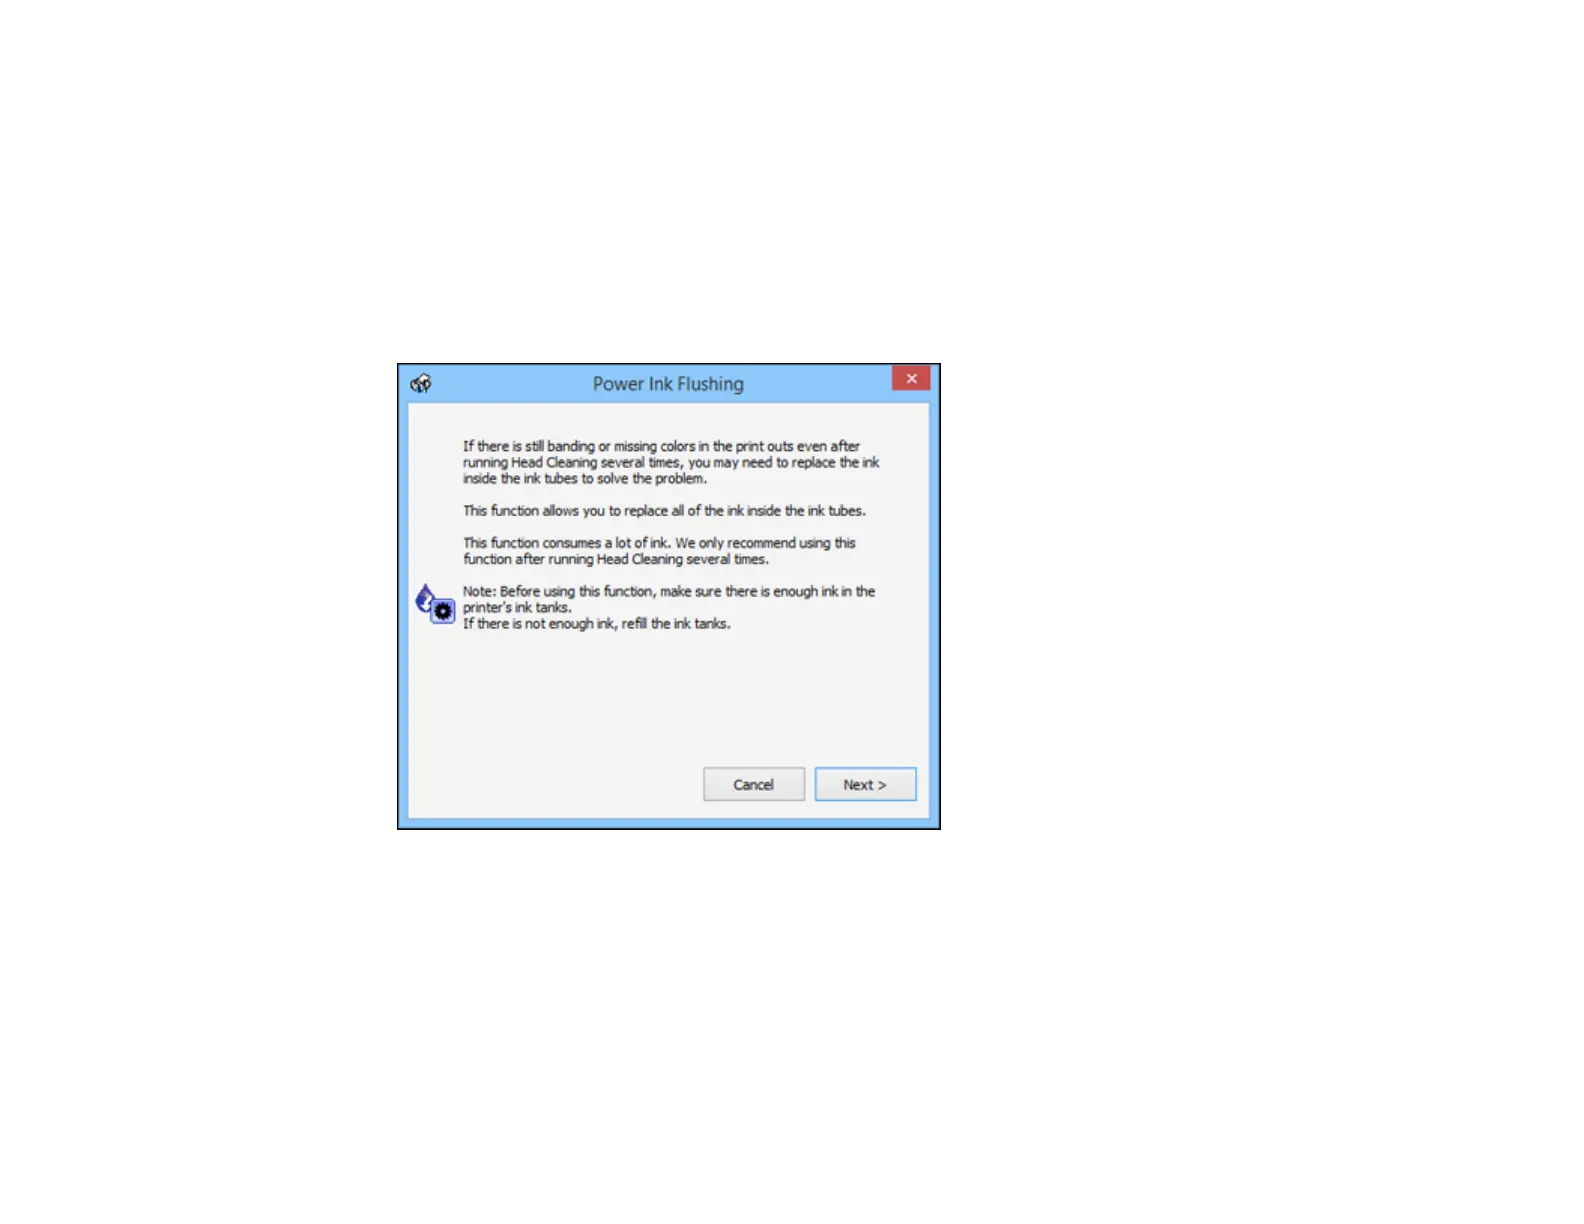
3. Click the Power Ink Flushing button.
You see a window like this:
4. Follow the on-screen instructions to flush the ink tubes.
5. When you finish flushing the ink tubes, run a nozzle check to check the print quality. If necessary,
also clean the print head.
If you don’t see any improvement, turn off the product and wait at least 12 hours. Then check the print
quality again. If quality still does not improve, contact Epson for support.
Parent topic: Ink Tube Flushing
127