Confidential
Disassembly/Reassembly Overview 30
M200 / M205 / M100 / M105 Series
Revision A
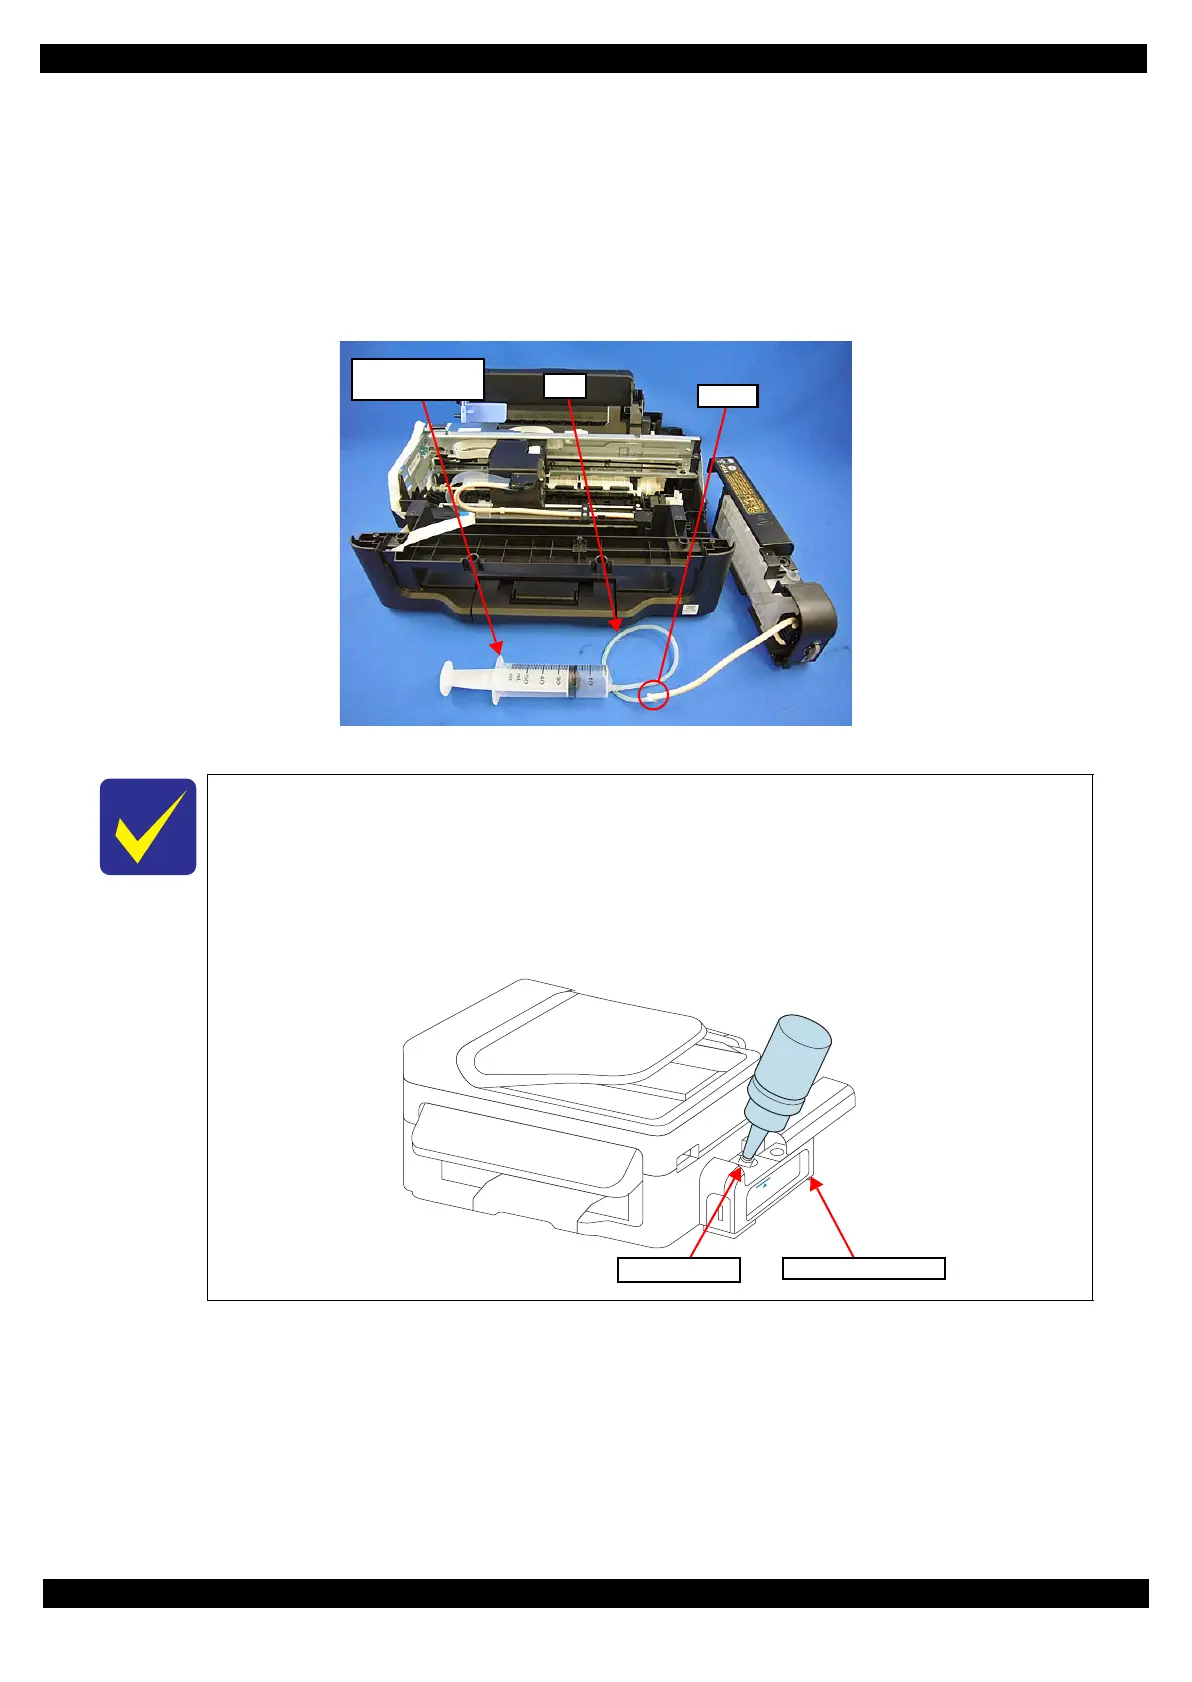
5. When the ink stops flowing from the tube, close the choke valve, and then connect the Ink Supply Tank
Tube Assy to the joint.
6. Disconnect the Ink Supply Tube from the joint, and connect the tube connected with the injector to the
joint.
7. Open the choke valve again, and suck up the remaining ink in the Ink Supply Tank into the injector.
8. Close the choke valve and disconnect the tube from the injector, then connect the Ink Supply Tube to the
joint.
Figure 2-12. Discharging Ink (2)
It is recommended that the ink in the Ink Supply Tank should be discharged completely
before proceeding to disassembling/reassembling.
After all the reassembling work is complete, the discharged ink of each color should be
refilled back to the Ink Supply Tank before performing the adjustment. Confirm the
colors indicated on the film of the Ink Supply Tank so as not to mistake them, and make
sure to refill each ink back to the correct tank from the corresponding ink supply hole.
Injector
(tip of
φ 3.2 mm)
Tube
Joint
Ink supply hole
Ink Supply Tank Assy
 Loading...