2 Plug In and Turn On
1 Connect the power adapter to the back of
PictureMate.
2 Connect the power
cable to the power
adapter.
3 Plug the other end
of the power cable
into a power outlet.
4 Flip the handle to the back.
5 Open the paper support.
6 Press the On button to turn on PictureMate.
After a moment, you see a message on the photo
viewer screen.
Now you can install your initial photo cartridge.
2 Slide the cartridge lever left to the Release position.
3 Remove the initial photo cartridge
from its package.
Caution: Do not install a
different PictureMate
cartridge for initial setup.
Install only the initial photo cartridge
that came with your PictureMate.
4 Slide the cartridge straight into the slot, label side up,
until it clicks into place. It will not go in all the way.
5 Slide the lever all the way right, to the Lock position.
6 Close the cartridge door.
PictureMate charges the print head for
3 to 4 minutes and displays the screen above.
7 When you see the Charging complete message on
the photo viewer screen, press OK.
Turn over
Start Here
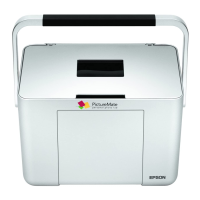
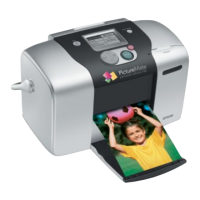
Follow these steps to set up your PictureMate
Charm and print–no computer required!
Note: To print from your computer, see the Basics book and your CD
after completing these steps.
1 Unpack
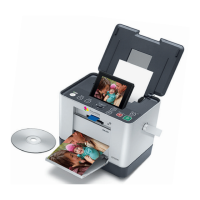
PictureMate
®
comes with all these items in the box.
1 Remove all the tape and packing material from the
outside of PictureMate.
2 Open the cartridge door
on the back of
PictureMate.
3 Remove the packing
material from inside the
cartridge slot.
4 Close the cartridge door.
PictureMate
Initial PictureMate
photo cartridge
PictureMate
photo paper
Basics book Printer Software CD
Power adapter Power cable
On
button
3 Install the Initial
Photo Cartridge
1 Turn PictureMate around and open the cartridge door.

 Need help?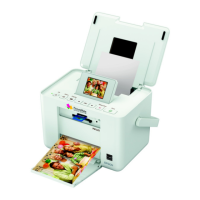


 To Next Page
 General