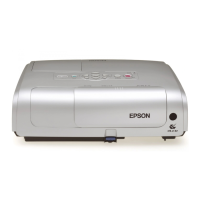
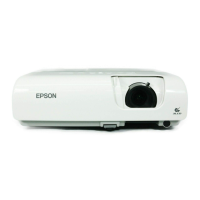
EPSON PowerLite S1 Projector
5/03 EPSON PowerLite S1 Projector - 13
Follow these steps to replace the lamp:
1. Turn off the projector, let it cool down, and unplug the
power cord.
2. Allow the projector to continue cooling for at least one hour
(if it has been on).
3. Turn the projector upside-down. Push in the tabs on the
lamp cover and push it up to remove it.
4. Use a screwdriver to loosen the two screws securing the
lamp; you can’t remove the screws.
5. Remove the lamp.
6. Position the new lamp correctly, then gently insert it into the
projector. Press it into place and tighten the retaining screws.
7. Insert the lamp cover tabs, then press down until the lamp
cover clicks back into place.
Caution:
Make sure the lamp cover is securely fastened; the error
light flashes and the projector lamp won’t turn on if the cover
is open.
8. Follow the instructions below to reset the lamp timer to zero.
Note: A new air filter is included with the lamp. If your current air
filter is old, replace it with the new one when you replace the lamp.

 Loading...


