EPSON PowerLite S1 Projector
5/03 EPSON PowerLite S1 Projector - 7
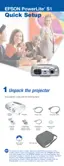
Adjusting the Image Size
You can adjust your image size using the zoom button on
the projector, or zoom into a portion of the image using the
E-Zoom button on the remote control.
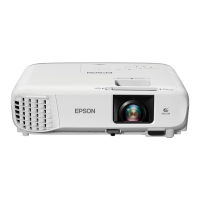
Using the Zoom Button
To enlarge or reduce your image size in small increments, press
the
Wide button to enlarge the image or press the Tele button
to reduce it.
Note:
You can always move the projector closer to or farther from the
screen to adjust the image size.
Using the E-Zoom Button
The image is enlarged or reduced.
1. Press the
E-Zoom z button on the
remote control.
A target scope is displayed on the
screen.
2. Press the [u][d][l][r] buttons to move the target scope to
the center of the part you wish to enlarge/reduce.
3. Push
E-Zoom z to enlarge the image. Push E-Zoom x to
reduce the enlarged image.
❏
E-Zoom z: Enlarges part of the image without
changing the size of the projection area.
❏
E-Zoom x: Reduces the part of the image that has been
enlarged using the z button.
❏ You can scroll with the [u][d][l][r] buttons.
Press
Esc to cancel.
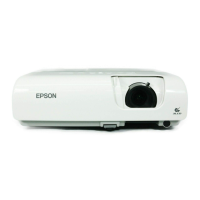
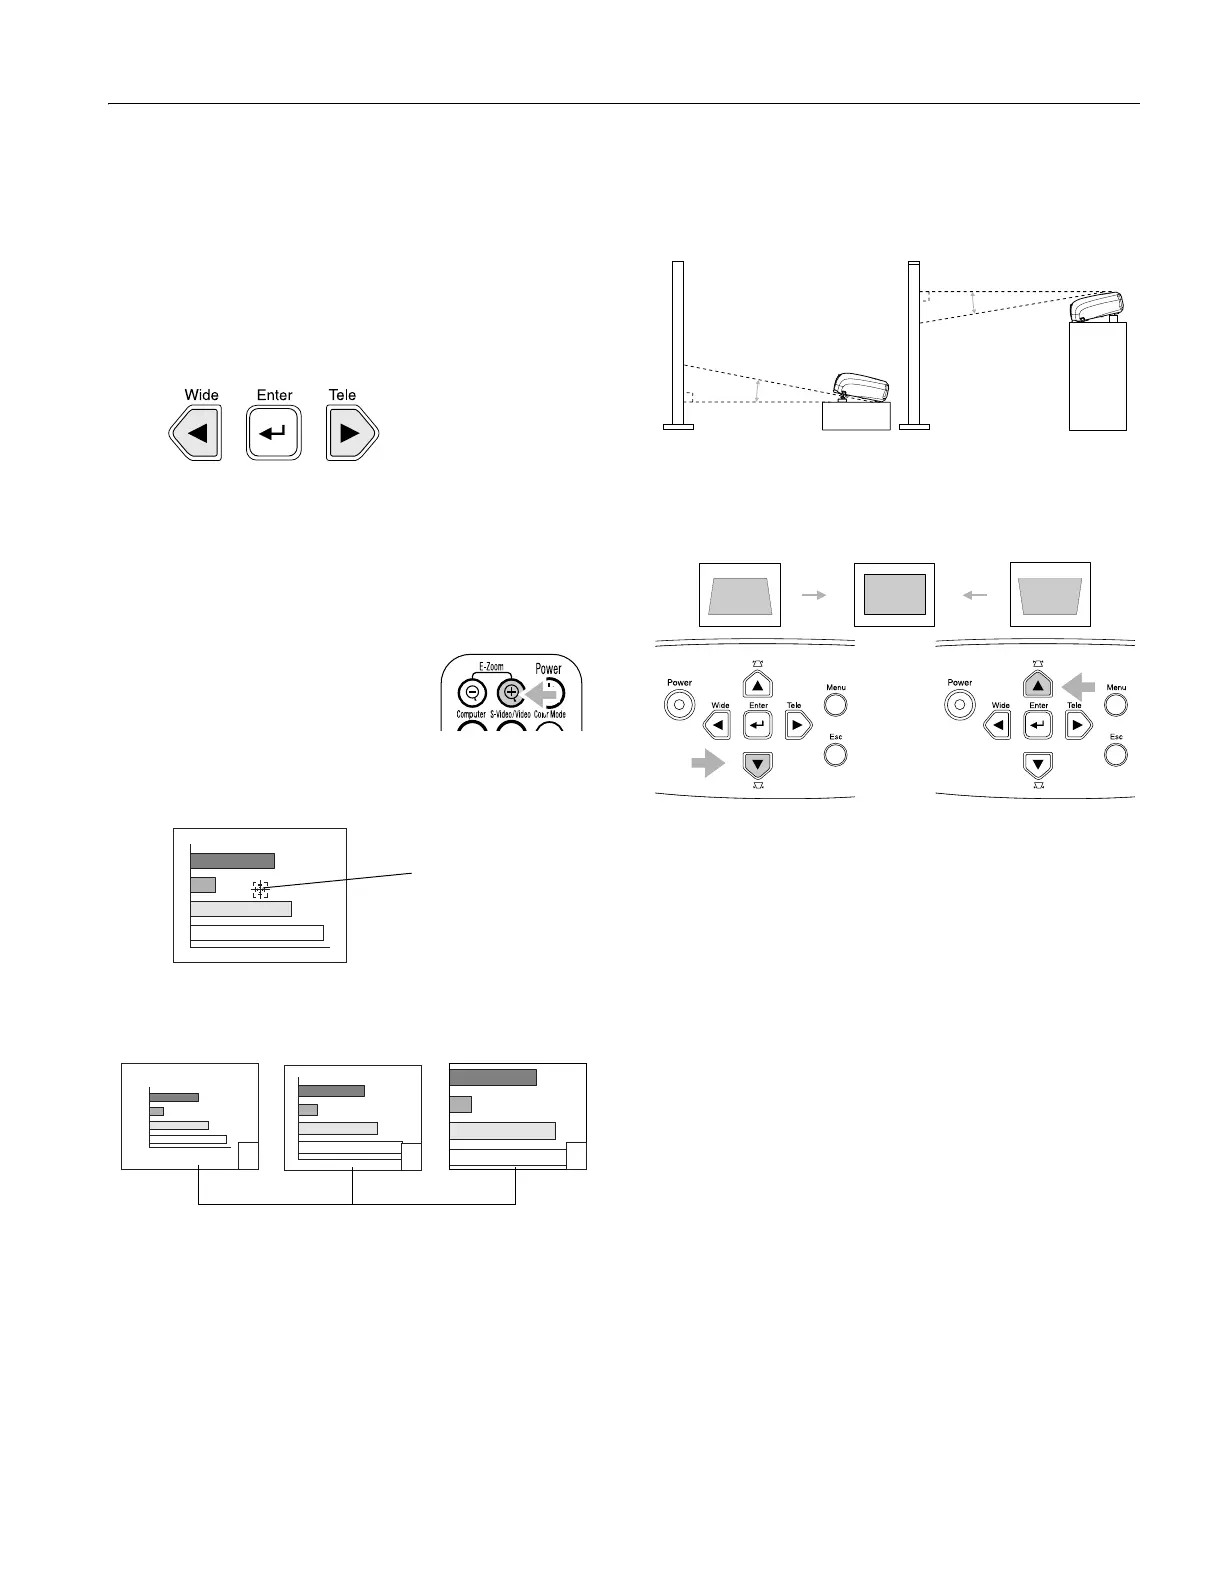
Adjusting the Image Shape
When the projector is raised in the front or back, the display
distorts in the shape of a trapezoid.
Note: You can correct only vertical distortion with this function.
Horizontal distortion cannot be corrected.
Press the
[u] or [d] buttons to correct the distortion.
Note: Screen size changes when keystone correction is performed.
If the images become uneven in appearance after keystone correction
is performed, decrease the sharpness setting.
Images can be corrected without distortion when the projector
is tilted to a maximum of ±15°.
Adjusting the Image Quality
You may need to adjust the projector’s Tracking and Sync
settings on the Image menu if your computer image has any of
these quality problems:
❏ Flashing or blurry image
❏ Vertical or horizontal stripes
❏ Only a portion of the image is displayed
See the User’s Guide for more information.
Note: You can also increase computer image clarity by pressing the
Auto button on the remote control to optimize the tracking, sync,
and position settings. Turn off E-Zoom and A/VMute before using
the
Auto button.
target scope
enlargement ratio
 Loading...