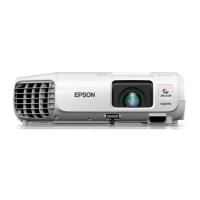
Epson PowerLite S4
4 - Epson PowerLite S4 6/06
Adjusting the Image
The following sections describe how to adjust the image once it
is displayed.
Adjusting the Height of the Image
If the image is too low, you can raise it by extending the
projector’s front foot.
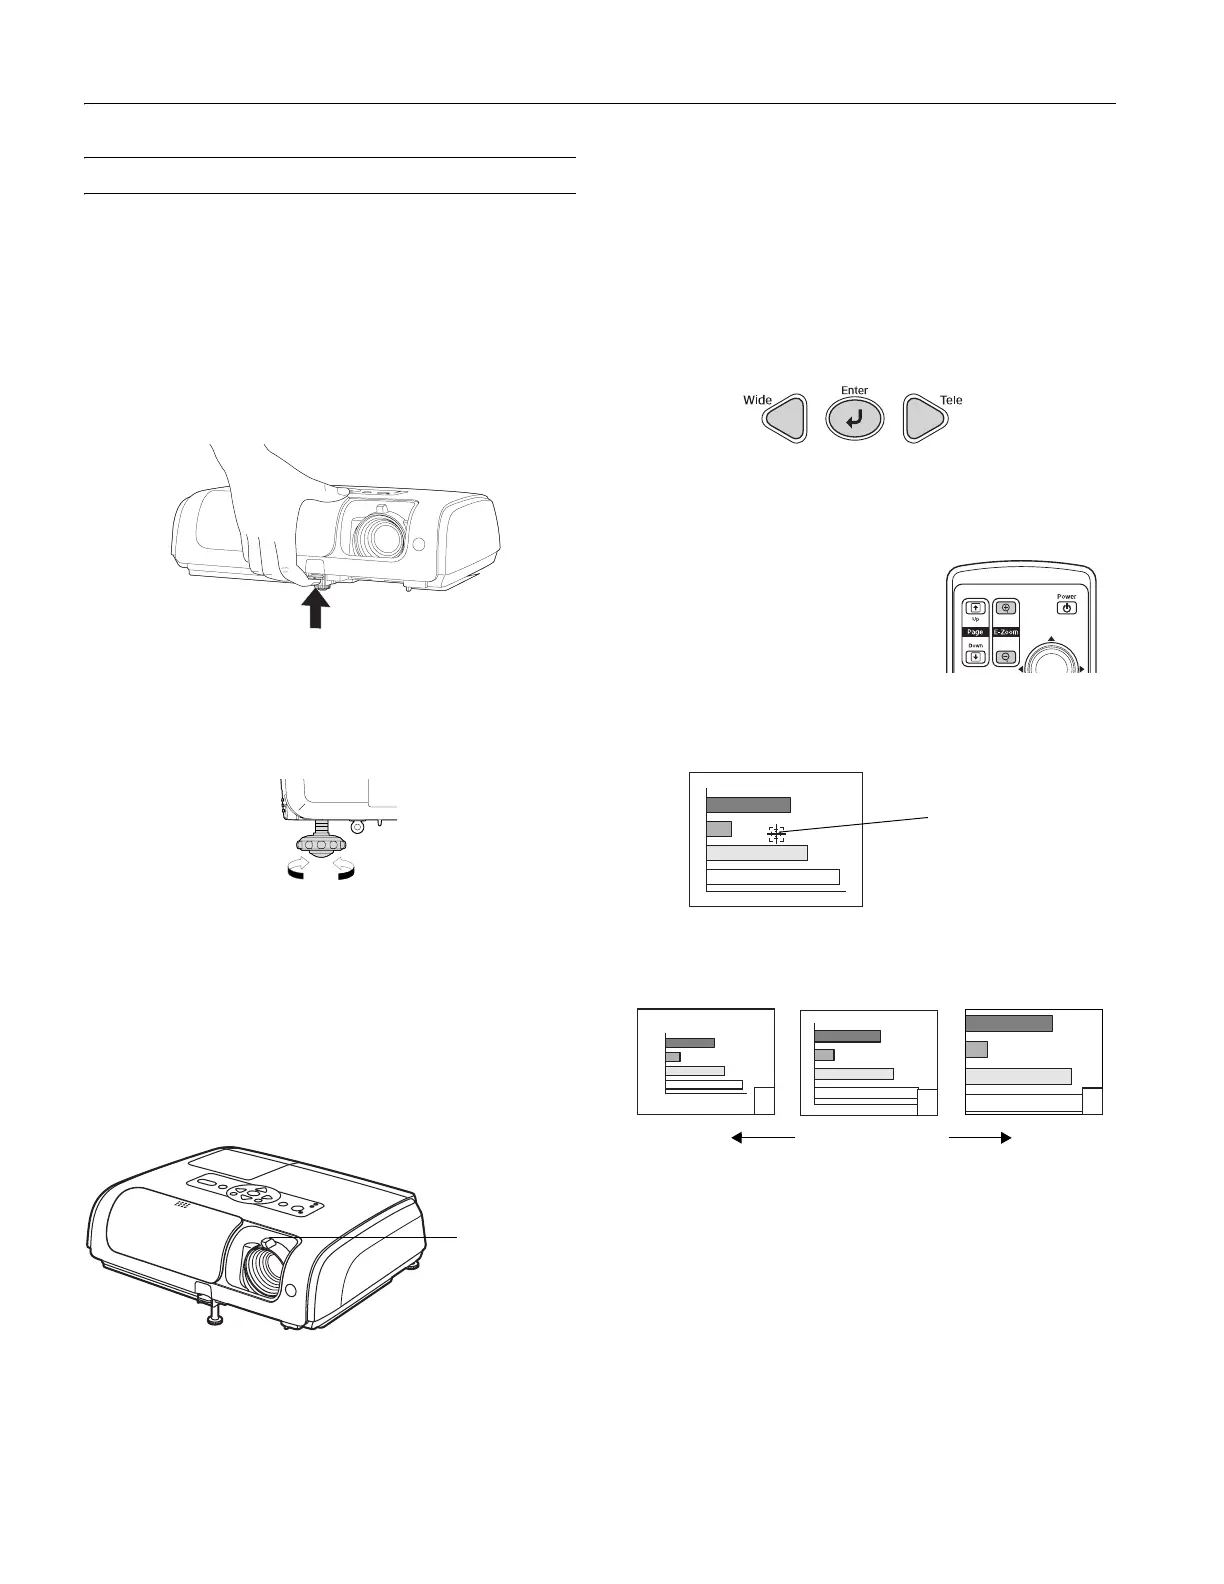
1. Stand behind the projector. Press the foot release button and
lift the front of the projector. This unlocks the foot.
2. Once the image is positioned where you want it, release the
button to lock the foot in place.
3. If you need to straighten the image, rotate the foot in the
back of the projector to raise or lower the side.
If the image is no longer square after raising it, see “Adjusting
the Image Shape” on page 5.
You can also use the
Image Shift setting to finely adjust the
position of the image on the screen. See the User’s Guide for
details.
Focusing the Image
Rotate the focus ring to sharpen the image.
Adjusting the Image Size
You can adjust the image size using the Wide and Tele buttons
on the projector, or zoom into a portion of the image using the
E-Zoom buttons on the remote control.
Using the Wide and Tele Buttons
To enlarge or reduce your image size in small increments, press
the
Wide button to enlarge the image or press the Tele button
to reduce it.
Note: You can also move the projector closer to or farther from the
screen to adjust the image size.
Using the E-Zoom Buttons
1. Press the E-Zoom z button on the
remote control.
A target scope is displayed on the
screen.
2. Press the u d l r buttons to
move the target scope to the center of the part you wish to
enlarge or reduce.
3. Push
E-Zoom z to enlarge the image. Push E-Zoom x to
reduce the enlarged image.
❏
E-Zoom z: Enlarges part of the image without changing
the size of the projection area.
❏
E-Zoom x: Reduces the part of the image that has been
enlarged using the z button.
❏ Reposition the image using the u d l r buttons.
Press
Esc to cancel.
Foot release
button
Focus ring
target scope
change image size
 Loading...