The white frame is used to adjust
the commander, and the green
frame is used to adjust the
receiver.
4
Adjust the projection
position.
5
Adjust the focus for the commander and the receiver.
7
Correct keystone
distortion for the
receiver's frame (green).
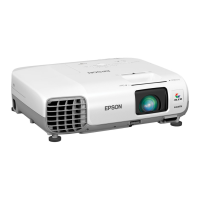
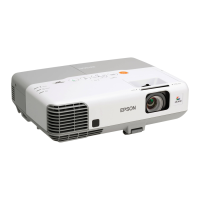
If the projection system is on a
desk, extend or retract the feet to
adjust the position. The rear feet
adjust the horizontal tilt and the
front foot adjusts the height.
If the system is suspended from
a ceiling, see the User's Guide
supplied with the ceiling mount.
Use the commander's focus
ring to adjust the focus for the
projected image.
Select Display the test pattern,
and then press the [ ] button.
Select the projector you want to
adjust, and then press the [ ]
button.
The test pattern is displayed.
Use the focus ring on the
projector you want to adjust.
When you have nished
correcting the focus, press the
[Esc] button.
Next, select the other projector
from the test pattern menu and
repeat the focus adjustment
procedure described above.
Select Perform keystone
correction for the Receiver.
Next, use either the
H/V - keystone or Quick Corner®
method as described on the
next page.
When you have nished
correcting the focus for the
commander and the receiver,
press the [Esc] button until you
see the initial adjustment screen
again.
6
Adjust the projection size for the receiver.
Use the receiver's zoom ring
to adjust the receiver's frame
(green) to the projection size
you want.
Receiver
frame
Commander
frame
Do not maximize the
zoom for the receiver
because the commander's
frame needs to be larger
than the receiver's frame.
See "Screen Size and
Projection Distance" on
page 18 to determine the
projection size.
1515151515
 Loading...