Do you have a question about the Epson Small-in-One XP-970 and is the answer not in the manual?
Connect the power cord to the printer and an electrical outlet, then turn it on.
Remove caps from ink cartridges and insert them into the correct slots until they click.
Initiate the ink charging process, which takes approximately 7 minutes.
Ensure printer is not connected; handle any detected hardware.
Insert the product CD or download and run the software package from Epson.
This document serves as a "Start Here" guide for the Epson XP-970 Small-in-One® Printer, providing essential instructions for initial setup, configuration, and basic operation. It emphasizes the importance of reading the full online User's Guide for comprehensive information and safety instructions.
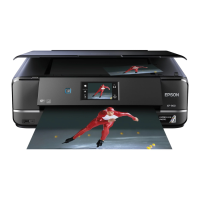
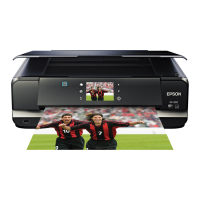
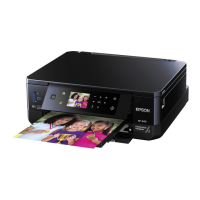
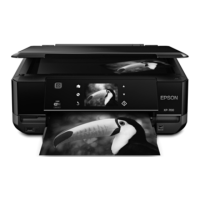
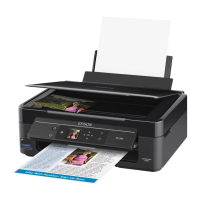
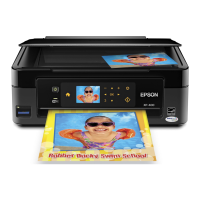
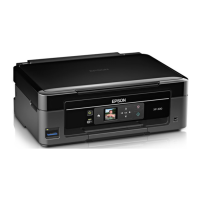
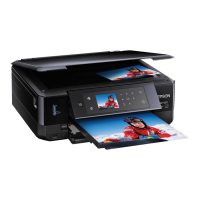
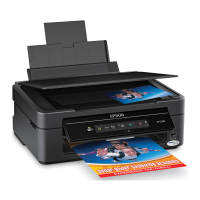
The Epson XP-970 is a Small-in-One® printer designed for various printing tasks, including documents, photos, and directly onto CD/DVD/Blu-ray Discs™. It is engineered to work exclusively with Epson cartridges, ensuring optimal performance and reliability. The printer supports both wireless and wired network connections, as well as direct USB connection, offering flexibility in how users connect their devices. It also features mobile and voice-activated printing capabilities, allowing users to print from iOS and Android™ devices, and through services like Epson Connect™ and Google Cloud Print™. The printer includes two paper cassettes for different paper types or sizes, and a rear paper feed slot for specialized media. An LCD screen on the printer's control panel facilitates navigation and displays messages, including print quality adjustments and ink charging status.
The setup process begins with unpacking the printer, which involves removing all protective materials from both the exterior and interior, including lifting the scanner unit to access internal packaging. Users are instructed to connect the power cord to an electrical outlet and then turn on the product. The initial setup prompts users to select their preferred language.
Ink cartridge installation is a critical step. The guide advises against opening ink cartridge packages until ready for installation, as they are vacuum-packed for reliability. Users must remove the cap from each ink cartridge, storing them in the provided plastic bag for future use (e.g., when removing cartridges for storage or disposal). Cartridges are then inserted at an angle into their respective holders and pressed down until they click. A caution is given not to touch the flat white cable or the print head path during this process. After installation, users select "Installed" on the LCD screen to initiate ink charging, which takes approximately 7 minutes. It is crucial not to turn off the printer or raise the scanner unit during this charging period to avoid wasting ink.
Paper loading instructions are detailed for both Cassette 1 and Cassette 2. Users are guided to lower the front cover, pull out a paper cassette, and adjust the side and front edge guides to match the paper size. Paper should be inserted glossy or printable side facedown, ensuring it is loaded against the front edge guide and does not extend past the triangle symbol. After loading, the side edge guides are slid against the paper, making sure the paper is under the tabs. The cassette is then inserted flat all the way into the printer. Finally, users select the paper settings on the product's control panel.
Software installation is the next step, with instructions varying slightly for Windows and Mac users. Windows users can insert the product CD or download the software package from the Epson website. Mac users or those without a CD/DVD drive require an Internet connection to obtain the software. Users are explicitly told not to connect the product to their computer until prompted by the software setup program. The guide also provides information for printing from Chromebook™ devices.
The printer supports various connectivity options. For wireless connection, the software installer attempts automatic setup, but users may need to manually enter their network name (SSID) and password. For direct USB connection, a USB cable (not included) is required. For wired network connection, an Ethernet cable (not included) is necessary.
Mobile and voice-activated printing features allow for convenient printing from various devices. Users can print directly from iOS and Android™ devices by connecting to the same network as the printer. Epson Connect™ and Google Cloud Print™ enable printing from anywhere, whether next to the printer or remotely. Voice-activated assistants can also be used to print by linking the printer to an Epson Connect account.
Troubleshooting tips are provided for common issues. If network setup is unsuccessful, users are advised to print a network connection report, ensure the correct network name (SSID) is selected, restart their router, and allow firewall alerts. For security-enabled networks, entering the correct network password (WEP key or WPA passphrase) with correct case is emphasized. If printouts have lines or incorrect colors, running a nozzle check and cleaning the print head are recommended. If the product's screen is dark, users should ensure it is turned on and touch the screen or press the power button to wake it from sleep mode. If the setup cannot find the product after connecting with a USB cable, users should verify the product is turned on and securely connected.
The guide mentions that the product includes an extra maintenance box. Users are instructed to use this extra box to replace the installed maintenance box when prompted by the printer. Detailed instructions for replacing the maintenance box are available in the online User's Guide.
For ink cartridges, the guide advises saving the caps to recap cartridges after removal for storage or disposal, which helps maintain their reliability.
The document also highlights Epson's commitment to product functionality and security through firmware updates. It states that Epson periodically provides firmware updates to address security, performance, and bug fixes, and that these updates may affect the functionality of third-party ink, as the printer is designed to work only with genuine Epson ink cartridges.
Epson offers a recycling program for end-of-life hardware and ink cartridges, with information available on their website for proper disposal. This promotes environmental responsibility and provides a clear path for users to manage their product's lifecycle.
| Print Technology | Inkjet |
|---|---|
| Maximum Print Resolution | 5760 x 1440 dpi |
| Scanner Type | Flatbed |
| Connectivity | USB, Wi-Fi, Ethernet |
| Duplex Printing | Yes |
| Display | 4.3" touchscreen |
| Number of Paper Trays | 2 |
| Card Reader | Yes |
| Print Speed (Black) | 8.5 ppm |
| Paper Sizes Supported | A4, A6, Letter, Legal |
| Mobile Printing | Apple AirPrint, Google Cloud Print, Epson Connect |
| Functions | Print, Copy, Scan |
| Ink Cartridges | 6 individual ink cartridges |
| Print Speed (Color) | 8 ppm (ISO) |
| Scan Resolution | 4800 dpi |