Do you have a question about the Epson XP-8600 Small-in-One and is the answer not in the manual?
Remove all protective materials from the product exterior and interior.
Lift the scanner unit and remove all protective materials from inside the printer.
Connect the power cord, turn on the printer, and adjust the control panel.
Select the desired language for the printer's interface.
Lift the scanner unit to access the ink cartridge holder.
Remove caps from ink cartridges, install them at an angle until they click.
Initiate ink charging, which takes about 10 minutes, and do not turn off the printer.
Lower the front cover, raise the control panel, and pull out paper cassettes.
Slide side edge guides outward to match paper size, not too tight.
Insert paper into cassettes with the glossy side facedown, ensuring proper alignment.
Select the paper settings on the printer's control panel.
Ensure the product is NOT connected to the computer before starting.
Insert the CD or download and run the software package from Epson's website.
Choose between Wireless or Direct USB connection and follow on-screen instructions.
Print directly from iOS and Android devices via network connection.
Print remotely using Epson Connect and Google Cloud Print services.
Use voice assistants to print by linking to an Epson Connect account.
Check network name (SSID), restart router, ensure 2.4 GHz compatibility, and allow firewall.
Run nozzle check and clean the print head if lines or incorrect colors appear.
Troubleshoot a dark screen or setup issues when connecting via USB.
Locate the User's Guide and support videos for further assistance.
Information on compatible ink cartridges and specialty papers for best results.
This document serves as a "Start Here" guide for the Epson XP-8600 Small-in-One® Printer, providing essential instructions for initial setup, configuration, and basic operation. It also includes troubleshooting tips and information on mobile printing, software installation, and ink/paper supplies.
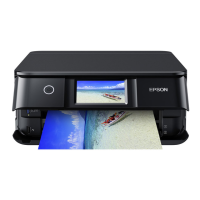
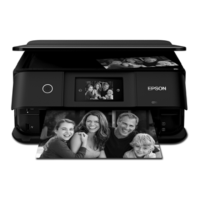
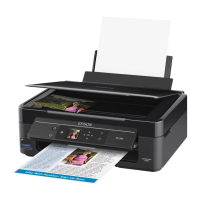
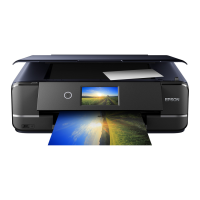
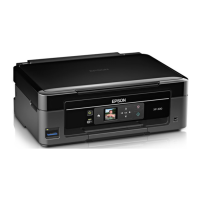
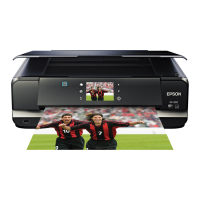
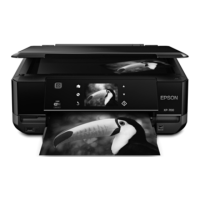
The Epson XP-8600 is a Small-in-One printer, indicating its multifunction capabilities, likely including printing, scanning, and copying, all within a compact design. It is designed for use with Epson cartridges only, ensuring optimal performance and reliability. The printer supports various paper sizes and types, including specialty papers, and offers features for both standard and high-capacity ink cartridges. It also facilitates mobile and voice-activated printing, allowing users to print from a variety of devices and platforms, including iOS, Android, Epson Connect, and Google Cloud Print. The printer is designed to work with voice-activated assistants, expanding its utility in a smart home or office environment.
The setup process begins with unpacking the printer, which involves removing all protective materials from both the exterior and interior, including under the scanner unit. Users are advised not to open ink cartridge packages until ready for installation, as they are vacuum-packed for reliability. A crucial piece of protective material should be retained and taped to the ink cartridge holder for safe transport of the product. The CD/DVD tray is conveniently stored underneath cassette 2.
After unpacking, the printer needs to be connected to an electrical outlet using the provided power cord. Users are cautioned not to connect the printer to a computer at this stage. Once powered on, the control panel can be adjusted, and the user can select their preferred language. The guide notes that language settings can be changed later via the control panel. If an error message appears during this step, users should turn off the product and check for any remaining protective materials.
Ink cartridge installation is a key step. Users are warned to keep ink cartridges out of reach of children and not to drink the ink. The included initial cartridges are specifically for reliable printer setup and should not be used as replacements or resold, with any remaining ink available for printing after setup. The process involves lifting the scanner unit, removing the cap from each ink cartridge, and inserting them at an angle into the holder for each color, pressing down until they click. The caps should be saved for recapping cartridges during storage or disposal. Users are cautioned not to touch the flat, white cable or the print head path during this process. After installing the cartridges, the scanner unit is lowered, and the user selects "Installed" on the LCD screen. Ink charging takes approximately 10 minutes, and users are warned not to turn off the printer or raise the scanner unit during this time to avoid wasting ink. Following ink charging, on-screen instructions guide the user to adjust print quality, which requires paper to be loaded.
Paper loading instructions are provided for cassettes 1 and 2. The front cover is lowered, and the control panel is raised. A paper cassette is pulled out, and the side edge guides are slid outward. Paper should be inserted with the glossy or printable side facedown, ensuring it is loaded against the back of the cassette and not sticking out from the front. The side edge guides are then slid against the paper, ensuring it is under the tabs on the guides but not too tight. The cassette is then inserted all the way, and the control panel is lowered. Finally, paper settings are selected on the product's control panel.
Software installation is the next step. Users are advised to ensure the product is NOT CONNECTED to their computer before proceeding. Windows users who encounter a "Found New Hardware" screen should click "Cancel" and disconnect the USB cable. The product CD (Windows only) can be used, or the software package can be downloaded from the Epson website. After running the setup program, users follow on-screen instructions. For Mac users or those without a CD/DVD drive, an Internet connection is required to obtain the software. Chromebook users are directed to specific support pages for instructions.
The printer supports various connectivity options. During software installation, users will be prompted to select their connection type: wireless or direct USB. For wireless connection, the software installer typically attempts automatic setup, but users may need to enter their network name (SSID) and password. For direct USB connection, a USB cable (not included) is required.
Mobile and voice-activated printing features enhance usability. Users can print directly from iOS devices by connecting the printer and device to the same network and using the action icon. Android devices (v4.4 or later) can also print directly by connecting to the same network and using the menu icon. Epson Connect and Google Cloud Print allow printing remotely. The printer can also be linked to voice-activated assistants through an Epson Connect account, enabling printing of creative and everyday items using voice commands.
The guide includes several maintenance-related tips and troubleshooting steps.
For network setup issues, users can print a network connection report to identify problems and solutions, ensuring the correct network name (SSID) is selected. Restarting the router is suggested if connection issues persist. The printer connects to 2.4 GHz networks, so users with dual-band routers should ensure the 2.4 GHz network is enabled. Firewall alerts should be unblocked or allowed to continue setup. If network security is enabled, the correct network password (WEP key or WPA passphrase) must be entered, paying attention to case sensitivity.
If printouts show lines or incorrect colors, users are advised to run a nozzle check to identify gaps and then clean the print head if necessary. These steps are detailed in the online User's Guide.
The document also highlights Epson's commitment to product longevity and performance through firmware updates. These updates address security, performance, and bug fixes, ensuring the printer functions as designed. It also notes that some updates may affect the functionality of third-party ink, reinforcing the recommendation to use genuine Epson cartridges.
For general troubleshooting or questions, users are directed to the online User's Guide, which can be accessed via desktop icons (Windows) or in Applications/Epson Software/Guide (Mac). If the icon is missing, the Epson website provides access. Support videos are available on the Epson website for visual guidance. Technical support contact information (phone numbers and operating hours) is provided for both U.S. and Canada.
Epson also offers a recycling program for end-of-life hardware and ink cartridges, with information available on their website for proper disposal, promoting environmental responsibility.
| Print Technology | Inkjet |
|---|---|
| Maximum Print Resolution | 5760 x 1440 dpi |
| Number of Ink Colors | 6 |
| Automatic Duplex Printing | Yes |
| Scanner Type | Flatbed |
| Scanner Resolution | 1200 x 4800 dpi |
| Ink Type | Claria Photo HD Ink |
| Connectivity | Wi-Fi, USB, Ethernet |
| Display | 4.3-inch touchscreen |
| Paper Sizes | A4, A5, A6, B5, Letter, Legal |
| Mobile Printing | Epson Connect, Apple AirPrint, Google Cloud Print |
| Card Reader | Yes |
| Functions | Print, Scan, Copy |
| Print Speed (Black) | 9.5 ppm |
| Print Speed (Color) | 9 ppm (ISO) |
| Weight | 6.7 kg |