Epson Stylus Photo RX595 Series
6 5/07
4. Insert the paper, glossy or printable side up, short edge first,
against the right side. Then slide the edge guide against the
paper.
Note:
For details on paper and instructions on loading envelopes, see the
on-screen User’s Guide.
Copying a Document or Photo
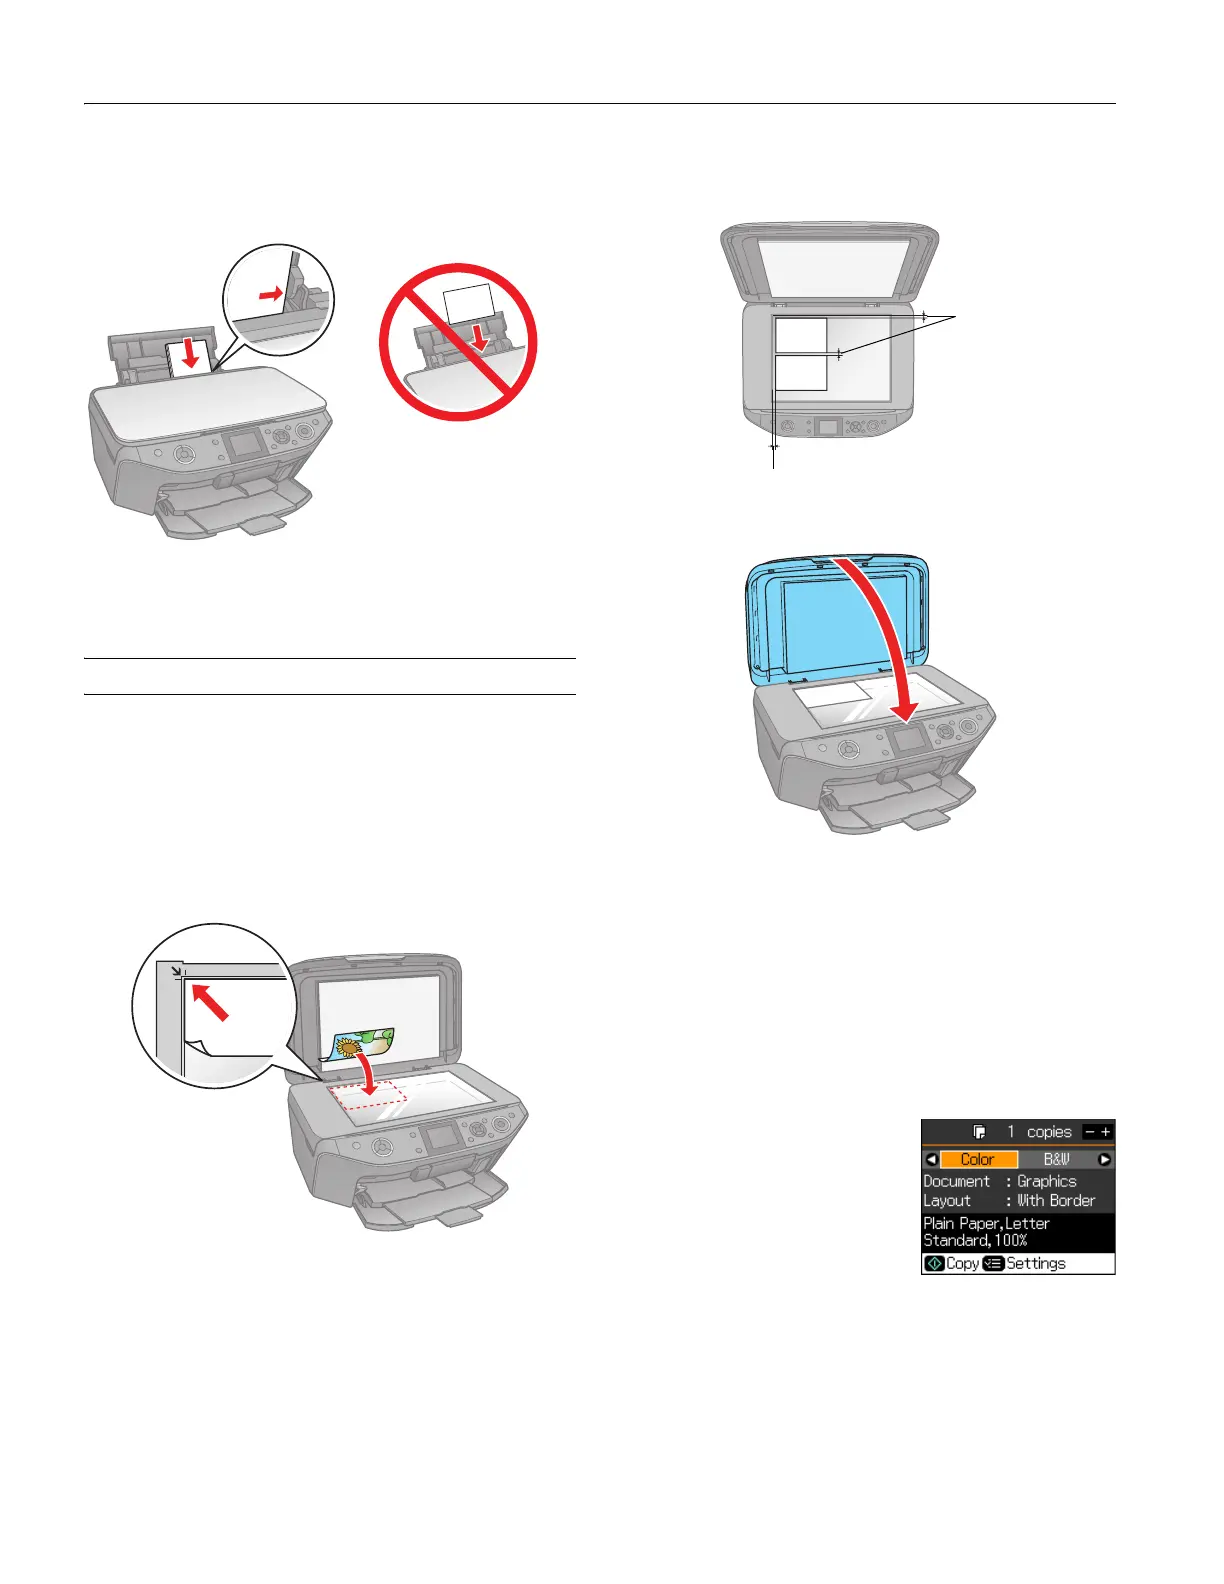
Placing an Original on the Scanner Glass
Caution:
Do not place anything on top of the RX595 Series or use the
document cover as writing surface.
1. Open the document cover and place your original
face-down on the scanner glass, with the top against the
back left corner.
2. If you’ll be copying two 4 × 6-inch photos, place them as
shown below and at least 1/4 inch (5 mm) apart.
3. Close the cover gently so you don’t move the original.
Copying Documents
1. Press the P On button to turn on the RX595 Series.
2. Load letter-size plain paper or Epson specialty paper in the
sheet feeder. See page 5.
Note:
Load only up to the recommended number of sheets; see
page 5.
3. Place your original document on the scanner glass as
described to the left.
4. Press the
Copy button to enter
copy mode, if necessary.
5. To print more than 1 copy, press
+ or – to select the number (up
to 99).
6. Press l or r to select
Color or
B&W copies.
7. Press d, then press r to change the document type, if
necessary.
Select
Text for text documents (includes background
removal). Select
Graphics for documents containing text or
graphics, or for printing photos on plain paper.
Always load paper short edge
first, even for landscape
printing. Load letterhead or
pre-printed paper top edge
first.
1/4 inch
(5 mm)
1/4 inch (5 mm)

 Loading...


