32 Making Prints From Slides or Negatives
2. Press the t Slide/Negative mode button.
3. Select the film type.
If you are scanning slides, select Color
Positive(slide). If you are scanning a film strip,
select one of these options:
■ Color Negative (used in most cases)
■ BW Negative
■ Color Positive(strip)
Press OK after making your selection.
4. Use the u or d button to select Color Restoration
or Auto Exp. Level, then press the r button to
select the setting item.
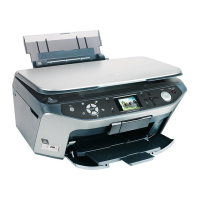
5. Press OK. The EPSON STYLUS PHOTO RX starts
previewing your slides.
6. Press OK if the photo is previewed the way you
want it.
If you want to scan again, press the y Back button.
7. Use the l or r button to select one of the options
for choosing your photos, then press OK.
Depending on your selection, you see a screen like
this:
8. Follow the instructions at the bottom of the screen
to select the photos you want to print and the
number of copies.
Use the u, d, l, and r buttons to select a photo;
use the u or d button to set the number of copies.
9. Press the x Print Settings button.
10. Use the u or d button to select the menu item, then
press the r button.
Setting Description
Color
Restoration
Select On to restore the original color of
faded slides, negatives, or film.
Auto Exp.
Level
Lower: Decrease exposure level
Standard: Standard exposure level
Higher: Increase exposure level
Setting Description
View and
Print Photos
Prints only the photos that you choose.
Print All Prints all the photos.
Print Range Prints a sequence of photos, for example
3 through 8.
Print Crop Prints only the part of the photo that you
crop (& page 33).
Save to
Memory Card
Save the photos to a memory card (&
page 35).
Rescan Scan the slides, film, or negative one
more time.
1. Select the
option.
2. Press the
OK button.

 Loading...


