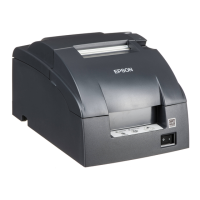
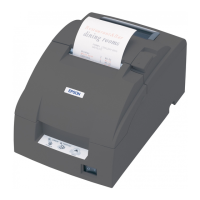
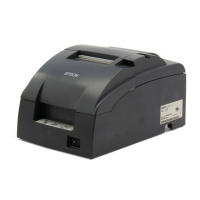
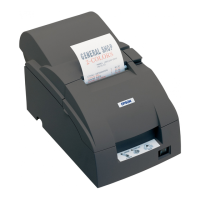
What to do if no lights on the control panel of Epson Printer?
- SShannon KnightAug 2, 2025
If there are no lights on the control panel of your Epson Printer, check the power supply cable connections and the power outlet.
What to do if no lights on the control panel of Epson Printer?
If there are no lights on the control panel of your Epson Printer, check the power supply cable connections and the power outlet.
What to do if the power LED does not light on my Epson TM-U220?
If the power LED on your Epson printer doesn't light up, there are several potential causes: * **External Power Unit:** Ensure the connector is properly plugged in. If it still doesn't light, try replacing the power unit. * **Cable Connector (1098):** Make sure the connectors are securely plugged in. * **Sub Circuit Board Unit (123):** Replace the sub circuit board unit. * **Main Circuit Board Unit (201):** If there's no visible damage (like burns) on the circuit board, replace fuse F1 or F4. If the fuse blows when powering on, disconnect all connectors from the mechanism assembly (120) and test again. If the POWER LED remains off and the fuse blows, replace the main circuit board unit. If the fuse doesn't blow, replace the main circuit board unit.
How to return the autocutter blade to the normal position in Epson TM-U220 Printer?
To return the autocutter blade to the normal position on your Epson Printer, open the roll paper cover using the tab as shown in illustration H. Then, use a ballpoint pen or tweezers to turn the knob of the autocutter in the direction indicated by the arrow until you see a round shaft in the hole, as shown in illustration P.
What to do if ERROR LED is flashing on Epson Printer?
If the ERROR LED is flashing or lit on your Epson Printer, it could be due to several reasons. The print head temperature might be too high or too low; in this case, wait for it to cool or warm down so the printer resumes printing automatically. Also, ensure that the roll paper cover is properly closed. For Types A and B, the autocutter blade may not be in the normal position, and the autocutter is locked up. If it is a simple lock-up, the error should be corrected automatically. A paper jam may also cause this error; follow the instructions to remove the jammed paper. Confirm that the specified power source is used, as PA-6xxx and PB-6xxx are not compatible with this printer. If the error persists, turn off the power, wait a few seconds, and turn it back on. If the problem continues, cont...
Configures serial interface settings for DIP Switch 1.
Configures parallel interface settings for DIP Switch 1.
Configures serial interface settings for DIP Switch 2.
Configures parallel interface settings for DIP Switch 2.
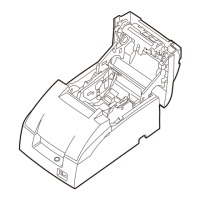
Identifies key physical components of the printer using labels from Illustration A.
Explains the meaning of warning and caution symbols used throughout the manual.
Provides essential safety guidelines for operating and maintaining the printer to prevent injury or damage.
Covers safety labels, notes on usage, installation, and power supply connections.
Compares features like two-color printing, autocutter, and paper width across Type A, B, and D models.
Lists the items included with a standard specification printer upon unpacking.
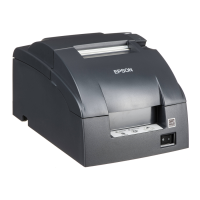
Describes the function of the POWER, ERROR, PAPER OUT LEDs and the FEED button.
Explains the power switch operation and the use of the protective cover.
Provides step-by-step instructions for inserting and replacing the ribbon cassette.
Details the procedure for loading new roll paper into the printer.
Continues the steps for inserting roll paper, including 2-ply paper and take-up spool usage.
Guides the user through the process of removing used paper and inserting new roll paper.
Addresses printing issues like stopping mid-line or repeating lines, and power-related problems.
Explains causes and solutions for the ERROR LED flashing or being lit.
Provides manual steps to reset the autocutter blade to its normal position.
Covers print method, fonts, character size, set, and density.
Details paper dimensions, normal paper thickness, pressure-sensitive paper, and ribbon cassette types and life.
Covers interface, data buffer, power supply, consumption, D.K.D. function, and reliability metrics.
Specifies operating/storage temperature and humidity, overall dimensions, and approximate mass.
| Print Method | 9-pin, serial impact dot matrix |
|---|---|
| Autocutter | Partial cut |
| Weight | Approx. 2.5 kg |
| Paper Thickness | 0.06 to 0.085 mm |
| Operating Temperature | 5 to 45 °C |
| Interface | RS-232, Bi-directional parallel, USB, Ethernet |
| Number of Columns | 42 columns |
| Data Buffer | 4 KB |
| Character Set | 95 Alphanumeric, 128 x 12 Graphic |
| Power Supply | AC adapter |
| Operating Humidity | 10% to 80% RH (non-condensing) |
| Print Speed | 4.7 lines per second (at 40 columns, 16 dpi) |
| Paper Width | 76 mm / 69.5 mm / 57.5 mm ± 0.5 mm |
| Copy Capability | Original + 2 copies |
