19
ECSP41
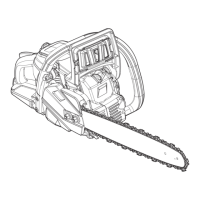
Getting Started . . .
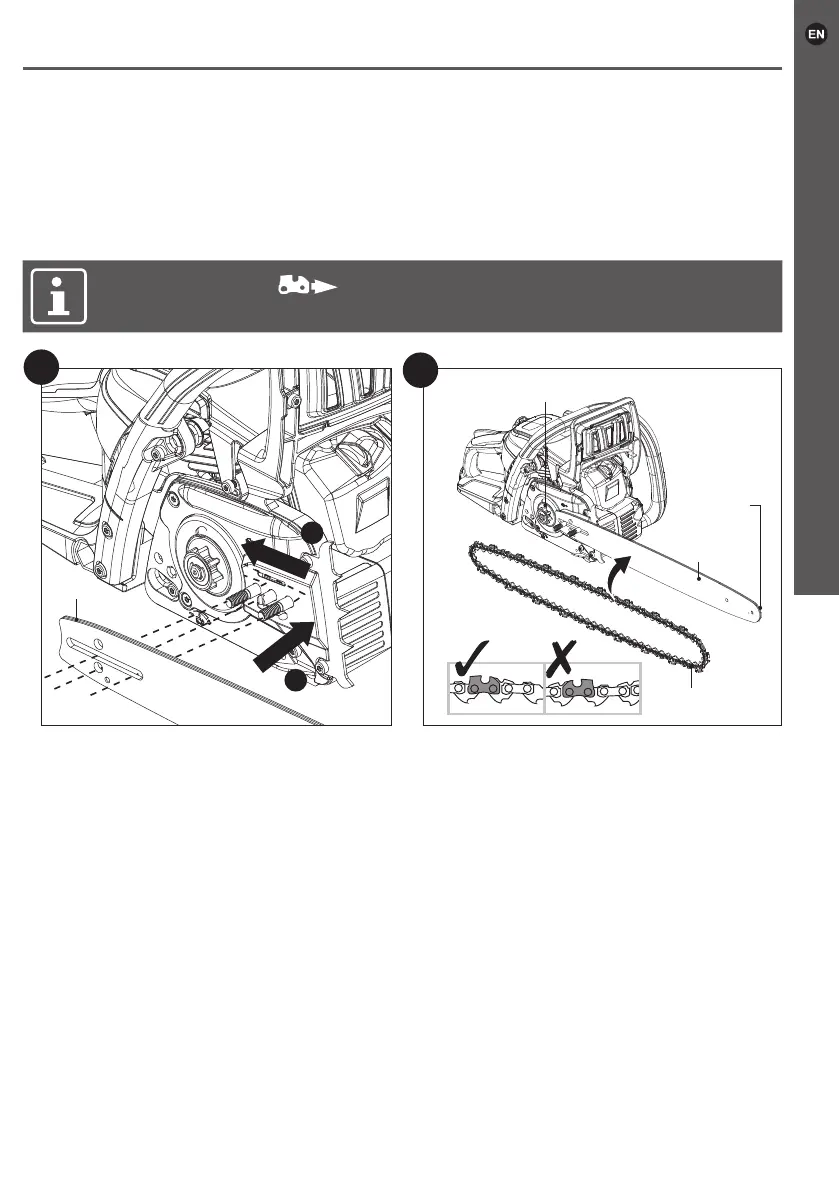
3. Place the slot on the guide bar (2) over the 2 bolts (step 1, Fig. 3).
4. Push the guide bar (2) to the left towards the drive sprocket (step 2, Fig. 3).
5.
Place the saw chain (3) over the drive sprocket (behind the clutch) and t around
the nose sprocket at the tip of the guide bar (2) in the correct direction (Fig. 4). Make
sure the drive links are correctly inserted in the drive sprocket and the nose sprocket.
NOTE: This symbol indicates the direction which the saw chain (3)
runs. Fit the saw chain (3) in the correct direction (Fig. 4)
3
1
2
2
4
Drive sprocket
2
3
Nose
sprocket
3
6.
Pull the guide bar carefully towards the right to tighten the saw chain. Make sure
the saw chain is placed above the chain catcher (18).
7.
Check the drive links of the saw chain (3) are inserted correctly into the drive sprocket
and the nose sprocket at the tip of the guide bar (2), and the chain is well tted
around the guide bar (2).
Before you start