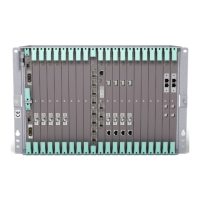
Replacing an NPU1 C with an NPU1 D
2. Delete any Layer 1 connections to the NPU1 C, see Configuring an
Ethernet Layer 1 Connection, Reference [23].
If these connections are still present, clearing the position in Step 9 results
in an error.
3. Press the BR button gently and release it. This action is a request to
change the status of the NPU1 C to Out of Service and all traffic-related
alarms are disabled.
Note: Press the BR button before removing the NPU1 C, even if the
Power (green) LED is OFF.
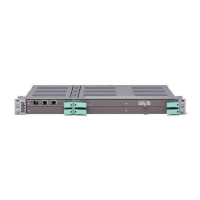
6148b
Power
BR
OFF
ON
Flashing
LED
Symbols
4. Wait until the BR (yellow) LED is ON. This takes up to 60 seconds.
5. If the LED is not ON within 60 seconds, press and release the BR button
again. Wait another 60 seconds and if the LED is still not ON, move on to
the next step anyway.
6. Disconnect all cables and SFPs, undo the screws on the latches, and
remove the NPU within 10 minutes.
Note: If you do not remove the NPU1 C within 10 minutes, it is
automatically taken into service. It is also possible to take the unit
into service before the end of the 10 minutes by pressing the BR
button again.
7. In the Management Tree, right-click the NE.
8. Point to View Status and click Slot State. The Slot Status Table appears.
9. Select the Clear check box for the position with state Inaccessible Unit.
Note: When selecting Clear, the NE removes the configuration for the
NPU1 C and it is not possible to recover.
11
107/1543-HRA 901 20-V11 Uen B | 2015-12-01