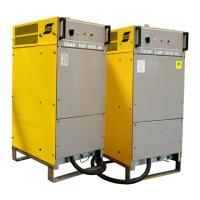
− 87 −
fja4i1ea
3 INSTALLATION
3.1 General
The installation must be executed by a professional.
3.2 Unpacking and erection
WARNING − TIPPING RISK!
Fasten the equipment − particularly if the ground is uneven or sloping.
S Place the welding power source on a level foundation.
S Make sure there is nothing to prevent the cooling.
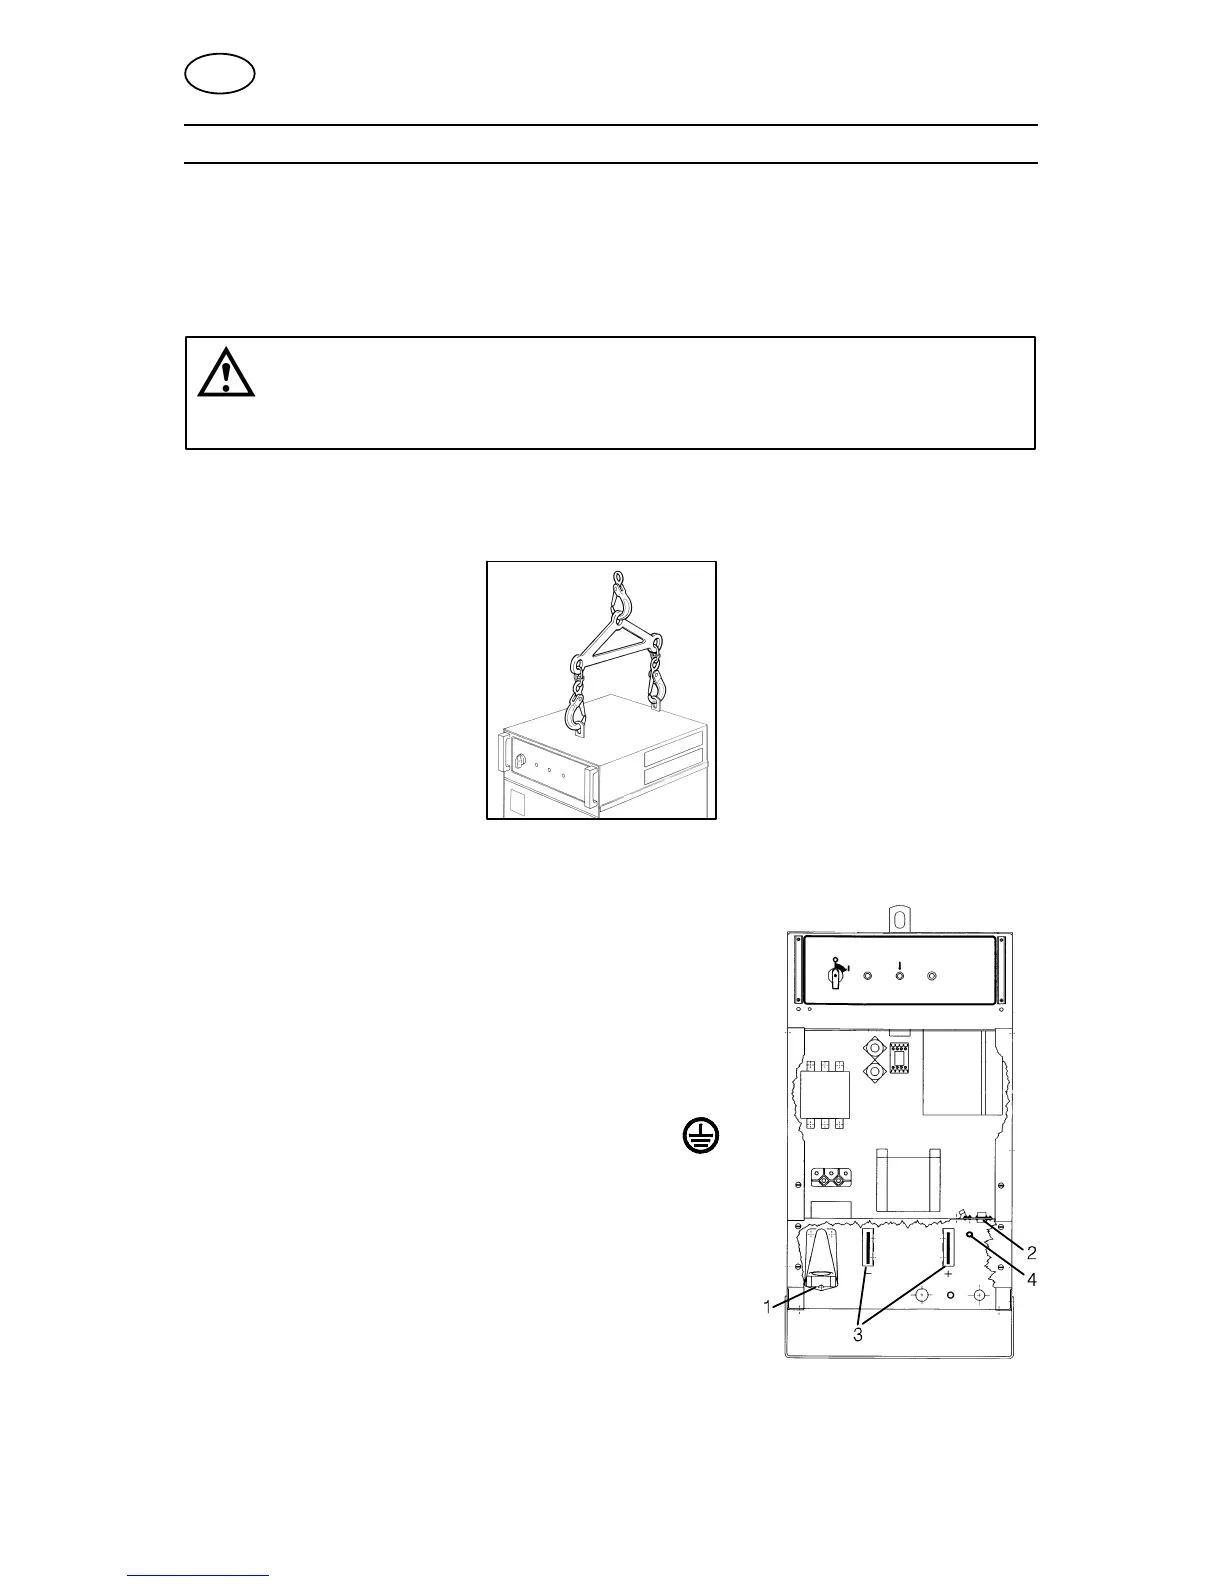
Lifting instructions
3.3 Connections
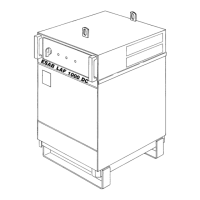
S On delivery the welding power source is connected
for 400 V. For other supply voltage, switch over to
the desired voltage on the main transformer and
the control transformer according to the connection
instructions on page 94.
S Make sure the mains cable has the right sectional
area and fuse it with an adequate fuse according to
applicable local directions (see table on page 88).
S Connect the earth cable to the screw marked .
S Tighten the cable support (1).
S Connect the mains cable to the main terminal
blocks L1, L2 and L3.
S Connect the control cable between the LAF
welding power source and the control unit to the
28−pole contact (2) inside the welding power
source.
S Connect 1 pin socket measure cable (4).
S Connect a suitable welding and return cable to the contacts (3) marked + and −
on the front of the power source.
GB


 To Next Page