OPERATING INSTRUCTIONS
BATTERY INSTALLATION
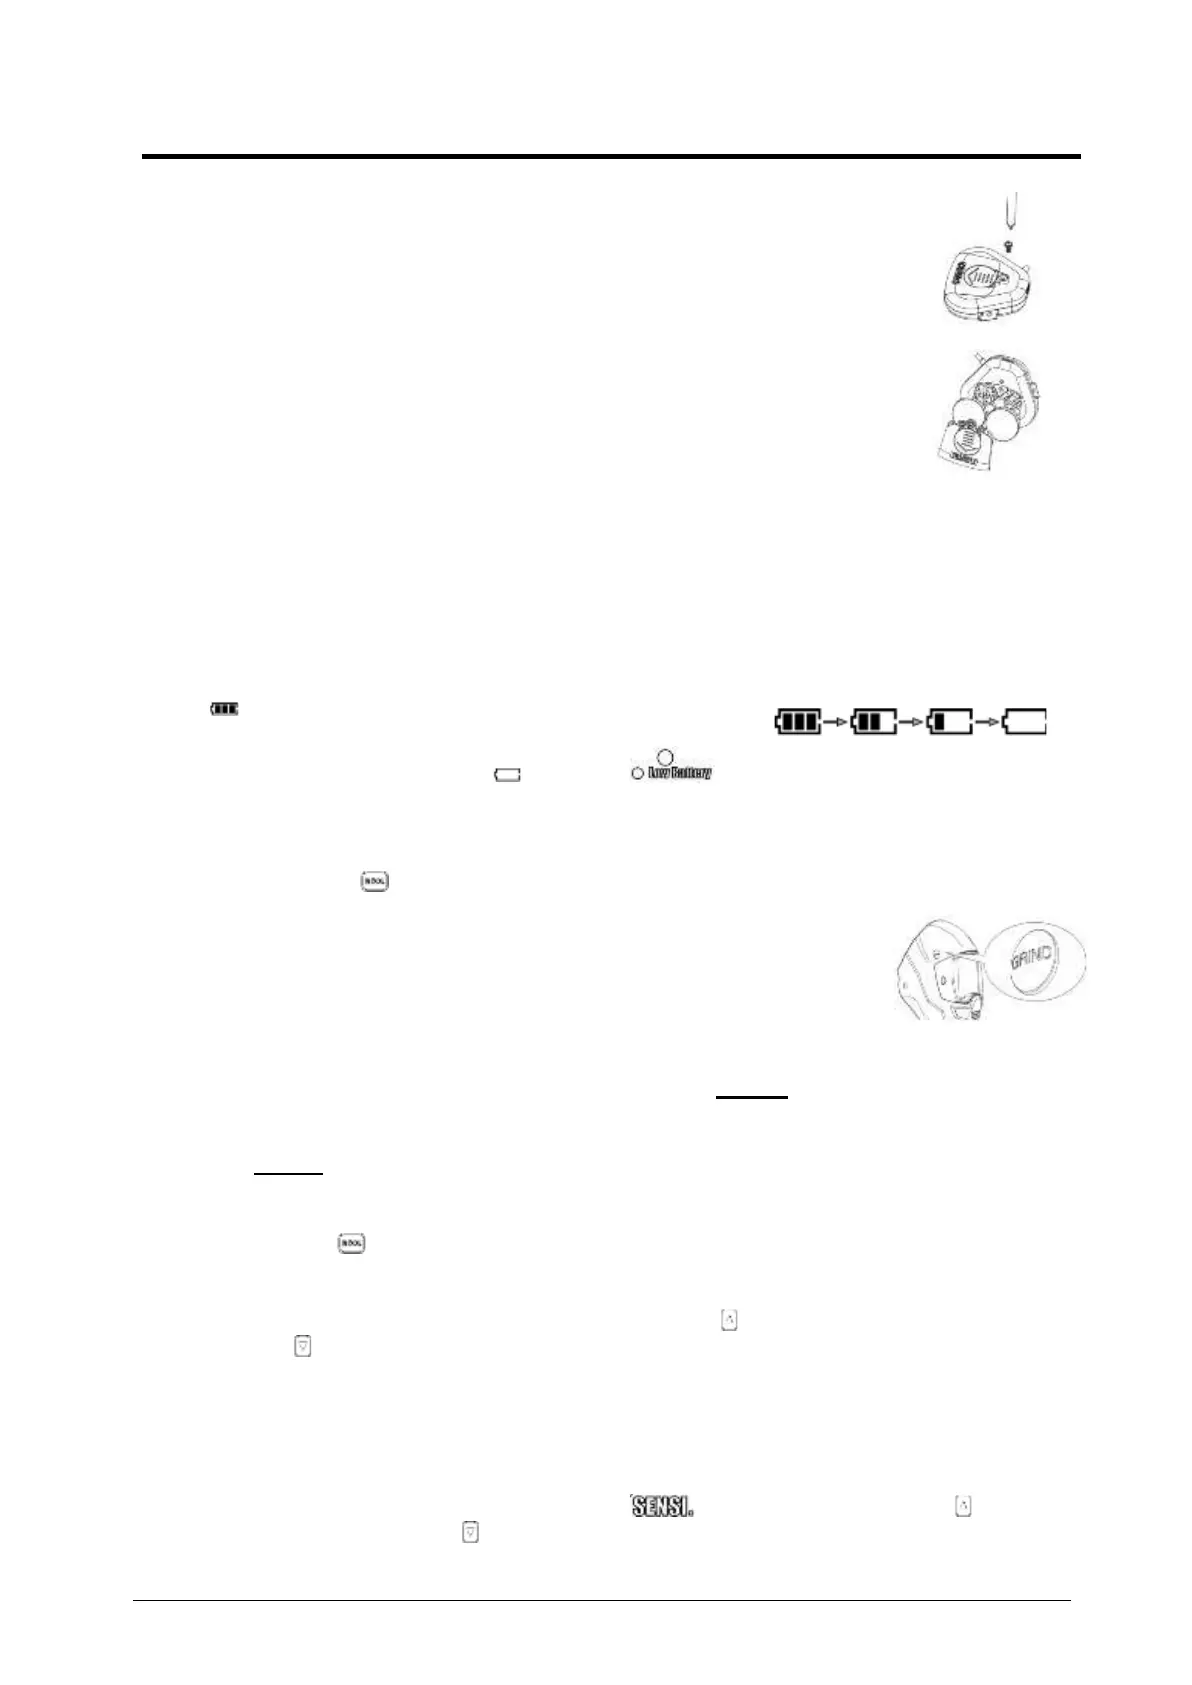
1. Use the included screwdriver, or other similar-sized screwdriver to
remove the retention screw
2. Slide the battery cover out of the external control case and
install the battery properly (“+ side facing UP”), slide the cover back
into position after battery installation.
3. Insert the screw and tighten.
Warning: Keep the battery away from children!
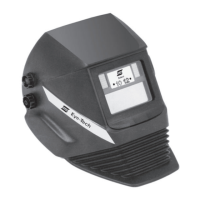
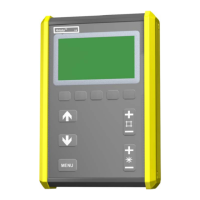
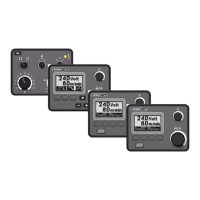
LED DISPLAY
1. Press any button on the Auto-Darken filter (ADF) control panel or press the external
“Grind” button to activate the LED display.
2. The LED display will automatically turn off after 10 seconds if no buttons are pressed.
Symbols on the LED display will flash during adjustment and will stop flashing after 8
seconds if there is no adjustment. The current settings will remain active.
BATTERY INDICATOR
This ADF is powered by a solar cell and (2) CR2450 lithium batteries.
The “ ” symbol shows the current state of the battery.
The battery indicator identifies 4 levels of current capacity.
When the indicator symbol shows “ ”, and the “ ” LED is continuously illuminated
“red”, the batteries should be exchanged for new ones.
SELECTING GRIND MODE
Option 1: Press the “ ” button on the ADF to switch to grind mode.
Option 2:
1. Pressing the “GRIND” button on the upper right external side of
the helmet shell for 2 seconds, ADF will switch to grind mode.
2. Press the “GRIND” button for 2 seconds again, and it will return to
the previous welding shade setting.
During “Grind” mode, the lens shade is fixed shade 3 and cannot be adjusted. “Grind” indicator
is an “Amber” LED on the ADF control panel, and will flash when Grind Mode is active.
Warning: Do not weld while using Grind mode!
VARIABLE SHADE CONTROL
1. Press the “ ” button on the ADF control panel. This will switch the shade mode
between shade banks 5-9, 9-13, or Grind. Select the shade range between Shade 5-9 or
Shade 9-13
2. Press the “SET” button to select the shade, Press “ ” to increase the shade number;
Press “ ” to reduce the shade number. Select the proper shade number for your
welding or cutting process by referring to the “Shade Guide Table” above.
SENSITIVITY CONTROL
Sensitivity can be adjusted only while using the welding mode.
Select your desired shade.
Press the “set” button to select “sensitivity”, The “ ” symbol will flash. Press “ ” to
increase the sensitivity; Press “ ” to reduce the sensitivity. This allows the ADF to become
more or less sensitive to arc light, for different welding processes.