10
Instlltion
IMPORTANT!
If the power cord is dmged, it must be replced by
Estto or one of it’s uthorised service representtives.
Plese contct 1300 11 HELP (4357) nd ensure the
pplince is completely disconnected from the
power supply.
TRANSPORT
Move cutiously. Do not grsp ny slient prts of
mchine. The mchine door cnnot be used s the hndle
for trnsport.
CAUTION: DAMANGE INJURY DANGER!
Improper hndling of the pplince my result in injury.
• The pplince is very hevy. Never trnsport or crry
the pplince lone; lwys with the ssistnce of
nother person.
• Remove ll obstcles on the trnsport route nd from
the instlltion loction, e.g. open doors nd cler wy
objects lying on the oor.
• Do not use the open door s hndhold.
• Remove ll pckge mteril before using the dryer.
• Before setting up the tumble dryer, check it for ny
externlly visible dmge.
Do not instll or use dmged tumble dryer.
• Do not instll the tumble dryer in room where there
is risk of frost occurring. At tempertures round
freezing point the tumble dryer my not be ble to
operte properly. There is risk of dmge if the
condensed wter is llowed to freeze in the pump
nd hoses.
INSTALLATION POSITIONING
• Children cn become entngled in the pckging lm
or swllow smll prts nd suocte.
Do not llow children to ply with the pckging.
• Dryer should be plced in ventilted re with thn
10cm distnce from the wll. It is suggested there re
no obstcles within 1.5m in front of dryer to ssure
ventiltion.
• The pplince must not be instlled behind lockble
door, sliding door or door with hinge on the
opposite side to tht of the tumble dryer, in such wy
tht full opening of the tumble dryer door is restricted.
• Do not restrict the oor clernce through deep pile
crpets, strips of wood or similr.
This might cuse het built-up which would interfere
with the opertion of the pplince.
• It is recommended tht, for your convenience, the
mchine is positioned close to your wshing mchine.
• Do not stck this dryer on wshing mchine without
stcking kit. Stcking kits re vilble to purchse
from Estto. Instlltion shll be done by the
mnufcturer, its service gent or similrly qulied
persons to void ny hzrds.
• The tumble dryer must be instlled in clen plce,
where dirt does not ccumulte. Air must be ble to
circulte freely round the pplince. Do not obstruct
the ir inlet or the ir intke grilles t the bck of the
mchine.
• To keep vibrtion nd noise within minimum level when
the clothes dryer is in use, it must be plced on rm
nd level surfce.
• Do not remove the feet of the pplince.
Note when instlling:
• Do not instll the dryer in the open ir or plce where
it cn be dmged esily by rin;
• Do not plce the bck of dryer ner curtin or
something tht cn be moved by wind;
• Do not plce the dryer ner gs or mmble mterils.
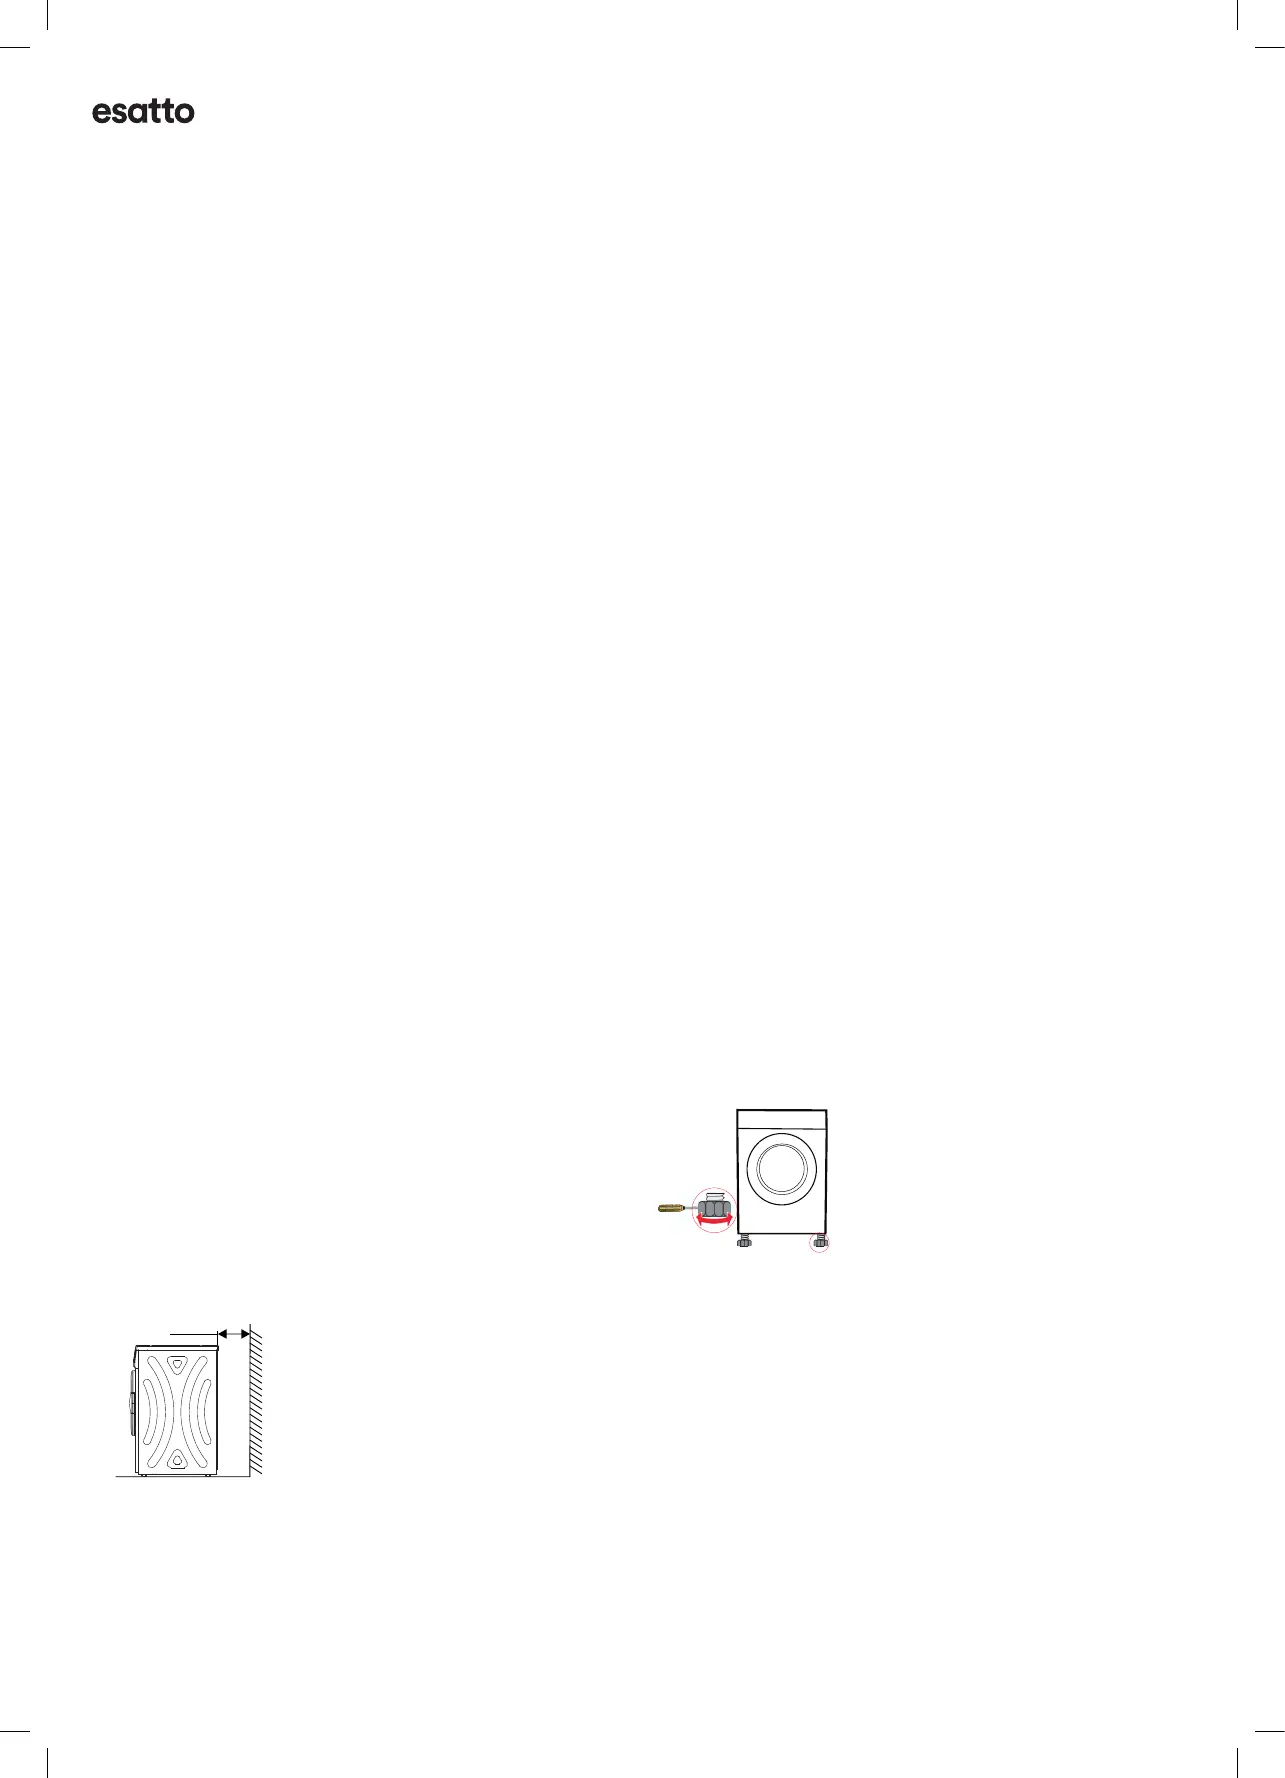
LEVEL ADJUSTING
Once in its permnent operting position, check tht the
dryer is bsolutely level with the id of spirit level. If it is
not, djust the feet by hnd or using tool.
Note: If the dryer is not plced horizontlly (tilt ngle more
thn 2°), the dryer my not operte correctly.
POWER SUPPLY CONNECTION
• Mke sure tht the voltge of the power supply is the
sme s the electric speciction.
• Do not connect the dryer with the power connection
bord, universl plug or socket, do not use multi-plug
dpters nd extension cbles.
8
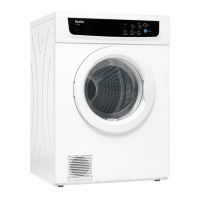
Top board
Control panel
Door
Front panel
Side panel
Lint filter
Exhaust duct
Power plug
Door lock
Drum
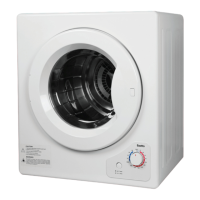
>10cm
INSTALLATION
Product Description
Installation
Note: Please see the products you purchased in kind prevail.
Dryer should be placed in a ventilated area with
than 10cm distance from the wall. It is suggested there
are no obstacles within 1.5m in front of dryer to assure
ventilation.
not less
•
Installation Position Selection
9
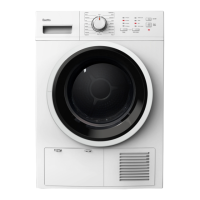
INSTALLATION
work properly.
If the dryer is not placed horizontally (tilt angle more than 2°), the dryer may not
Notice when installing:
•
Do not install the dryer in the open air or a place where
it can be damaged easily by rain;
•
Do not place the back of dryer near curtain or something
moved by wind;
•
Do not place the dryer near gas or flammable materials.
•
• Connect one end of the flex tube to the back vent, then fix it firmly until it's tight.
• The other end of flex tube will be extended to outdoor, for the proper assembly please
refer to the below pictures.
Exhaust duct installation:
Note!
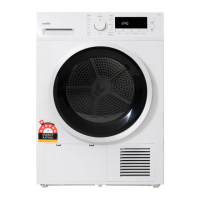
• Level Adjusting
Once in its permanent operating position,
check that the dryer is absolutely level with the aid
of a spirit level. If it is not, adjust the feet with a tool.

 Loading...