34
E INSTALLING THE APPLIANCE
Note: Ensure the wall has been correctly framed to the dimensions specied in secon B1 on page 8 before
starng the appliance install. The wall must be lined aer the re has been ed into the cavity with the
appliance electrical cord plugged into an outlet, carefully place the appliance in front of the cavity base.
Carefully push the replace into the cavity just enough to bring the gas connecon through the silicone
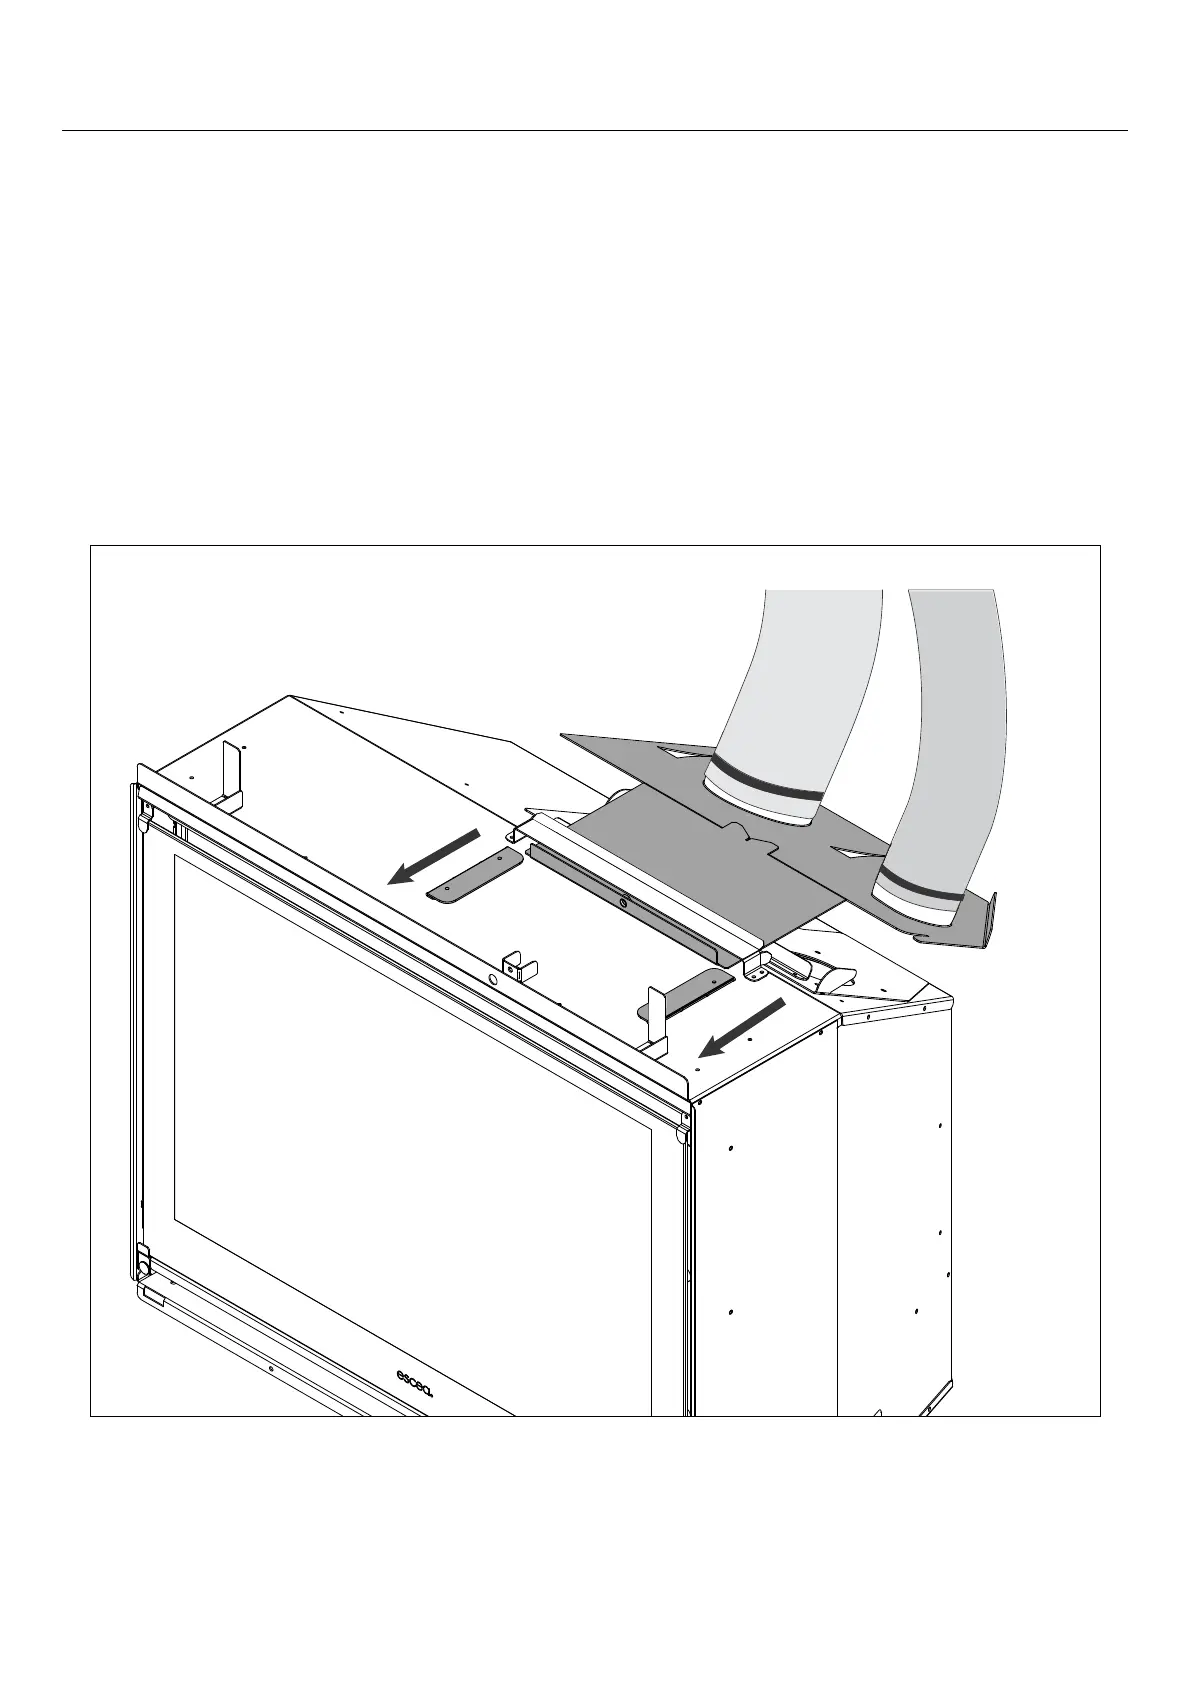
grommet of the appliance (as shown in the second diagram of secon D5 on page 32). The appliance should
have enough room above the replace to reach in and align the ue spigot plate onto the rails (highlighted in
the diagram below). Use the long M5 screw to pull in the spigot plate as the re is pushed into the cavity.