Installation continuedInstallation
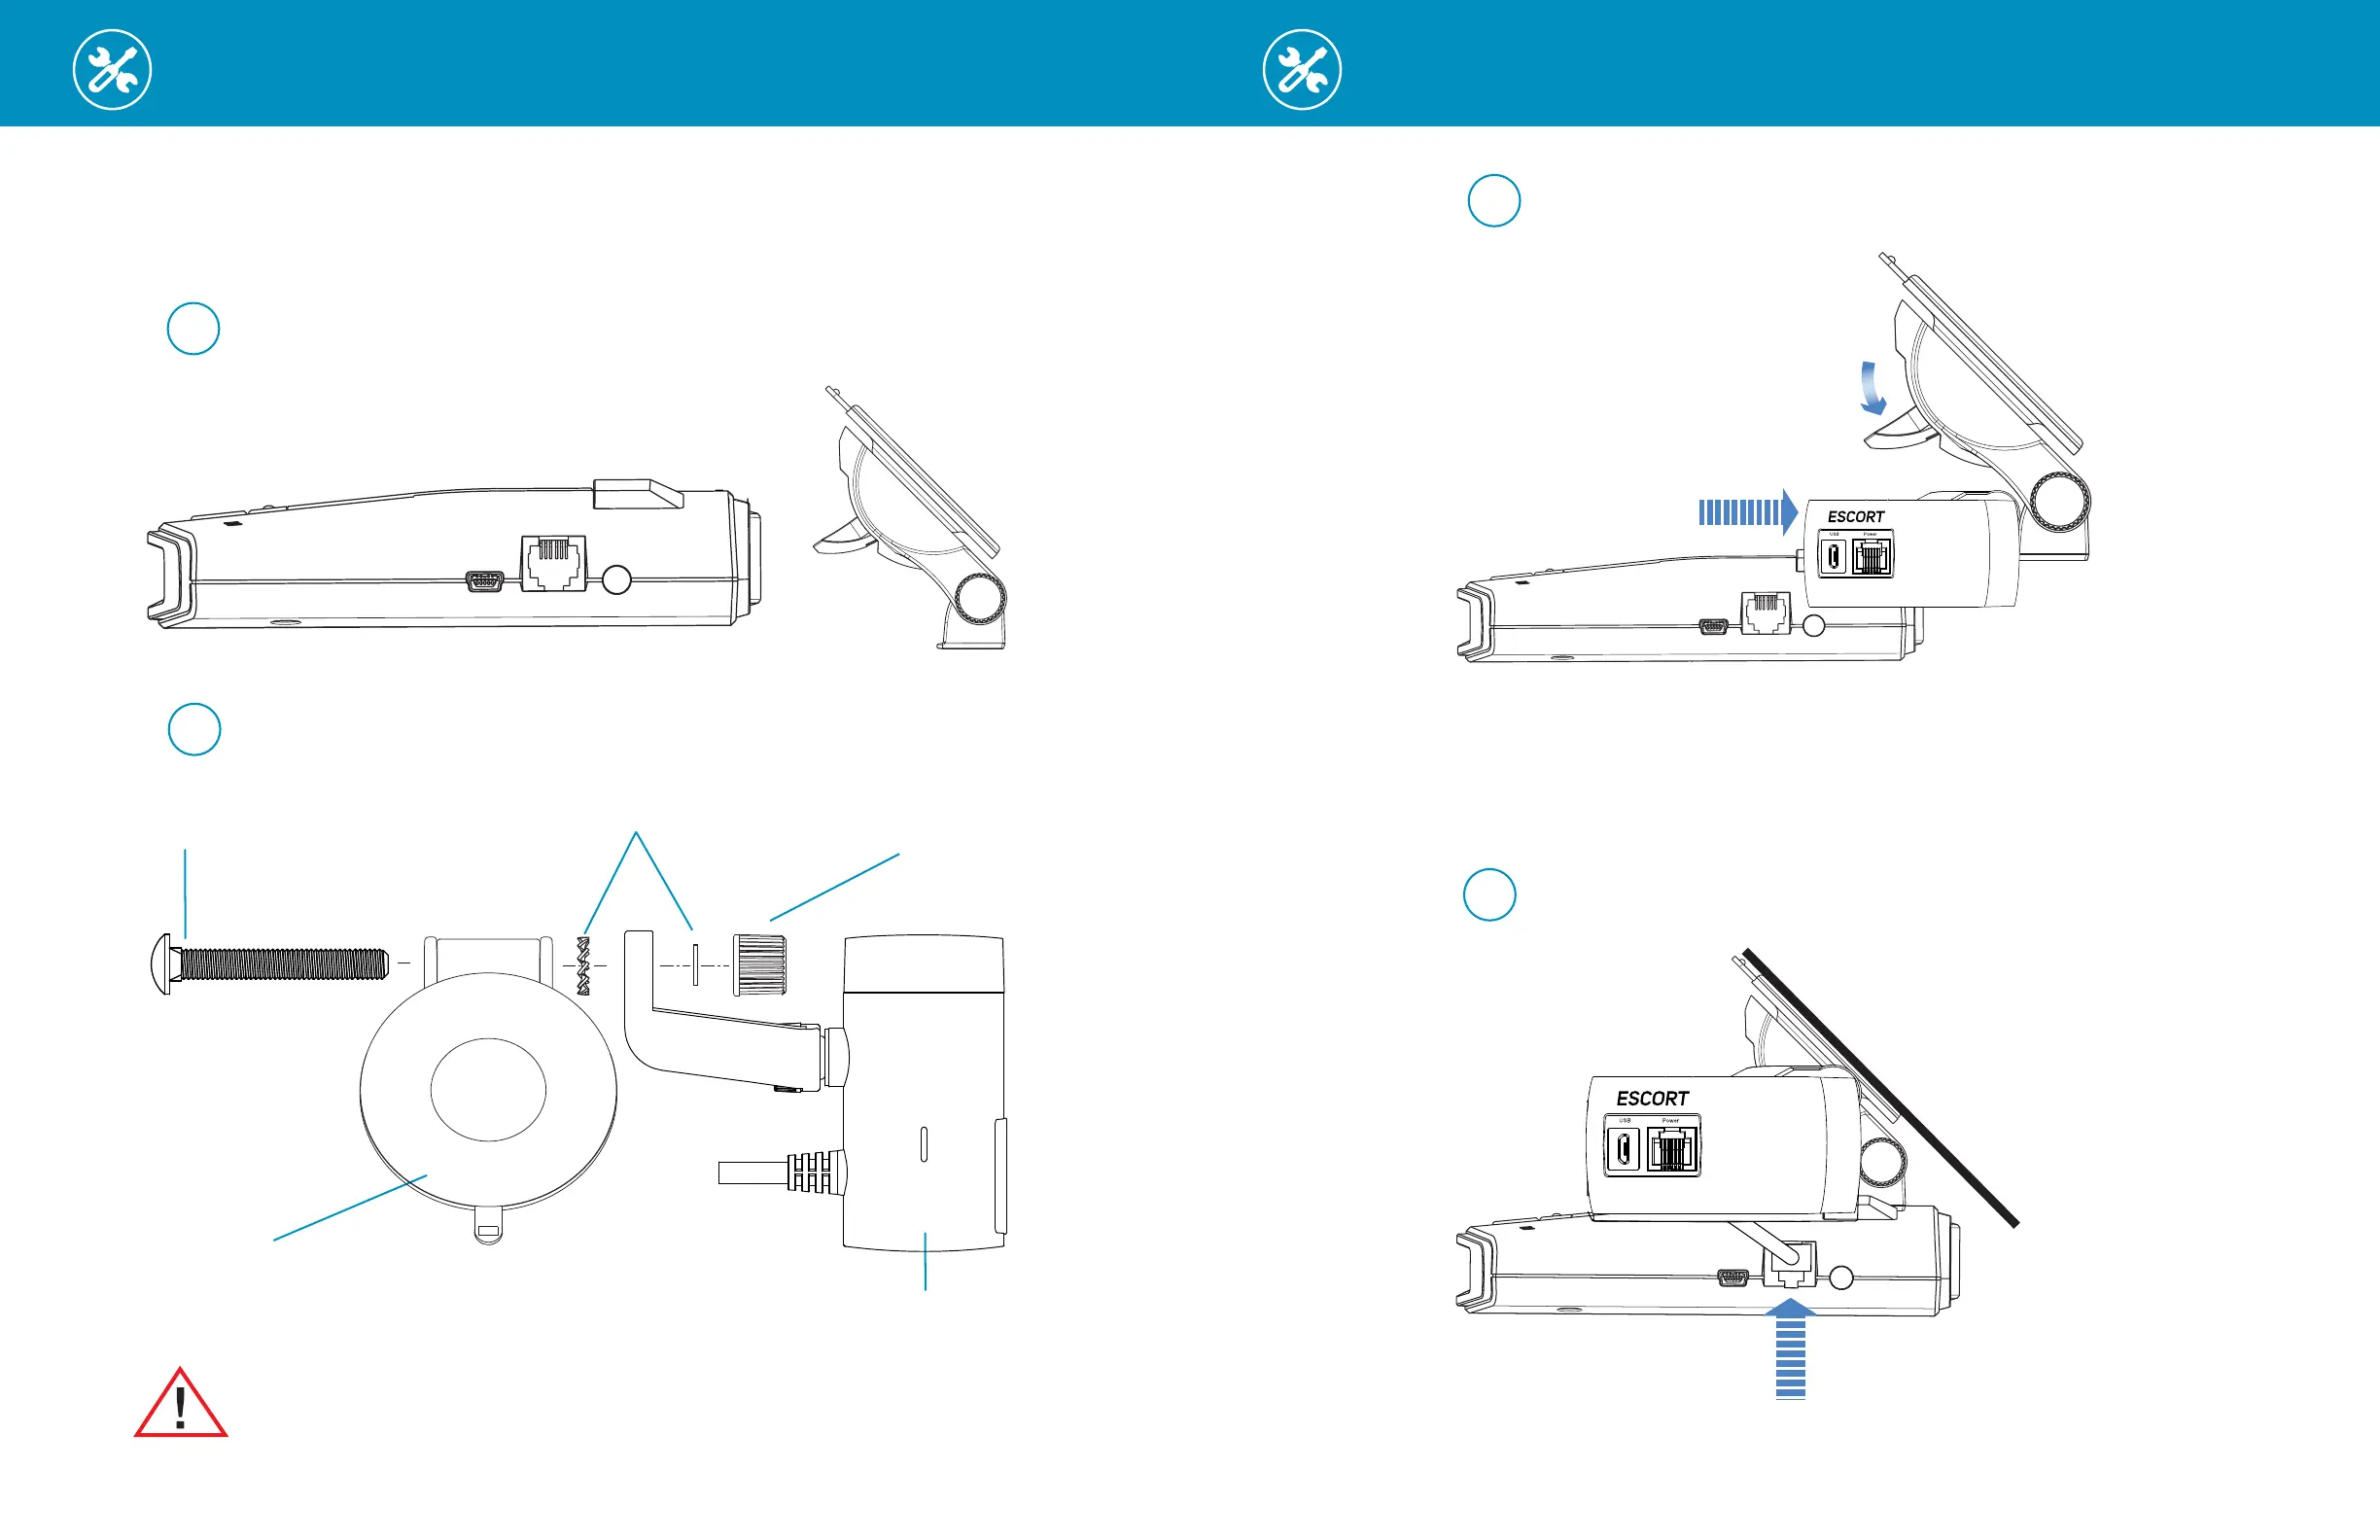
Longer Carriage Bolt -
Included with M2
EZ Mag Mount
™
-
Included with your detector
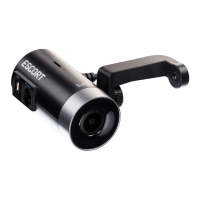
Escort M2
Dash Cam
Attach ESCORT M2 to EZ Mag Mount
™
Remove your detector from the sticky mount and attach the M2 as shown below.
Washers Included with M2
Sticky Cup Mount Thumb Screw -
Included with your detector
Remove Detector from Windshield and Detach EZ Mag Mount
™
1
Attach ESCORT M2 to Mount
2
Warning: Tighten Thumb Screw firmly to ensure stable video recordings
Attach radar/laser detector to
EZ Mag Mount
™
with M2 installed
3
4
Flip Tab Down
Connect M2 power cable
to radar/laser detector
To 12V Power Source
5
Connect Smart Cord to
M2 and 12V power source
Windshield
6
Flip Tab Up
Incorrect
position
Incorrect
position
Mount to windshield, adjust radar/camera
angle and tighten assembly screws
7 8
Longer Carriage Bolt -
Included with M2
EZ Mag Mount
™
-
Included with your detector
Escort M2
Dash Cam
Attach ESCORT M2 to EZ Mag Mount
™
Remove your detector from the sticky mount and attach the M2 as shown below.
Washers Included with M2
Sticky Cup Mount Thumb Screw -
Included with your detector
Remove Detector from Windshield and Detach EZ Mag Mount
™
1
Attach ESCORT M2 to Mount
2
Warning: Tighten Thumb Screw firmly to ensure stable video recordings
Attach radar/laser detector to
EZ Mag Mount
™
with M2 installed
3
4
Flip Tab Down
Connect M2 power cable
to radar/laser detector
To 12V Power Source
5
Connect Smart Cord to
M2 and 12V power source
Windshield
6
Flip Tab Up
Incorrect
position
Incorrect
position
Mount to windshield, adjust radar/camera
angle and tighten assembly screws