68
NOTE! Risk of device damage! The device is supplied without motor or gearbox oil.
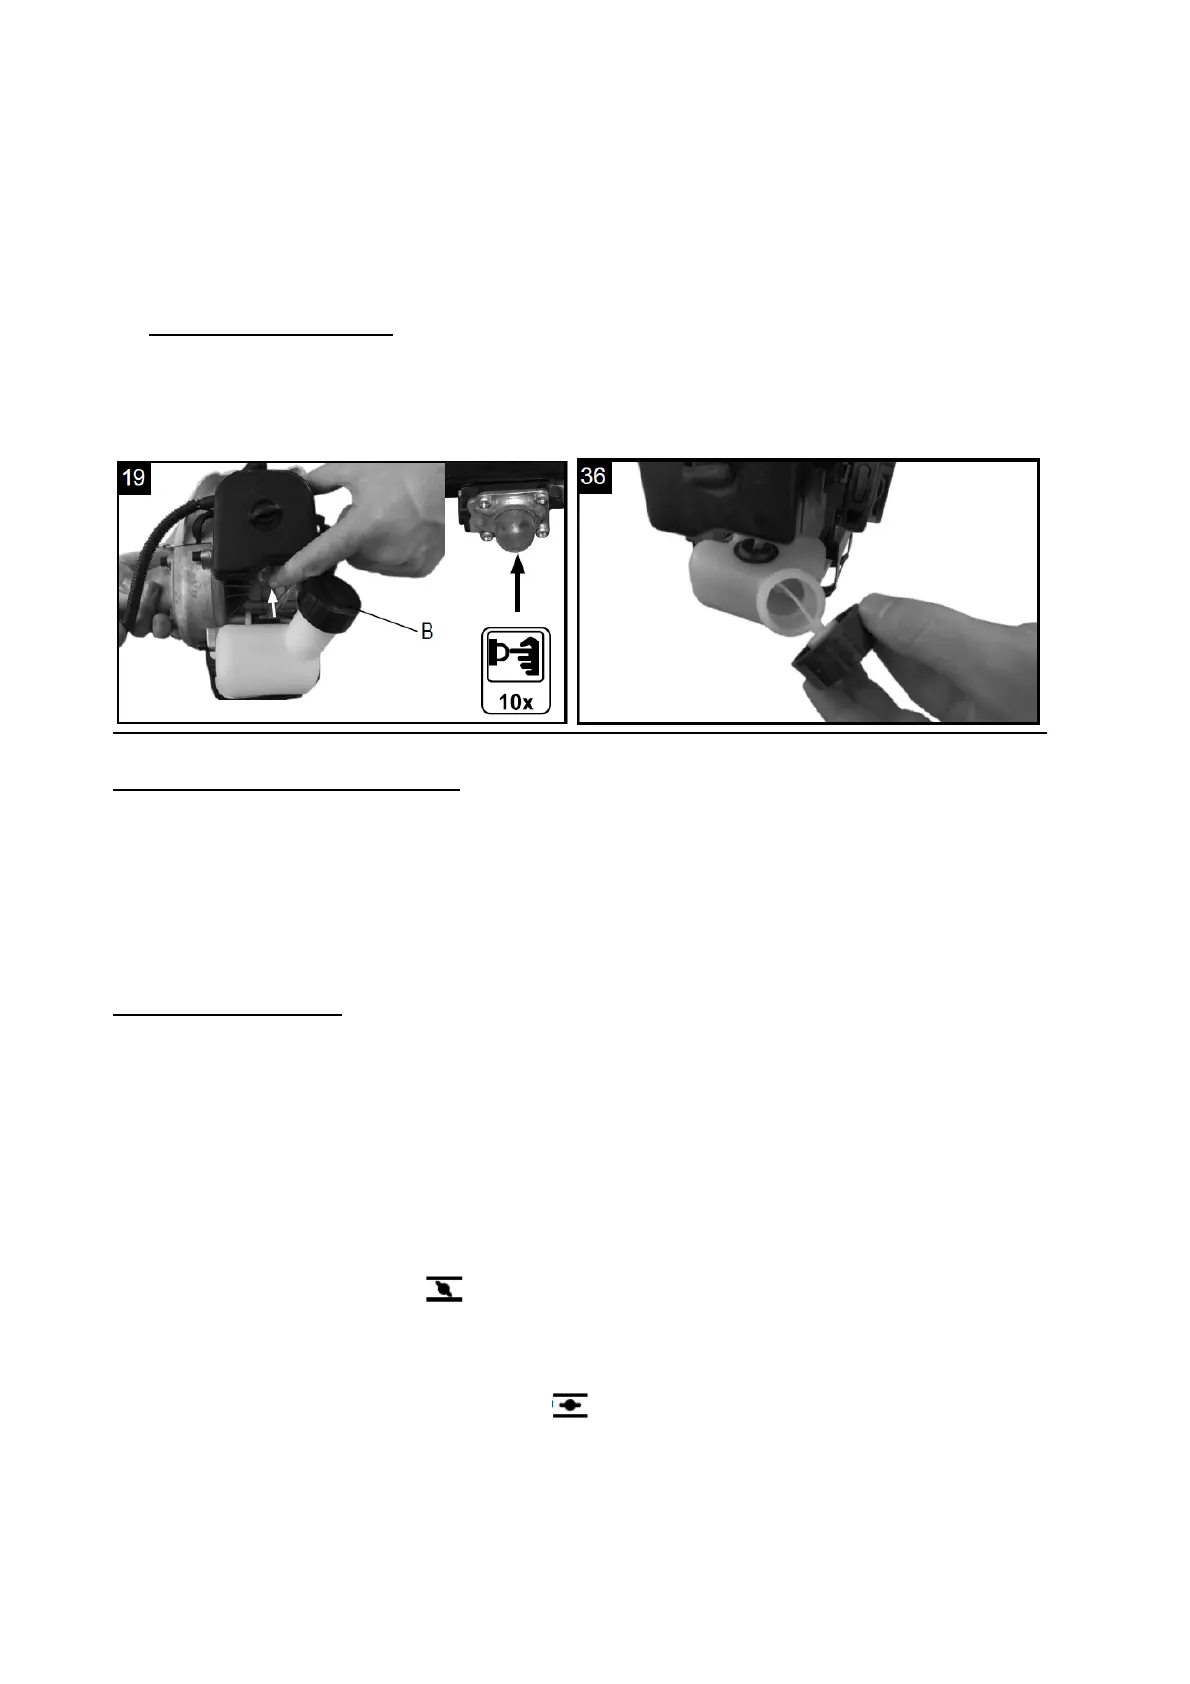
Before operating, you must fill it with fuel:
- Unscrew the tank cap (B) and remove it.
- Pour in the fuel carefully. Avoid spilling!
- Screw the tank cap on firmly by hand.
- Draining fuel. Fig. 36
- Hold a collection container beneath the fuel drain bolt.
- Unscrew the tank cap and remove it.
- Allow the fuel to run out completely.
- Screw the tank cap on firmly by hand.
Before starting the appliance
Each time before use, check the following:
- That there are no leaks in the fuel system.
- That the appliance is in perfect condition and that the safety devices and cutting devices
are complete.
- That all screws are securely fastened.
- That all moving parts move smoothly.
Start. Fig. 17, 19-23
Do not start the unit until it has been completely assembled.
WARNING! Danger of injury! Only start the petrol multi garden tool if an attach-
ment is connected! Remove the appropriate transportation protection and in-
spect the unit in good working condition. Never use a damaged, poorly adjusted
or serviced or not completely and securely assembled device.
Once the machine has been set up properly, start the engine as follow:
1. Turn the engine switch to the ON position. Fig. 20.
2. Put the choke lever on the
position. (Fig. 20).
3. Press the fuel pump more than 5 times. Fig. 19
4. Pull the recoil starter handle (9) 3-5 times to start the engine. Fig. 21. Never place feet
on the shaft or kneel on it.
5. Wait a while adjust the choke lever to position. Fig. 22.
6. When the engine is running and idling, first press the lock off lever (8) and then switch
the throttle lever (11) on, the machine will be working. Fig. 23
7. If meet any problems, press the engine switch to off position, the machine will stop run-
ning. If need stop cutting head working, release the throttle lever (11). Fig. 23