GB
28
/ 63
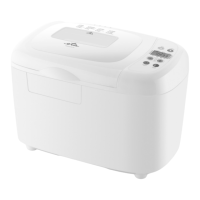
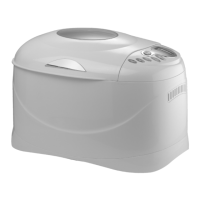
A2 – baking area A4 – power cord
B – lid
B1 – viewing window B3 – air vents
B2 – handles
C – baking pan
C1 – foldable handle C2 – shafts
D – kneading hooks F – measuring spoon (5/15 ml)
E – hook removal tool G – measuring cup (200 ml)
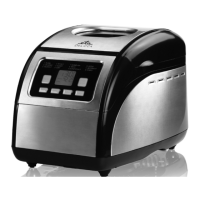
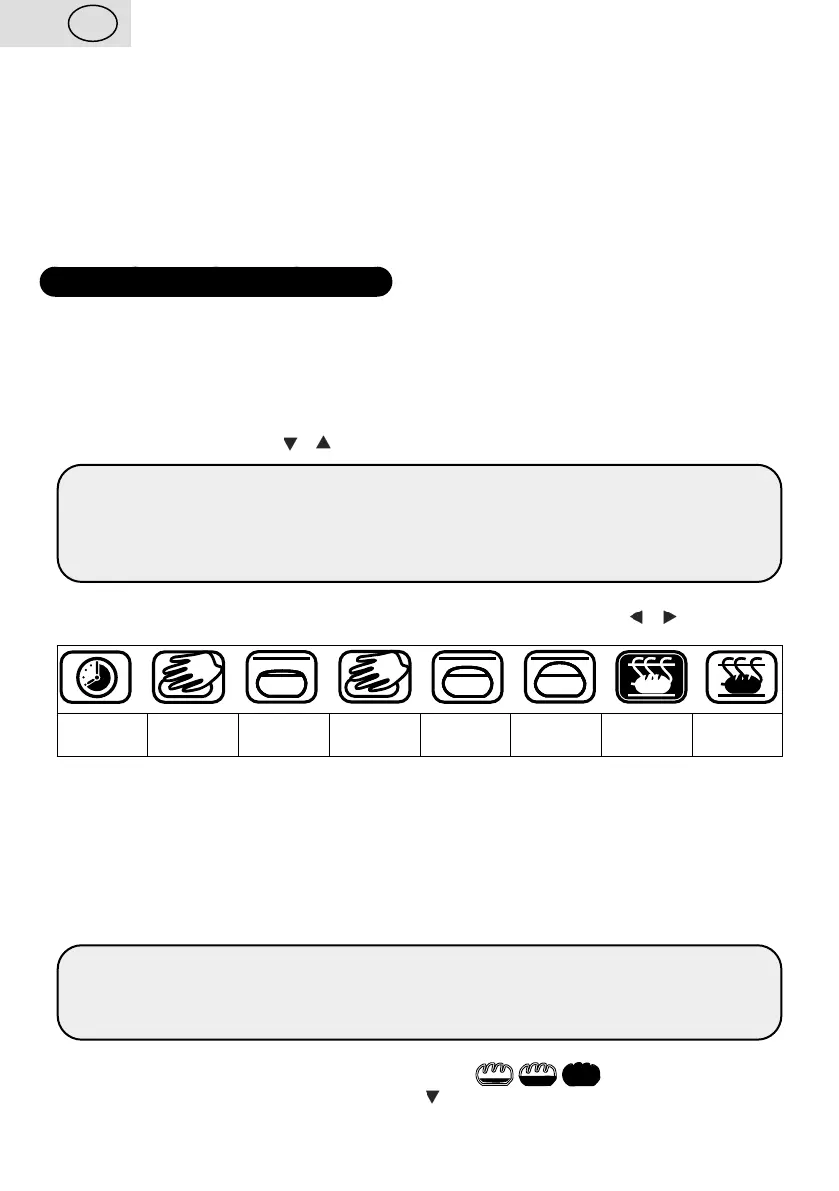
III. CONTROL PANEL (Fig. 2)
1) Display
When the bread maker is put into operation, the display shows the basic settings “1 3:10”
(i.e. programme: KLASIK, weight: 1250g, crust darkness: MEDIUM) and you can hear
a signal sound:
– number 1 indicates the programme set;
– number 3:10 indicates the selected programme time;
– the position of the arrows / indicates the bread weigh and crust darkness.
Note
When the selected programme is switched on, the digits start decreasing. When the
programme finishes, the display shows 0:00. The bread maker switches over to the
temperature maintenance mode (60 min.). 0:00 remains on the display (the colon
between the digits is flashing).
PROCESSING PHASES
The phase currently in process is indicated on the display by the cursor / :
Delay
Time
Knead
1
Rise
1
Knead
2
Rise
2
Rise
3
Bake Keep
Warm
2) START/PAUSE/STOP button
This button is used to start, pause and stop the programme. When you press the START/
PAUSE/STOP button, the colon between the digits will start flashing and the programme will
start. When you shortly press the START/PAUSE/STOP button again, the programme will
pause. To indicate that the programme is paused, the time and colon will be flashing. When
you press and hold the START/PAUSE/STOP button for about 3 seconds, you will hear
a signal sound and the programme will stop. The same applies when you wish to stop the
temperature maintenance mode.
Caution
Use the PAUSE function for a short time only, max. 5 minutes. If the programme were
paused for a longer time, it could have a negative impact on the dough processing, and
consequently on the baking results.
3) COLOUR button
This button is used to set the crust darkness colour ( = LIGHT / MEDIUM
/ DARK). The symbol and sign on the display indicate the crust darkness settings.
 Loading...